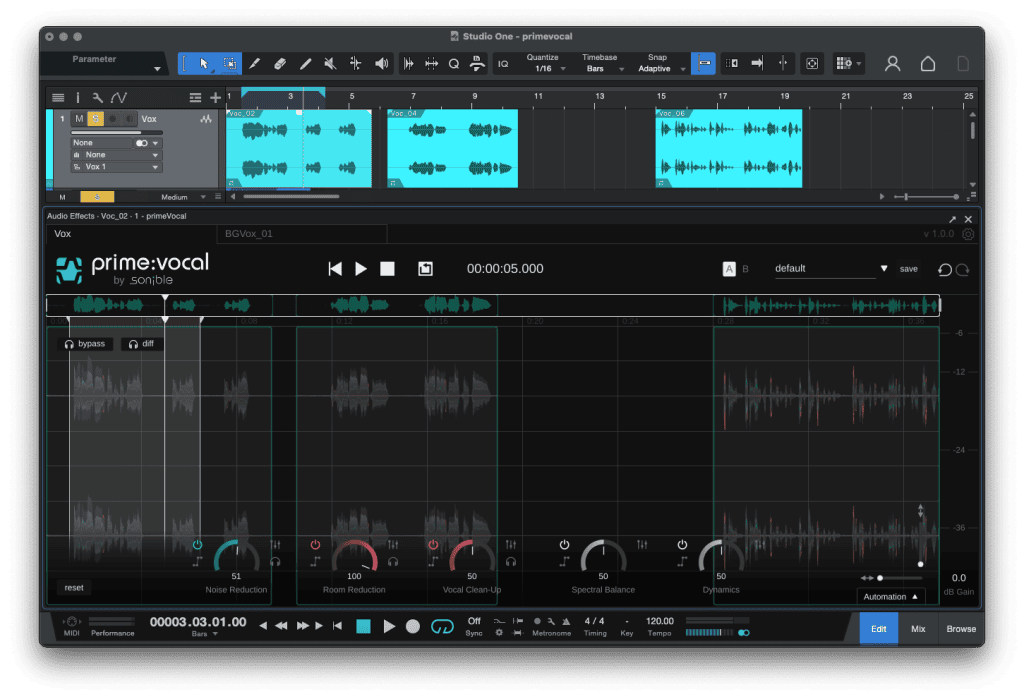
prime:vocal can be used as both standalone application and an ARA plug-in. In this article, we’ll give you a brief overview of how to work with the ARA version.
Please note that prime:vocal currently supports ARA only in a beta version. Full ARA support will follow in early 2025.
The ARA version of prime:vocal seamlessly integrates into compatible DAWs, allowing you to process vocals directly within your project timeline. By eliminating the need to export and import files, the ARA plug-in streamlines your workflow and ensures that all edits remain fully integrated with your DAW session. This is particularly beneficial for users working on complex projects, as it offers a non-destructive and efficient approach to vocal enhancement while maintaining all features of the standalone version.
Click here for more information on how to use primevocal as a standalone application.
The method for loading an ARA plug-in varies depending on your DAW. You can find short guides on how to load prime:vocal in different compatible DAWs through the links below:
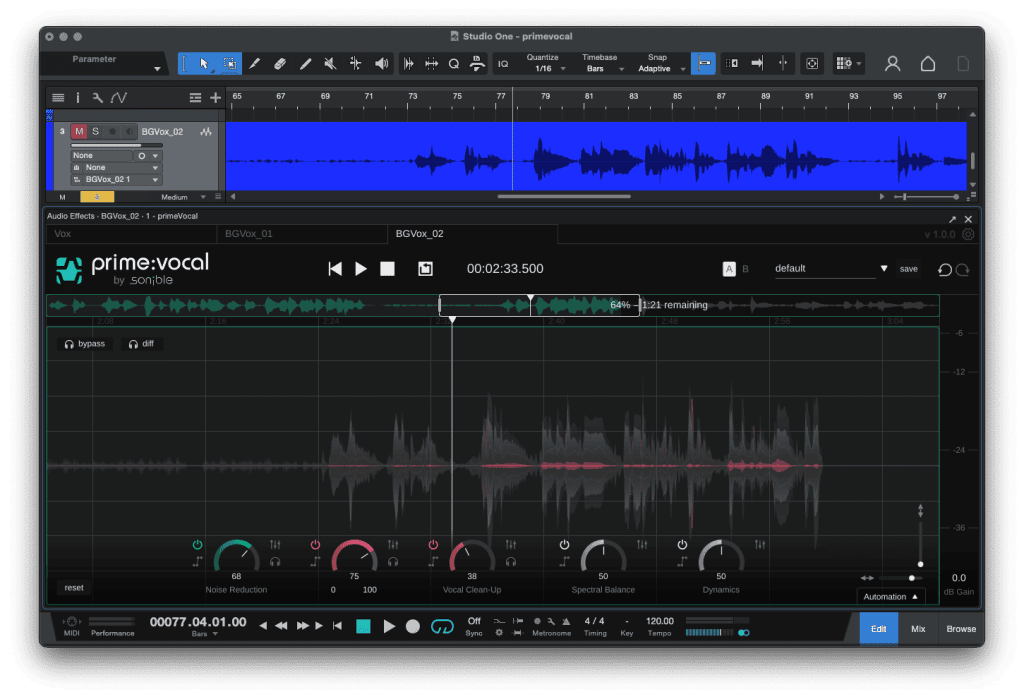
In the ARA plug-in format, there is, by definition, only a single ARA display window. For this reason, all prime:vocal ARA instances are displayed in the same window but organized into different tabs. You can switch between tracks where prime:vocal is used by selecting the corresponding tab.

Also note that switching tabs in prime:vocal does not automatically solo the corresponding track in your DAW. If you want to listen to the audio of a specific track after switching tabs, you need to manually solo the track in your DAW.
Once the plug-in is loaded, prime:vocal will automatically analyze all audio clips in the track. The analysis process can take some time depending on the length of the clips. Also note that the analysis must process the entire clip, even if it has been trimmed or cropped in your DAW.

The analyzed sections of a clip are highlighted in green in the Track Overview Bar and the overall analysis progress of all clips is displayed in a progress bar. Once the analysis is complete for a section, you can start working on that section. Unanalyzed parts of the clip will remain unavailable for playback until the process is finished.
After the analysis is complete, you can adjust prime:vocal’s settings as needed. Any changes you make will be reflected instantly visually and in the audio playback. Also note that all edits to clips (re-positioning, cropping) are reflected in the ARA plug-in window of prime:vocal.

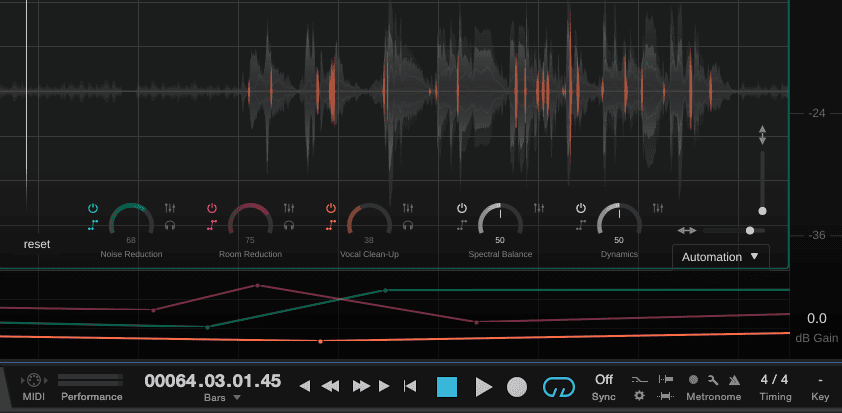
As the standard DAW automation cannot be used for ARA plug-ins, please use prime:vocal’s integrated Automation Panel.
When your edits are complete, you can export your track as usual through your DAW’s export function. No additional steps are required to finalize the audio processed by prime:vocal.
When saving a DAW session, prime:vocal stores its analysis data in one of two locations:
DAW Project’s Media Folder
Music Folder / Custom Folder
Customization Options
On the plug-in settings page, you can adjust where analysis data is stored:
