Understand the dynamic processing technology and how to apply it to your own mixing and mastering projects.
Spectral compression is a key technology in our flagship compressor smart:comp 2. With this approach, producers, mix engineers and mastering engineers alike can compress audio with a much higher level of resolution, resulting in clearer and better mixes.
In this article we will be demonstrating just some of the many use cases of spectral compression, highlighting the things that it can do better than traditional compressors, and the things it can do that traditional compressors simply can’t. Hopefully, in the process, inspiring you to start using spectral compression in your own projects.
If you want to follow along with the techniques discussed in this article, you can download the trial of smart:comp 2 and try it for free for 30 days.
Before we discuss the various uses of spectral compression, let’s first clarify what exactly spectral compression is.
You can think of spectral compression as a super charged multiband compressor. Whereas a traditional multiband compressor may have three, four, or five bands which can compress separately, our spectral compression enabled smart:comp 2 can have up to 2000 bands each compressing separately.
The influence of spectral compression can be adjusted within smart:comp 2 so you can strike a balance between the clarity offered by the frequency dependent processing, and the original character or broadband compression.
Multiband compressors have settings applied per band, but with the very high resolution of spectral compression, a band’s settings are usually set by a wider rule or algorithm, or defined as part of the plugin’s code.
In addition, with Spectral Link, smart:comp 2can apply spectral compression to just a particular range of the frequency spectrum. This opens up many interesting uses including very precise de-essing – which we’ll discuss later.
For more information about how spectral compression works, be sure to read our article on spectral processing in smart:comp 2.
Perhaps the primary reason to use spectral processing in your mixes is for clarity and tonal balance. But what do we mean by these terms?
Let’s think about how a traditional single band compressor works for a moment. The user sets a threshold value and as a result, when any part of the incoming audio crosses the threshold, the audio is ducked regardless of its frequency weighting.
In practice this means audio that contains information across the frequency spectrum can be compressed in an undesirable way. A classic example of this is an electronic drum beat which contains a prominent kick drum with a lot of bass content. With a single band compressor placed on the master bus, whenever the kick drum plays, the mids and highs in the drum beat will be compressed along with it, reducing their clarity and power.
Let’s illustrate this with some audio. We’ll be using this electronic drum loop.
Now here’s the same loop with single band compression applied to it.
We are using smart:comp 2 as it can be set to have a varying impact of spectral compression. By setting the Spectral Comp. dial to 0 we can use it as a traditional single band compressor. As you can hear, with single band compression applied, the highs of the drum loop are less prominent than in the original uncompressed loop.
Let’s try performing some spectral compression and see how the sound differs.
We will set the Spectral Comp. dial to the maximum value (150).
Here’s how the compressed drum loop sounds now with spectral compression. All other settings such as ratio, threshold, attack and release are identical to our previous example.
Now the bass drum is more contained whilst the top ends still have headroom to breathe. Thanks to spectral compression, each part of the frequency spectrum is being compressed as its own entity.
Sidechain compression is nothing new. Most producers would expect external sidechain routing when purchasing a plugin compressor. However, the combination of external sidechain compression and spectral compression is unique to smart:comp 2, and it’s a very powerful combination!
To demonstrate this technique we will use the most typical sidechain compression scenario: sidechaining a kick drum to a bass channel to duck the bass out of the way of the kick.
Here we have a track with a sustained sub bass and a four to the floor kick.
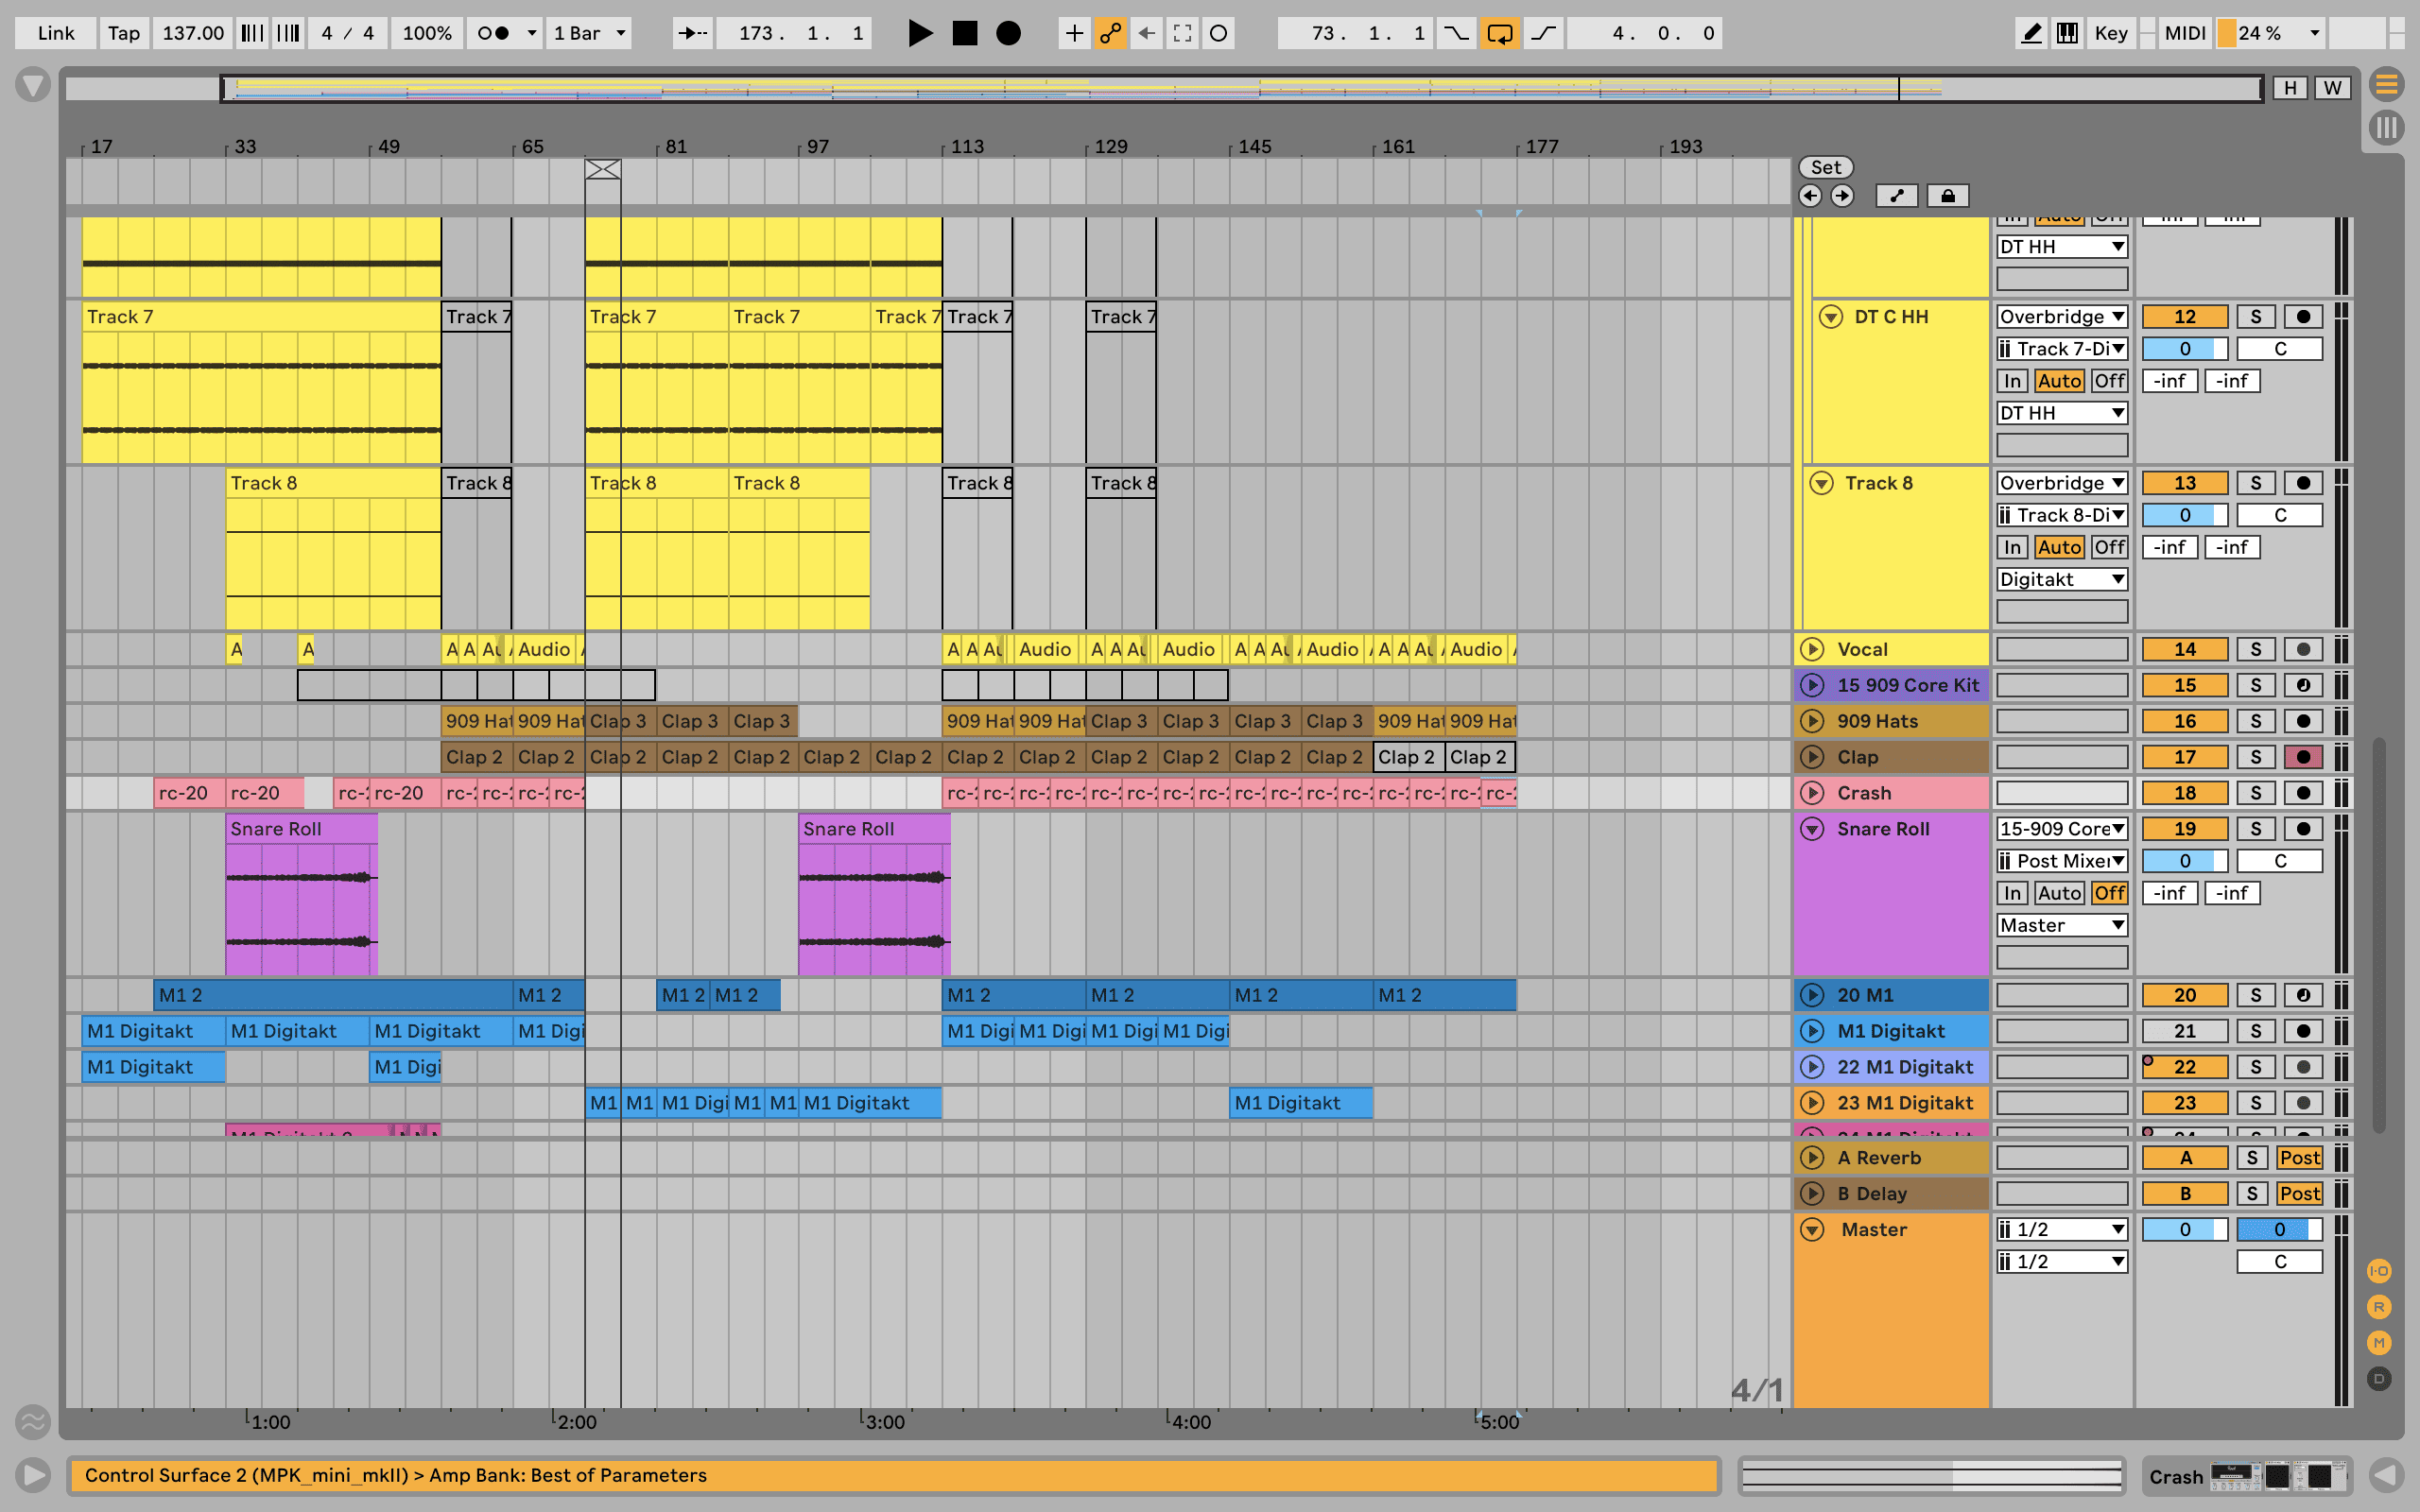
At present the kick is being masked by the bass as they both contain a lot of sub bass frequency information. Let’s use sidechain spectral compression to tackle this problem.
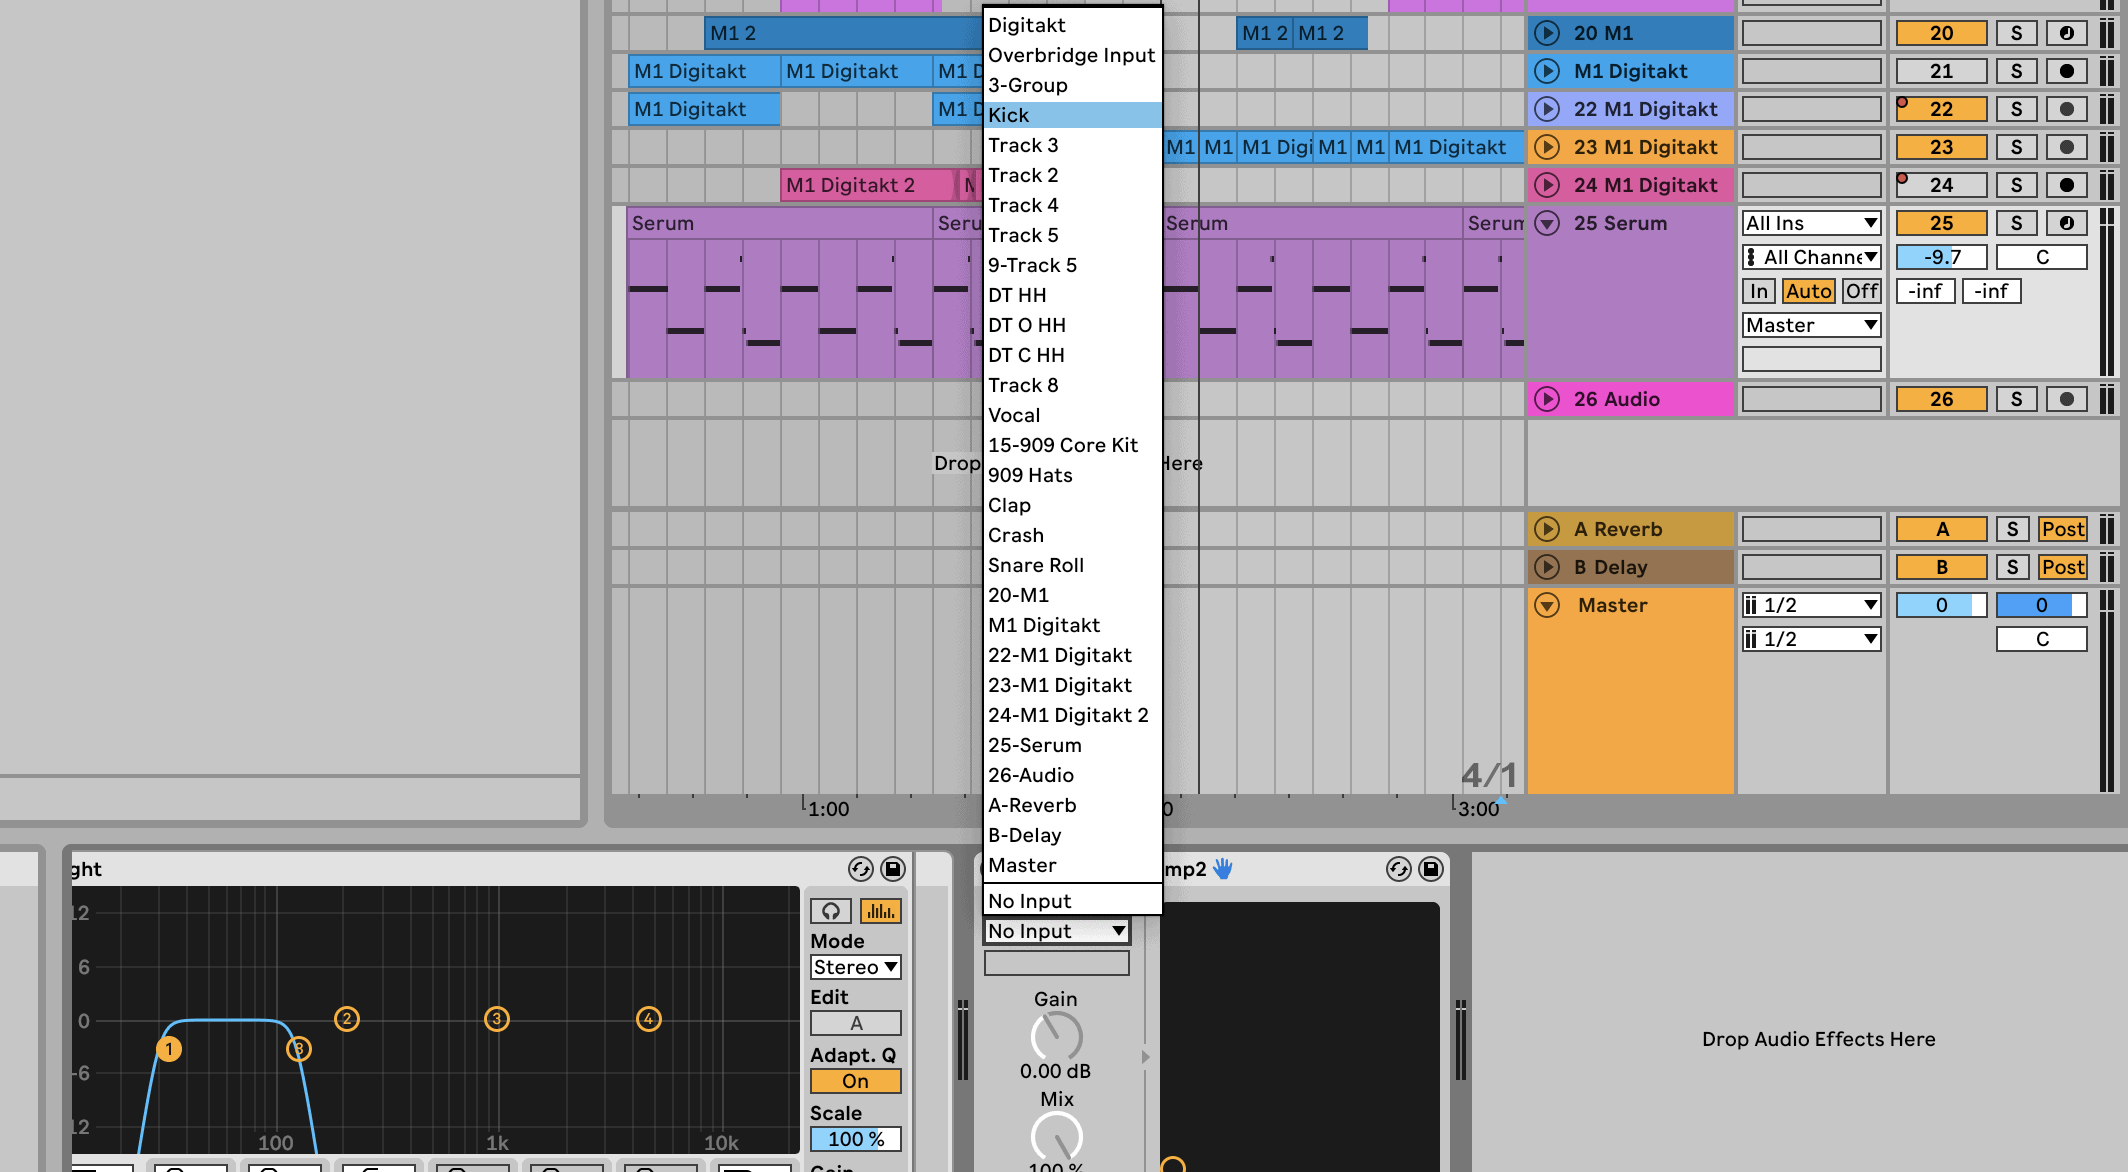
First load sonible smart:comp 2 on the bass channel.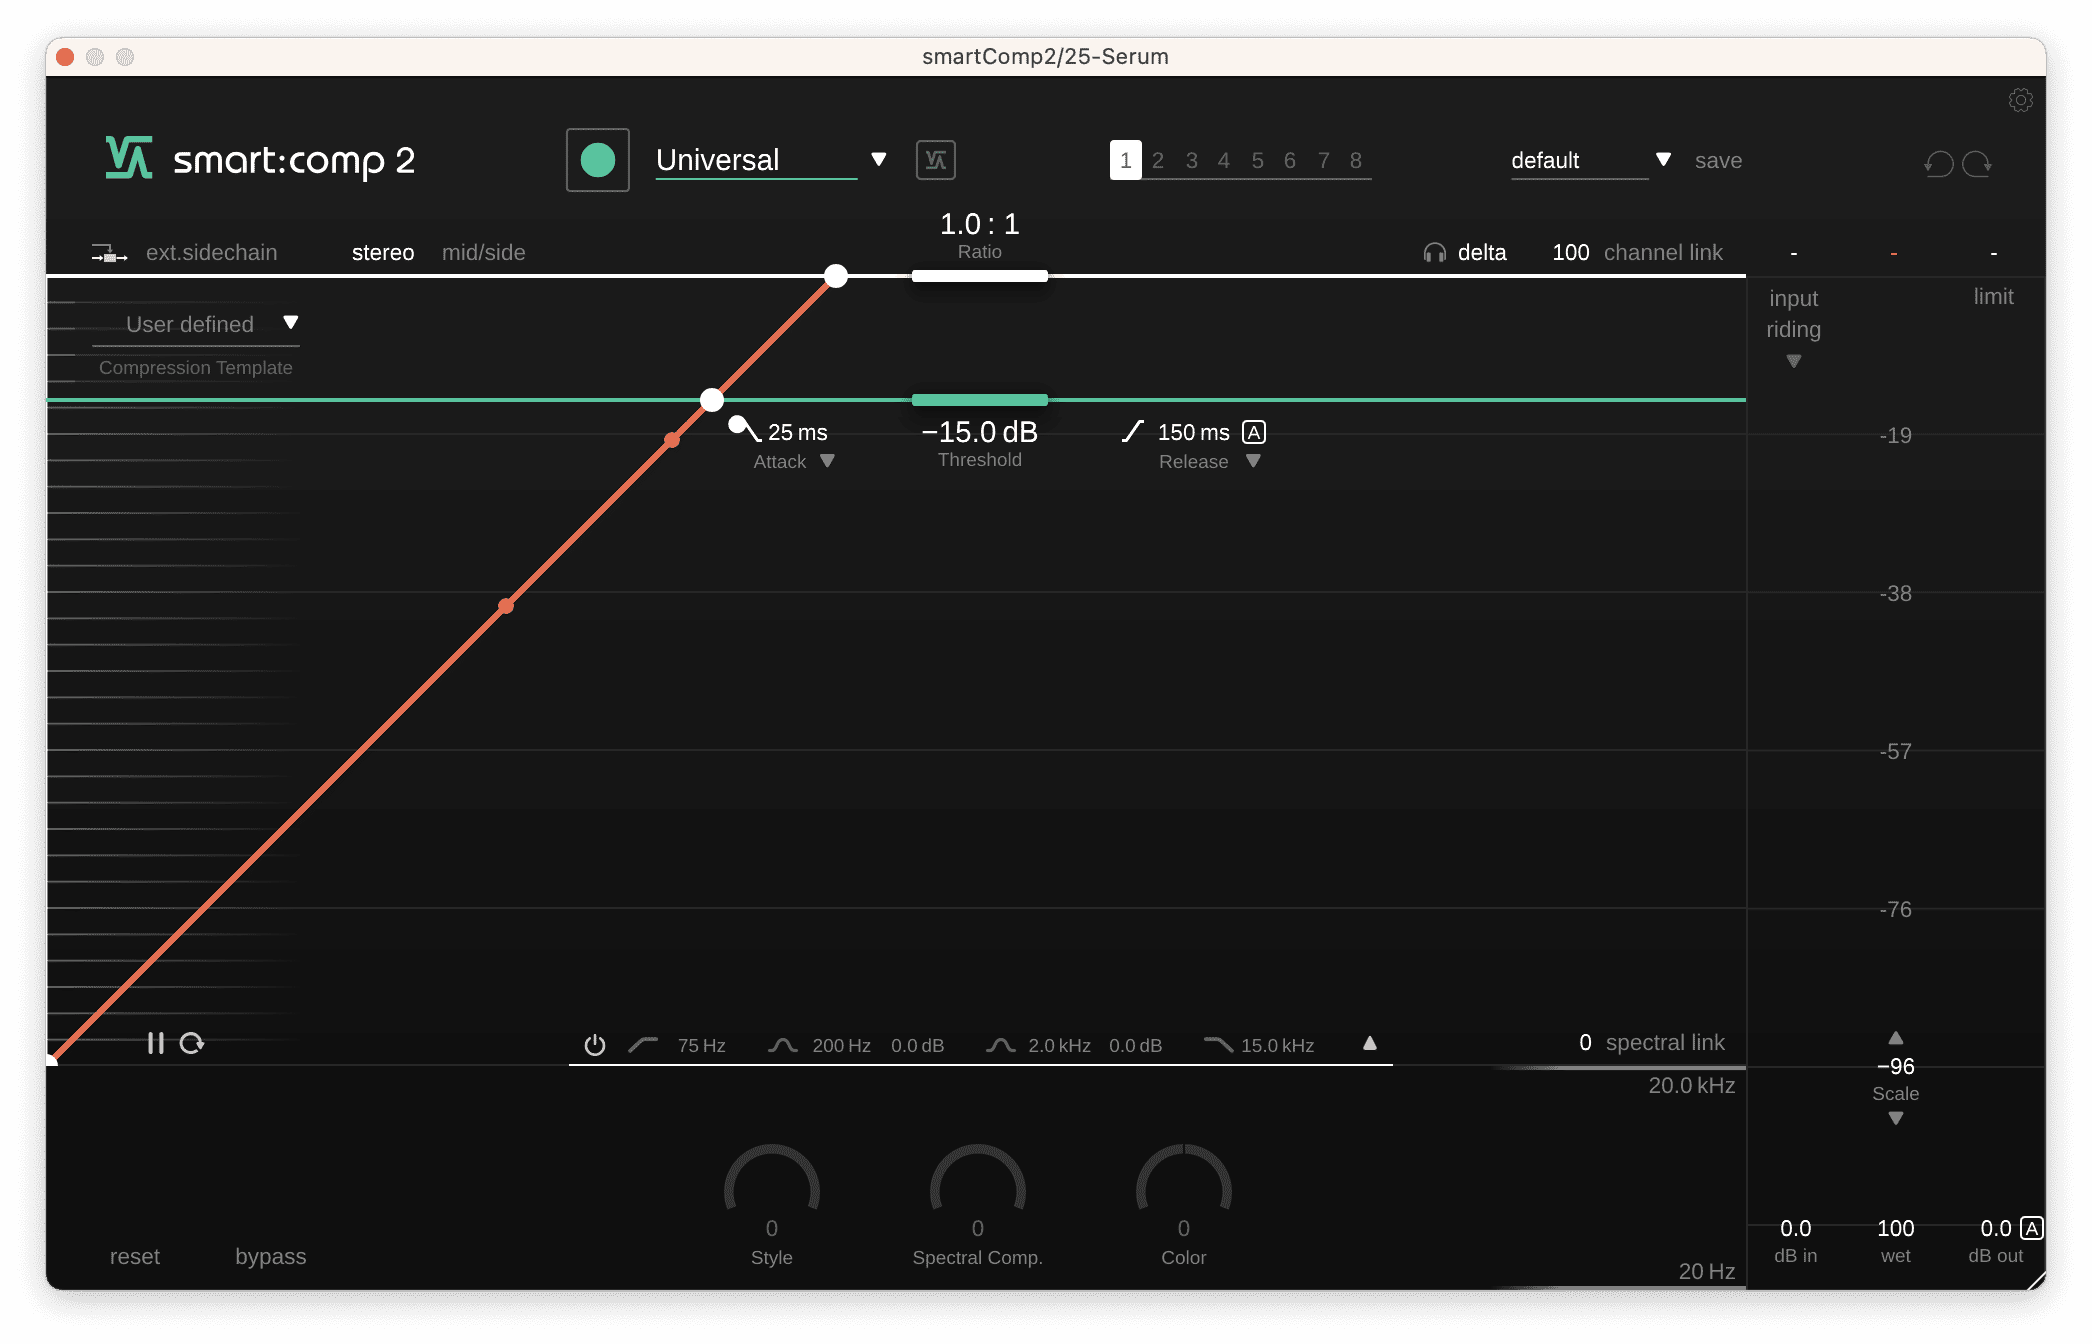 Next route the kick channel to be the sidechain input of smart:comp 2. In Ableton Live 11 this is done in the small plugin interface in the Device View. To learn how to do this in your DAW of choice, please refer to its documentation.
 With the kick routed to smart:comp 2 we now activate External Sidechain from within the smart:comp 2 UI. The button is located at the top left of the interface.
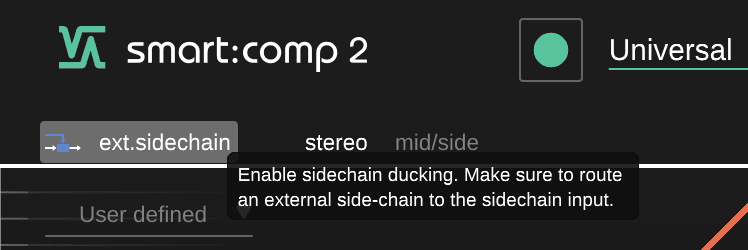 Now smart:comp 2 will be triggered not by the audio playing on the bass channel, but by the kick channel. We can see this visually represented in the plugin when we play the track back.
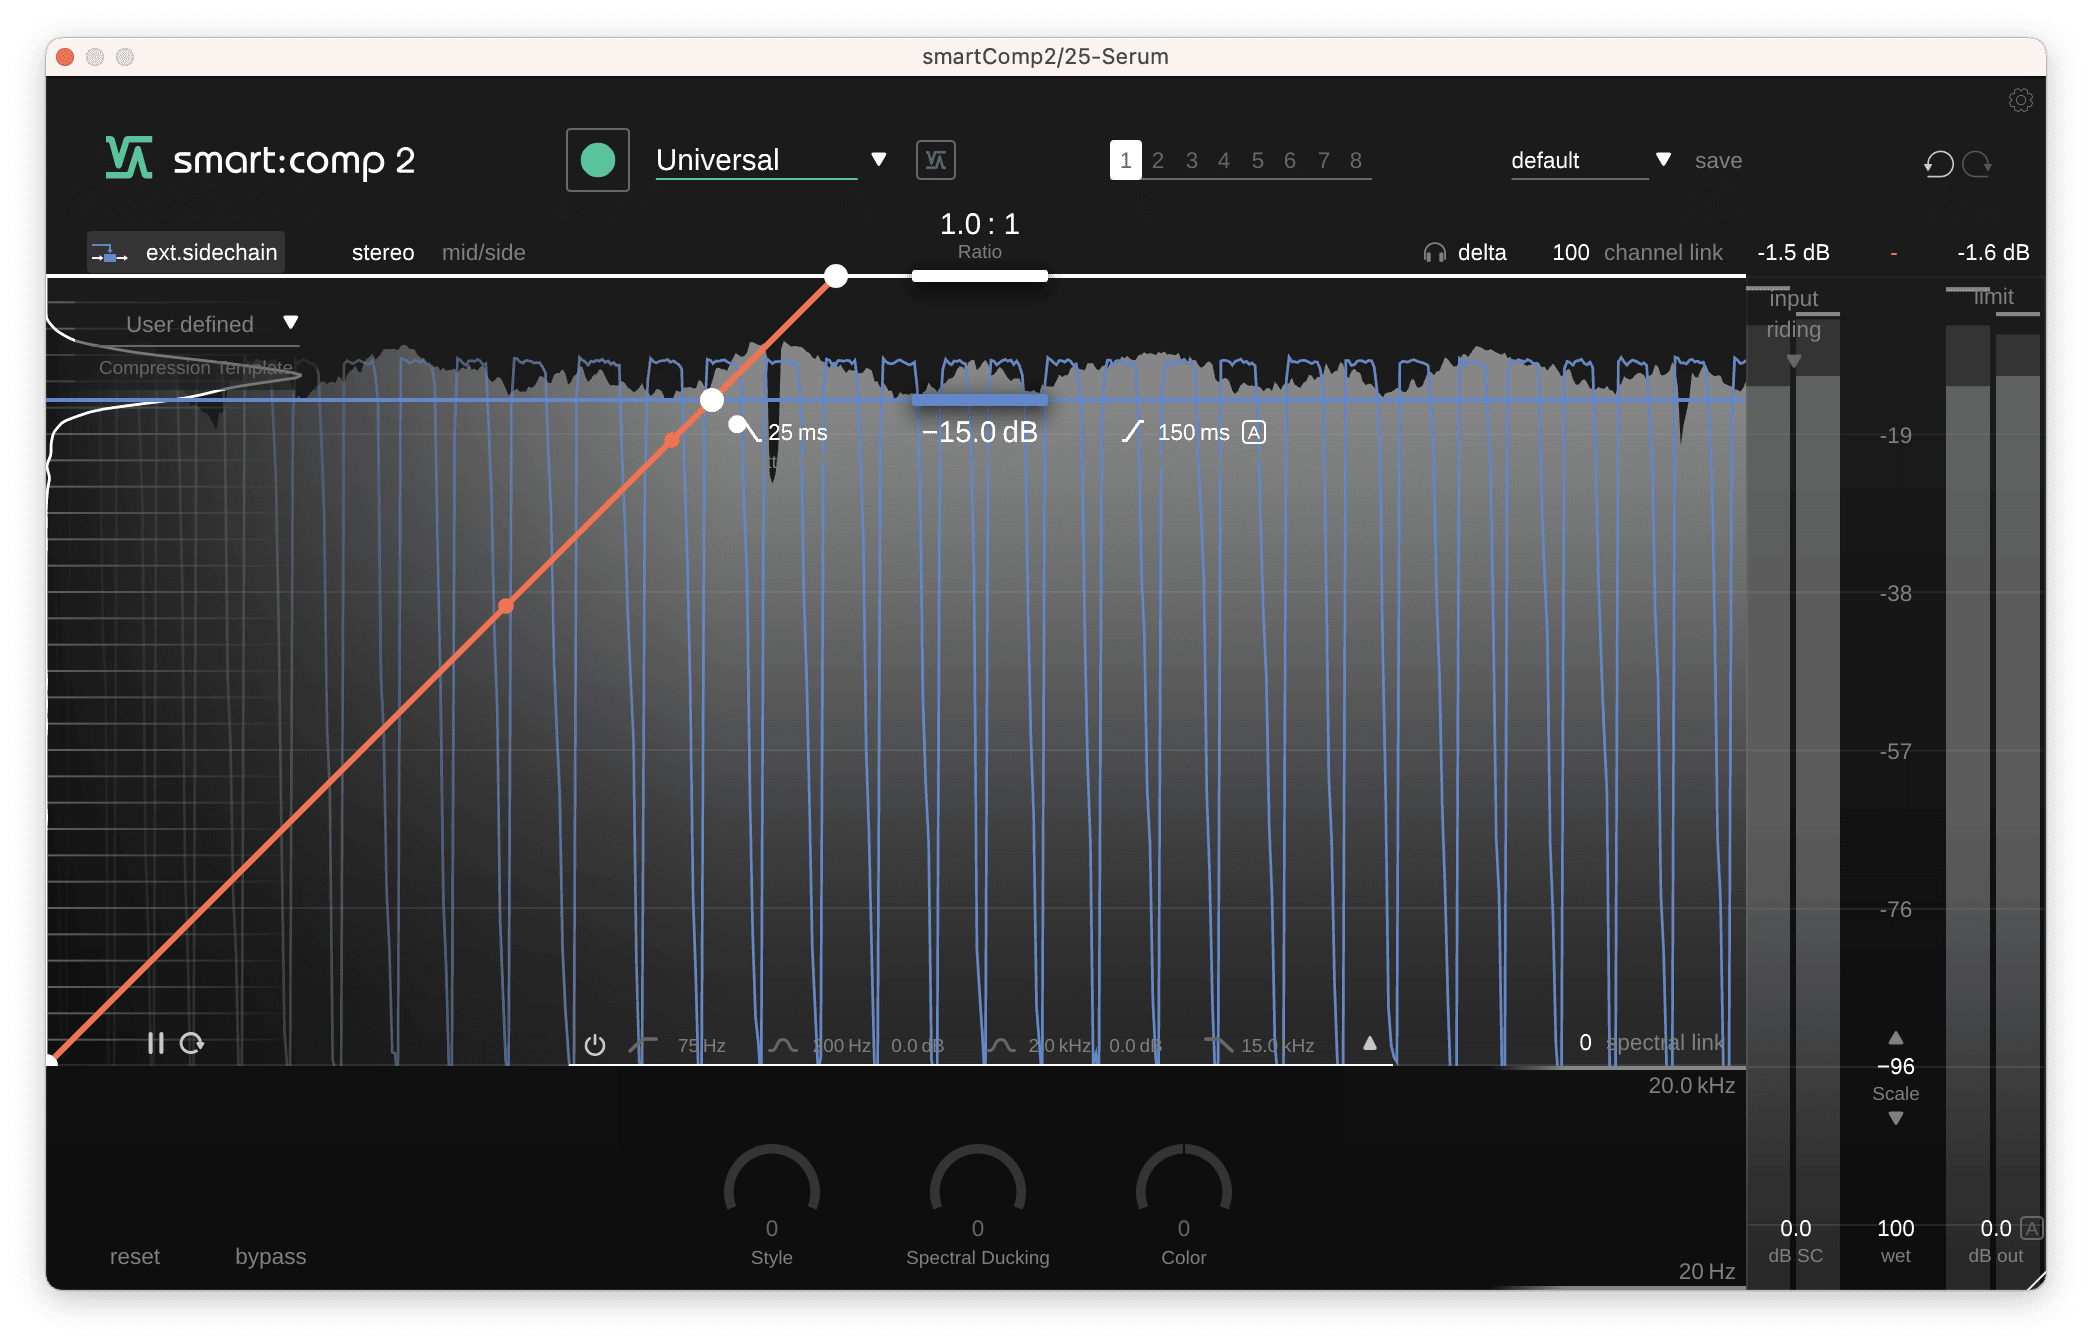 Time to dial in our compressor settings. We want a quick attack and release so that the bass only ducks when the kick is playing. In addition we want to make sure Spectral Ducking is turned up to the max. This will ensure that the bass channel is only compressed at the frequencies where it will clash with the kick drum, leaving all other frequencies uncompressed and retaining maximum power.
We’ll set the ratio to 10:1 – for maximum ducking – and use our ears to determine the best level for the threshold.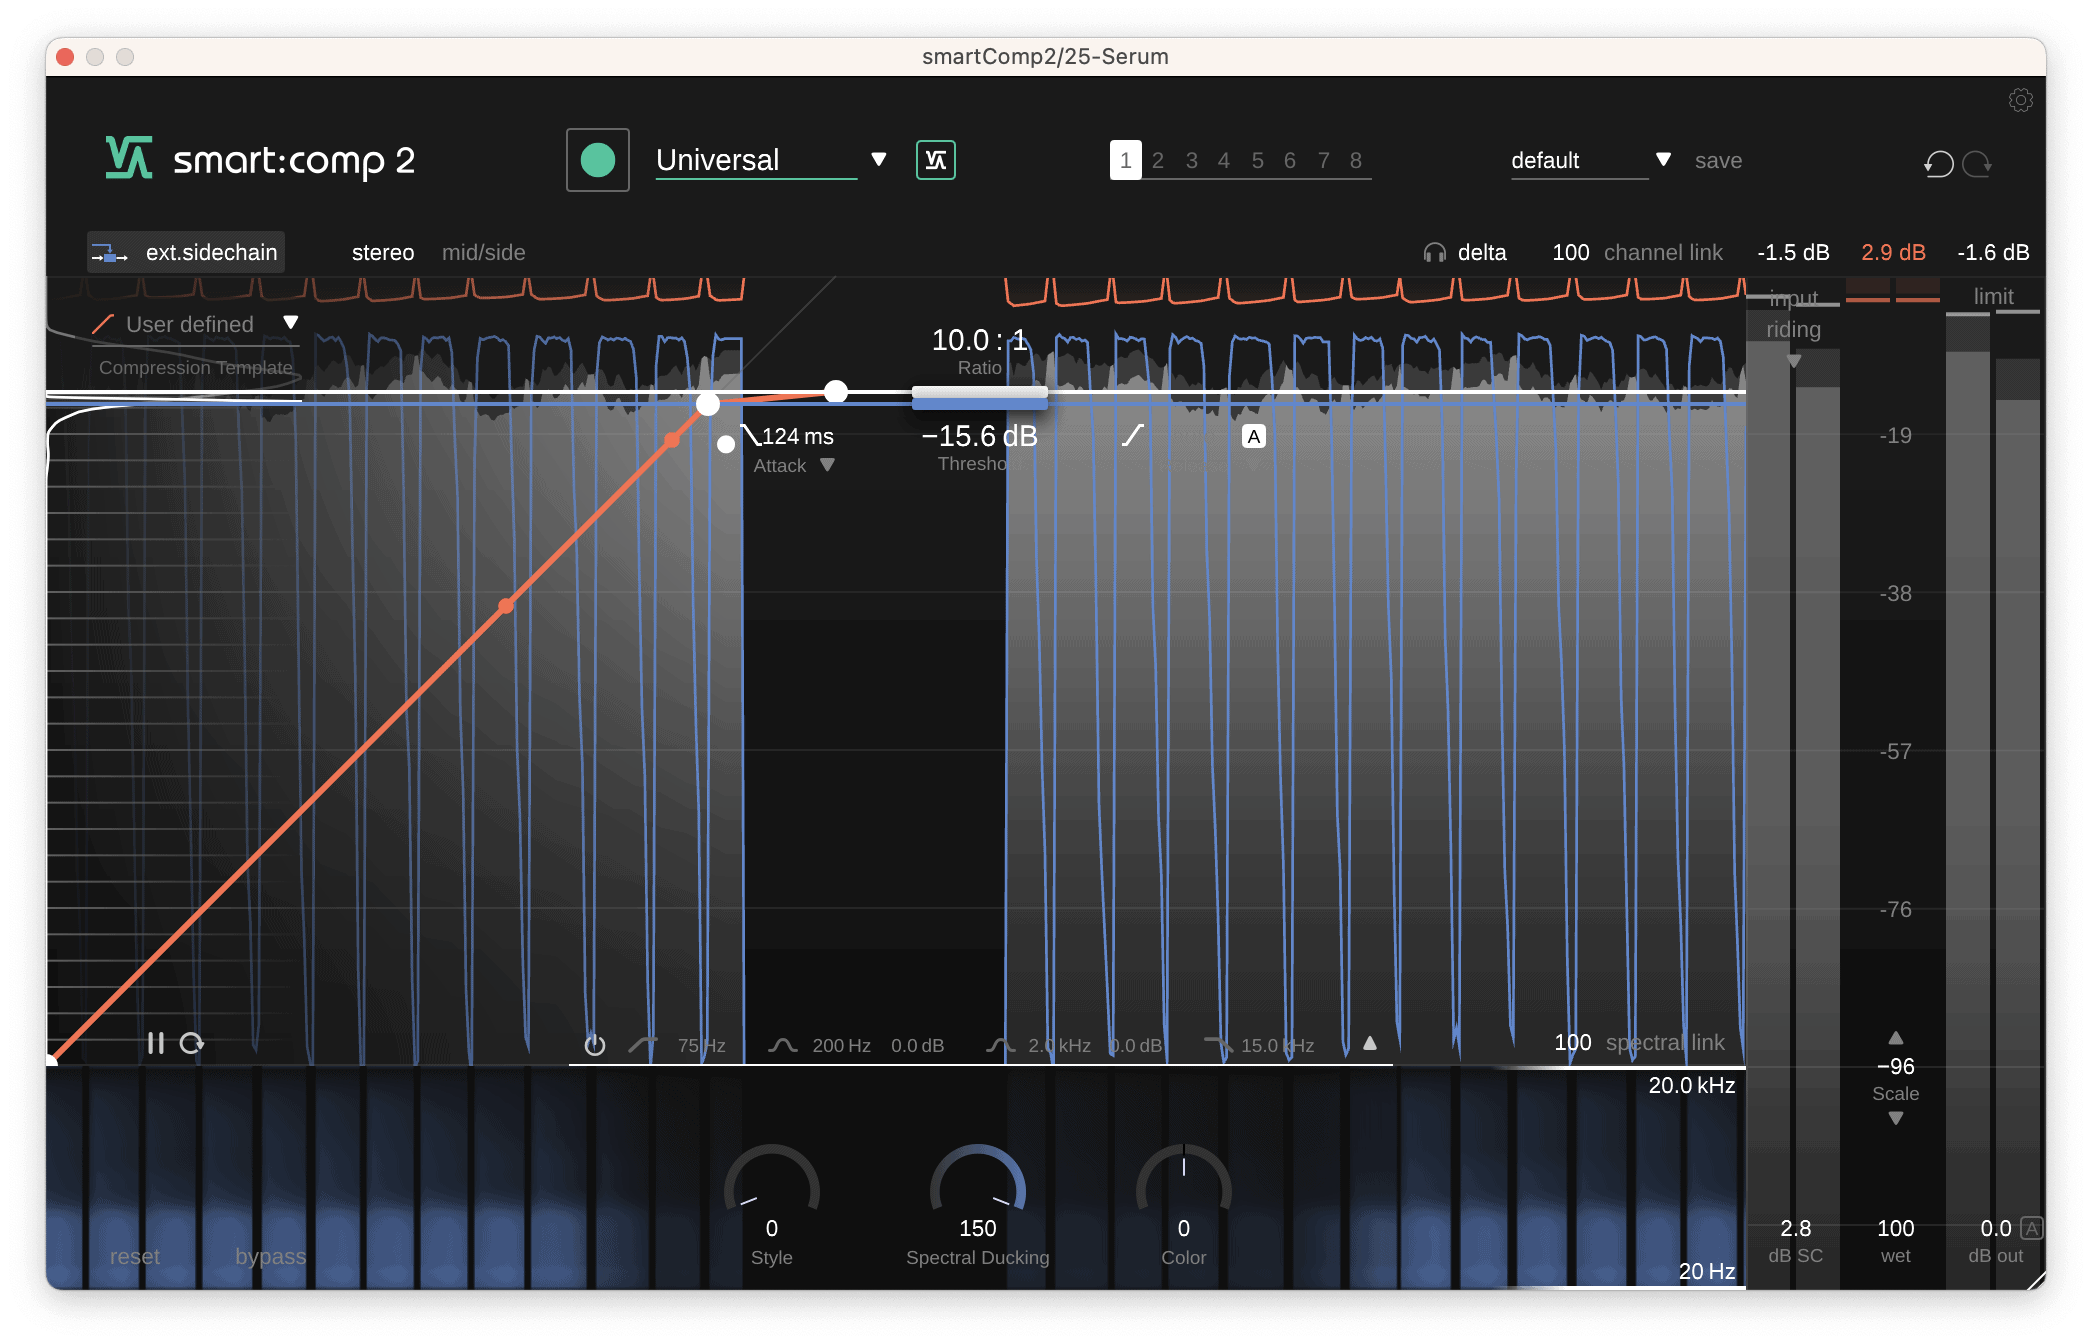 Now, when we listen back to the mix the kick drum is much more prominent in the low end but the bass still retains its power and clarity.
To learn more about using sidechain compression in tandem with spectral compression, be sure to check out the below YouTube tutorial on Spectral compression & ducking in smart:comp 2.
Finally let’s look at the power of spectral compression when combined with the Spectral Link feature in smart:comp 2.
Spectral Link is a feature which allows us to focus on a particular part of the frequency spectrum and apply spectral compression in only this area. An excellent example of when this can come in useful is de-essing. HINT: For a plug-in that exclusively focuses on the tricky task of de-essing and offers automatic sibilant detection, check out our plug-in smart:deess.
We will demonstrate smart:comp 2 as a de-essing tool on a voiceover recording.
There is quite a lot of sibilance occurring in this audio recording.
Sibilance is the phenomenon whereby ess and tee sounds sound harsh and loud in audio recordings. These sounds are particularly high energy and typically occur in the 5 kHz to 8 kHz frequency range.
In this particular audio example we can hear sibilance occurring in the words “simulates” and “space”.
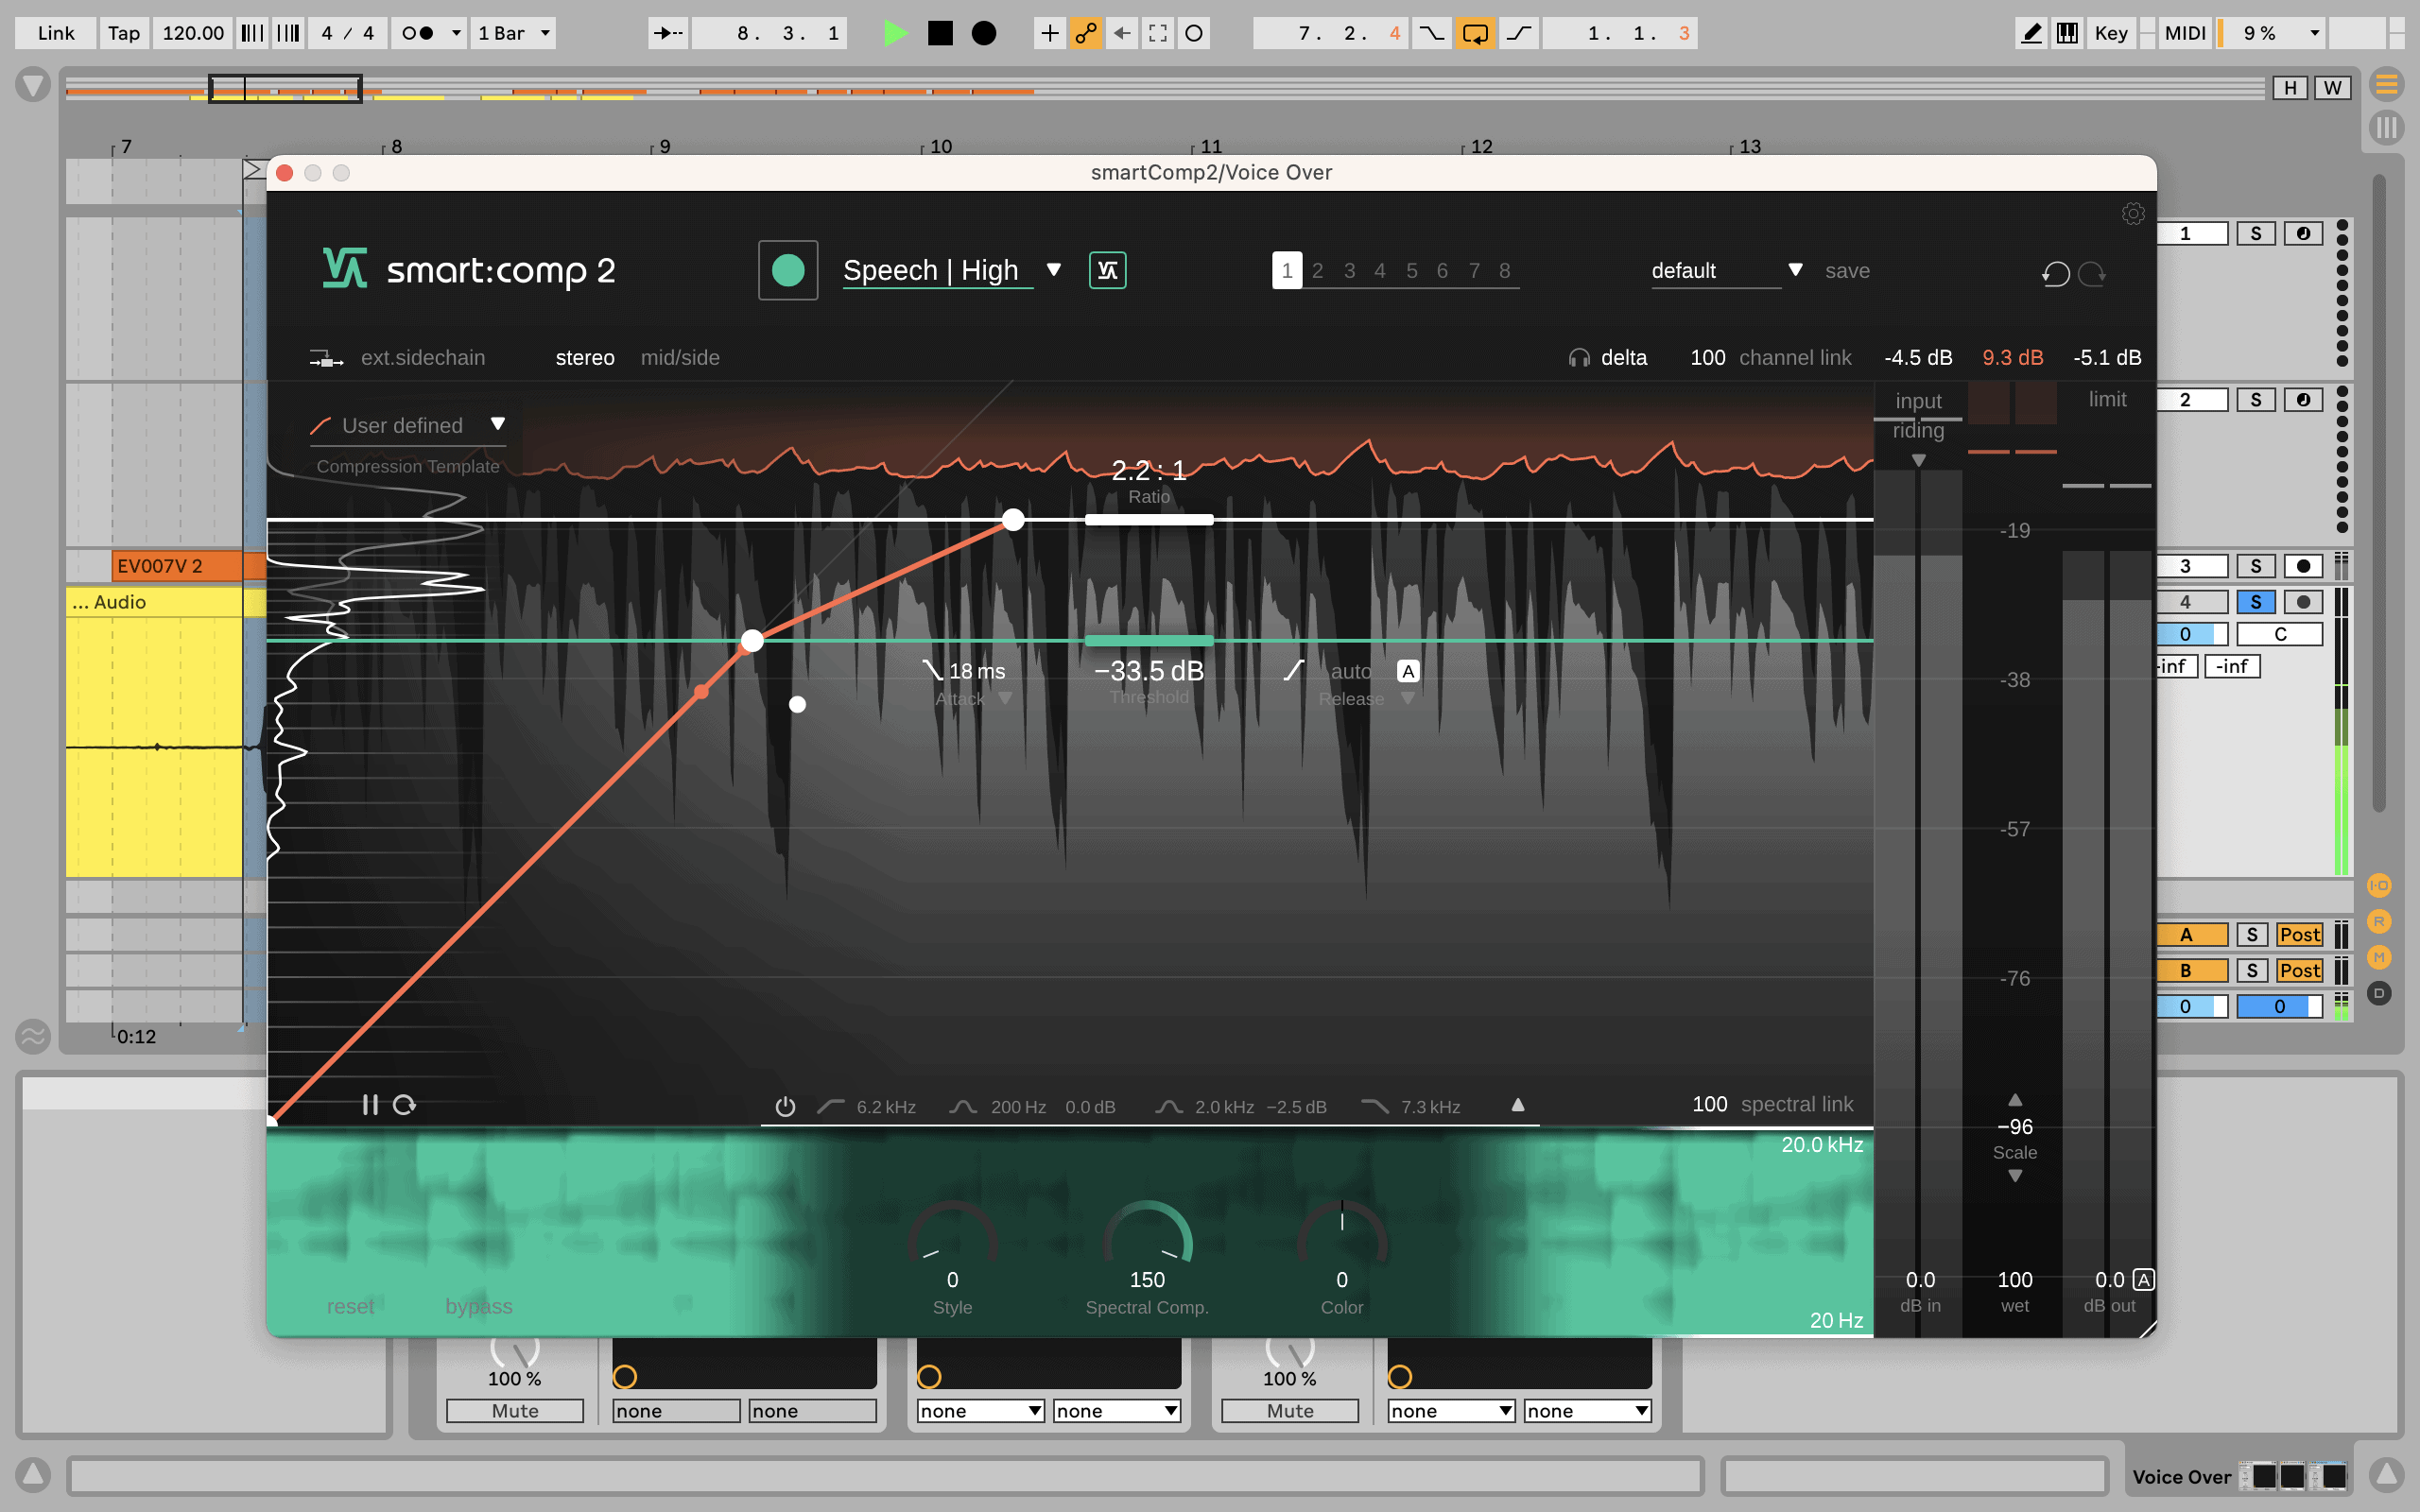
We’ll load smart:comp 2 on the channel, turn Spectral Link up to 100 and then set the Range to above 5kHz.
By setting Spectral Link to 100 we ensure no compression occurs outside of the set range. If Spectral Link is set 0 typical broadband compression is applied outside of the set range.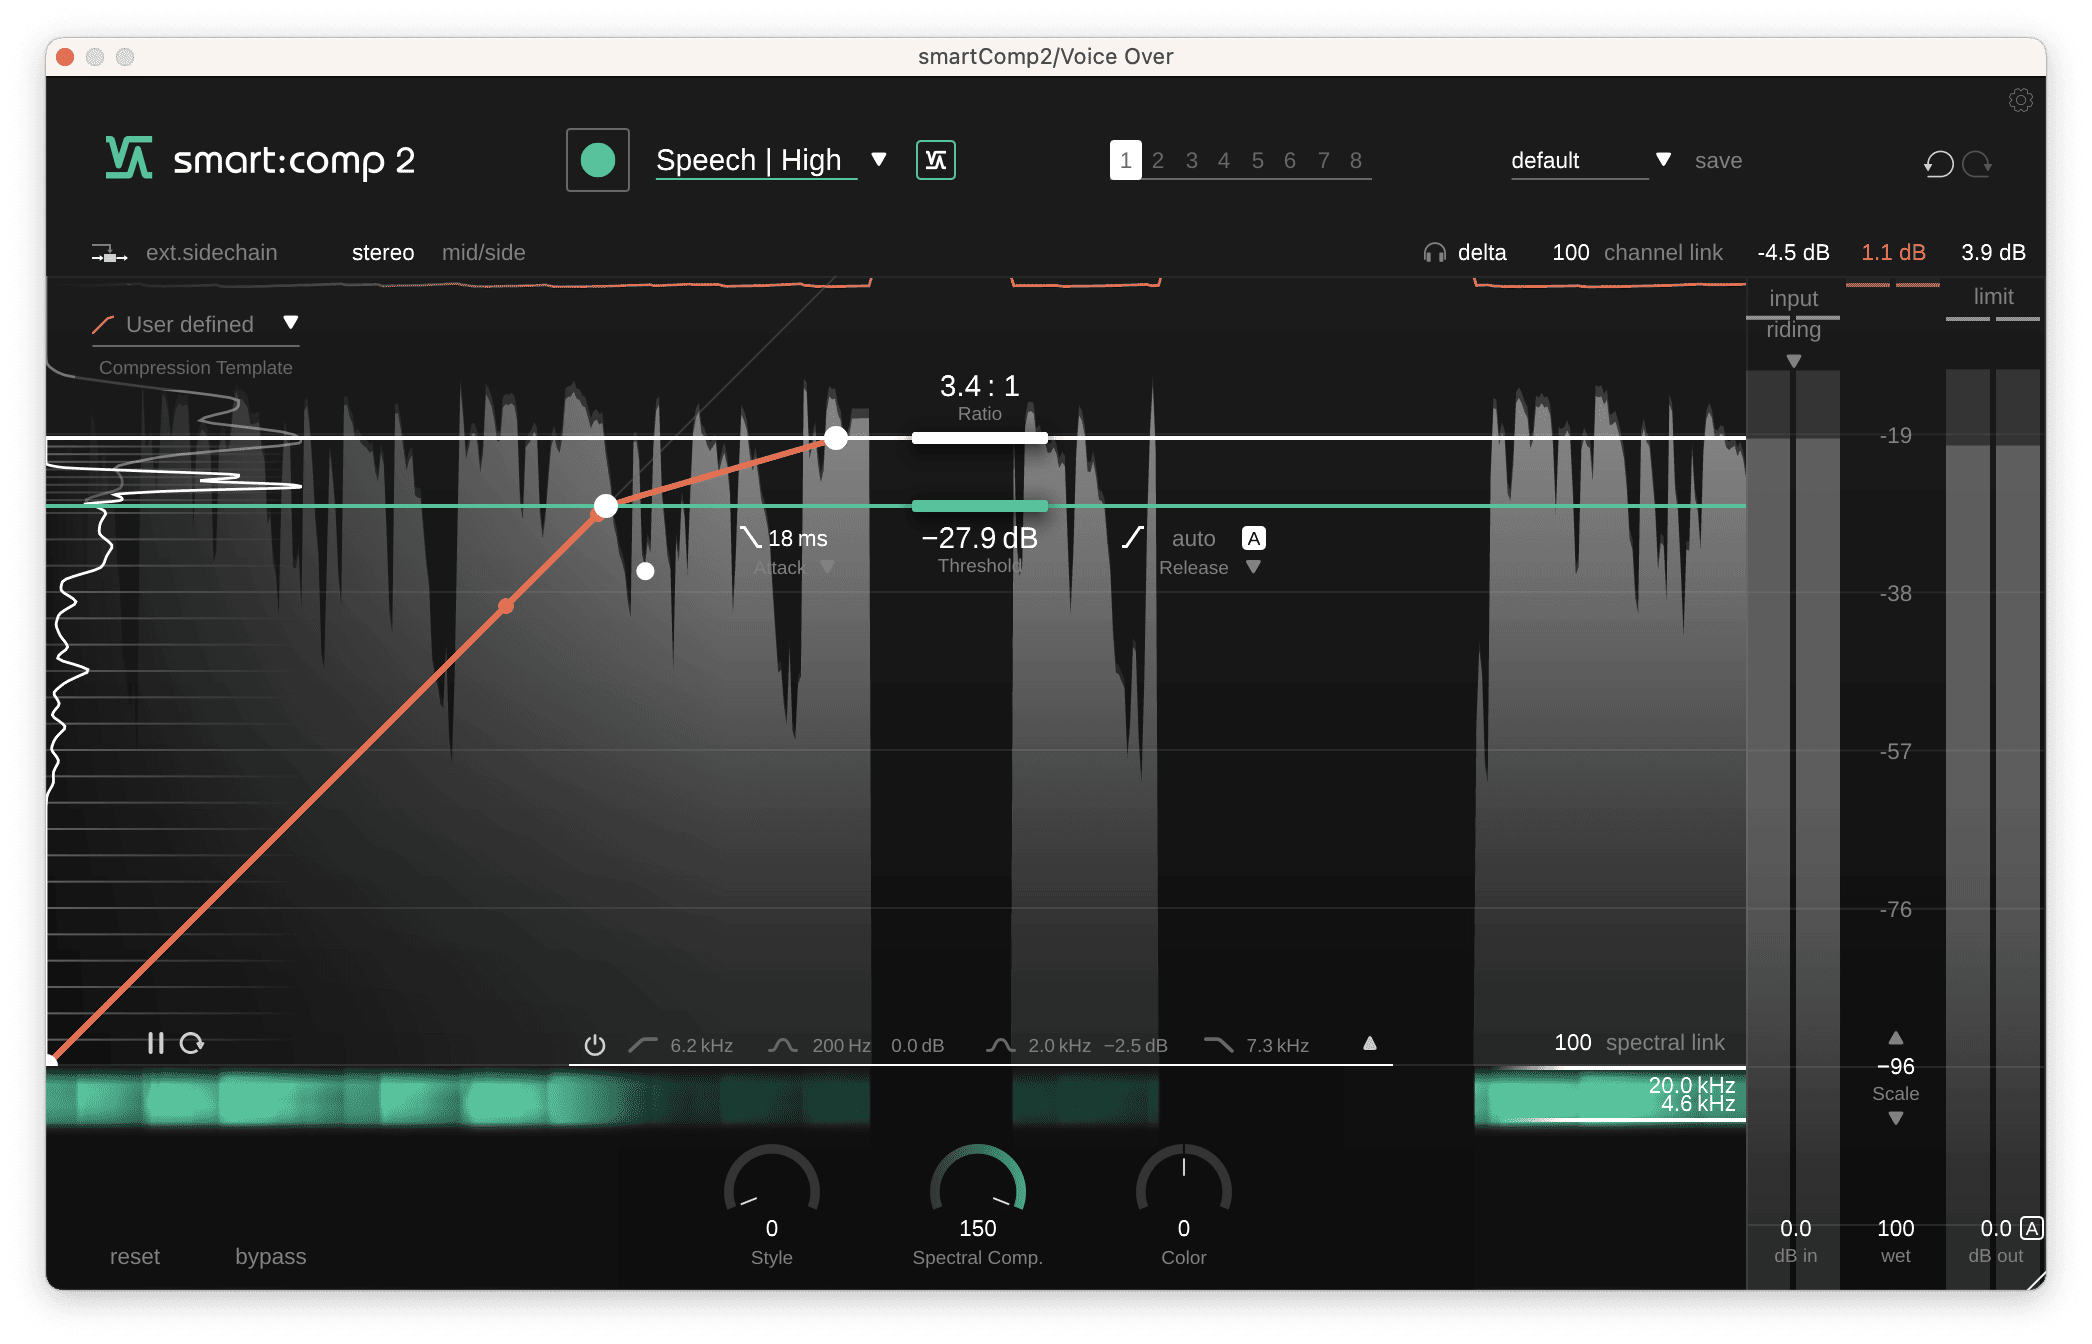 Now, with a Ratio of around 3.5:1, the Threshold set to duck only the sibilance, and Spectral Comp. set to 150, we retain the tonal balance of the voiceover but the sibilant frequencies are now much less prominent resulting in a much less harsh voice over.
For more tutorials and inspiration for using our range of plugins, check out articles like How we do Spectral Processing at sonible, The 9 rules of depth when mixing and The Problems With Audio Gating.
If you want to try smart:comp 2 and its spectral compression capabilities out for yourself, download the 30-day free trial now.