Level up your mixing arsenal with these five ways to combine two processors that are usually kept quite separate.
Bonnie and Clyde, Simon and Garfunkel, Salt and Pepper… all famous pairings that go hand and hand with one another. While you might not add ‘Reverb and Compression’ to that list, we’re here to tell you how these audio processing tools marry up better than you might think. Despite having entirely different controls and use cases, with the right know-how, these tools can be used to bring out the very best in each other.
In this article, we’ll take a look at some ways in which you can pair up reverb and compression effects to get some interesting results and solve some problems that arise from the use of each. While we’ve also provided some audio examples to demonstrate the techniques, some of the processing is subtle, so you may need headphones or studio monitors to hear it accurately.
When it comes to adding a sense of space to your mix, reverb is the obvious tool of choice. While it’s a quick way to place a musical element within a simulated space, the use of reverb can come at the cost of overall clarity. This is particularly problematic with longer reverbs, where the decay time continues into the next note, drum hit, or syllable, thus affecting its transparency and intelligibility.
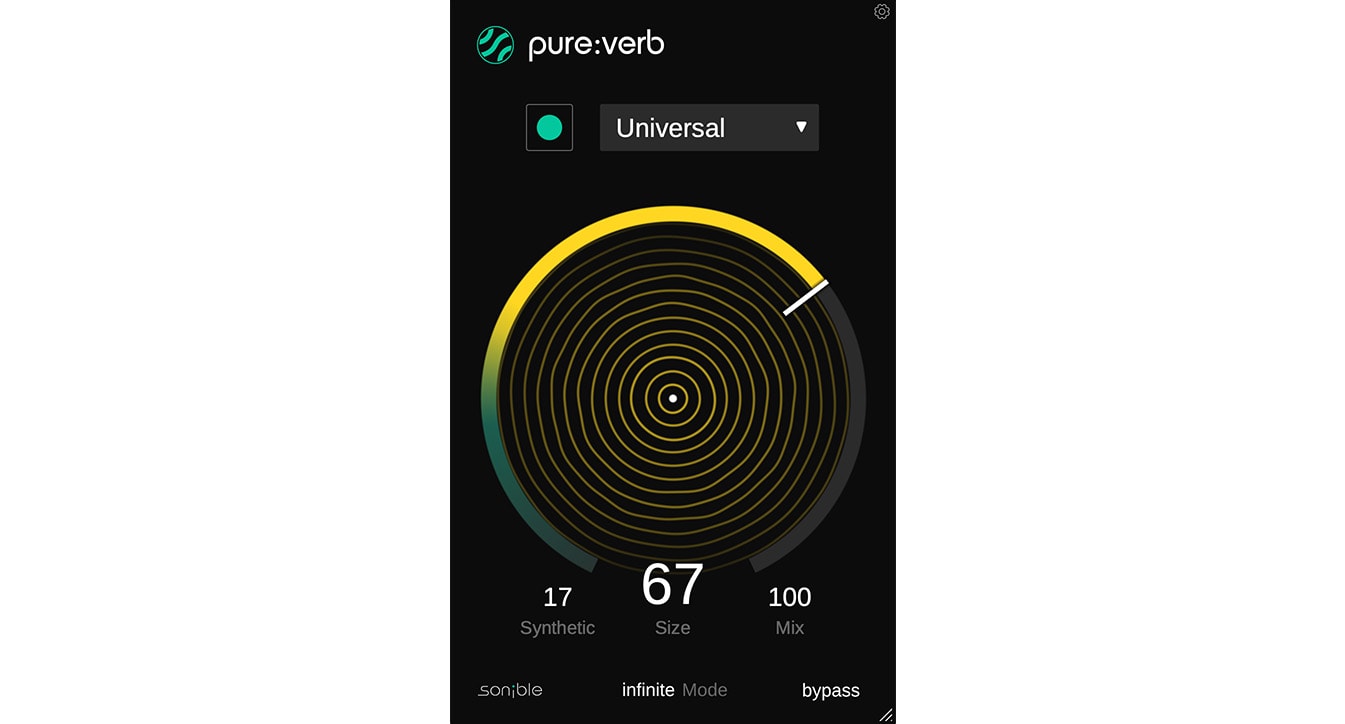
We’ve applied some reverb to a piano track using pure:verb on a return channel. As you can hear, the reverb tail from the earlier notes is swelling over the following notes, causing them to sound washed out and muddy.
We can remedy this issue to some extent using sidechain compression. Often, this means using a compressor on one channel, and feeding from an unrelated channel – a kick and a bass, or a pad and an arp… – but in this case, we’ll set the compressor’s sidechain input as the element that’s feeding the reverb in the first place.
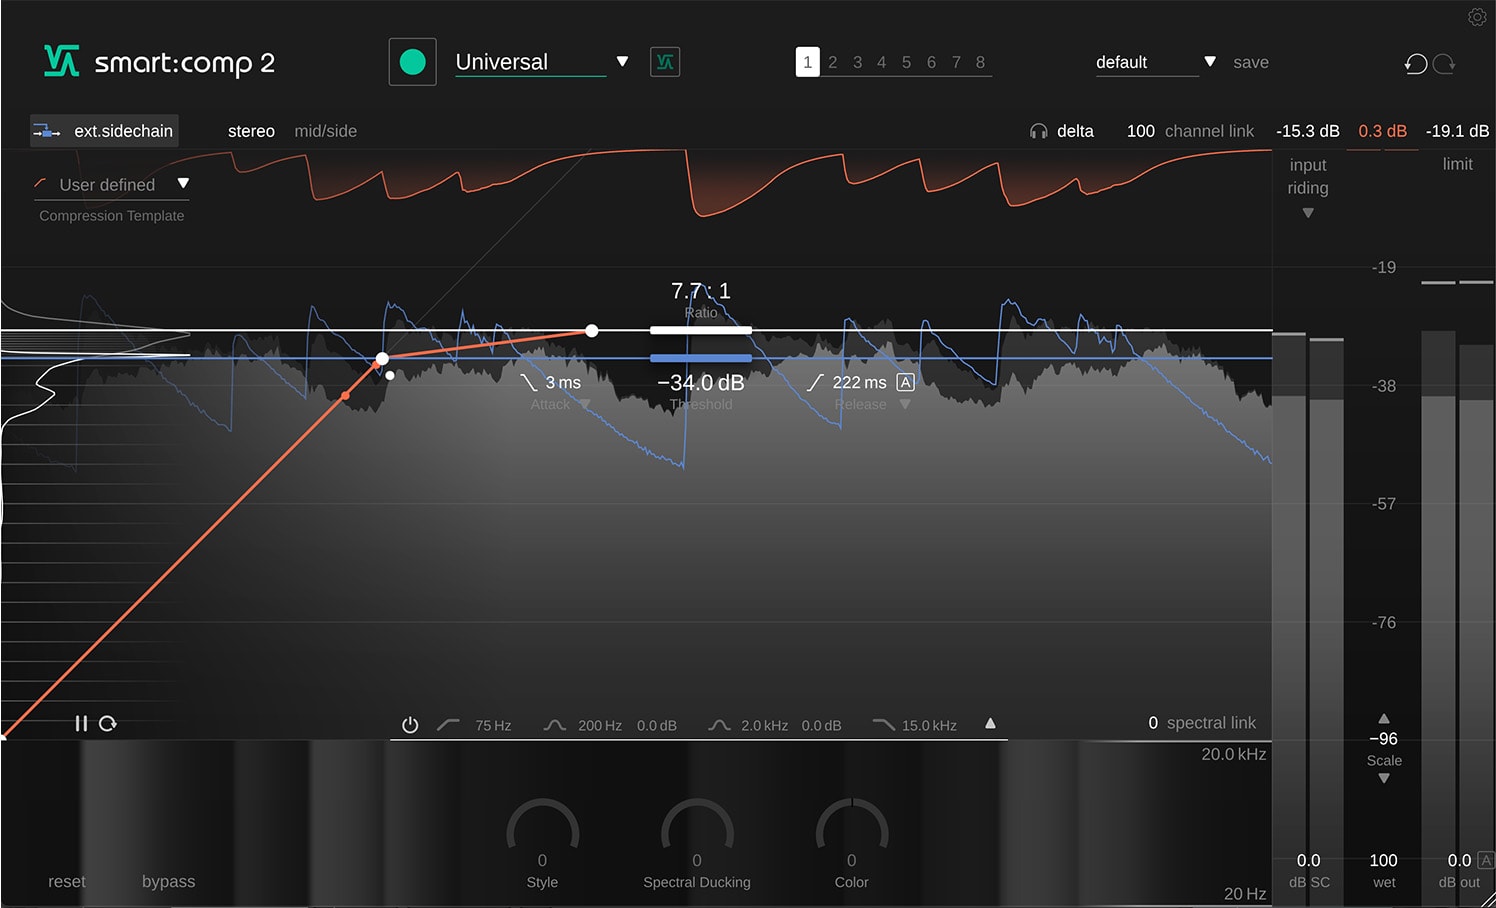
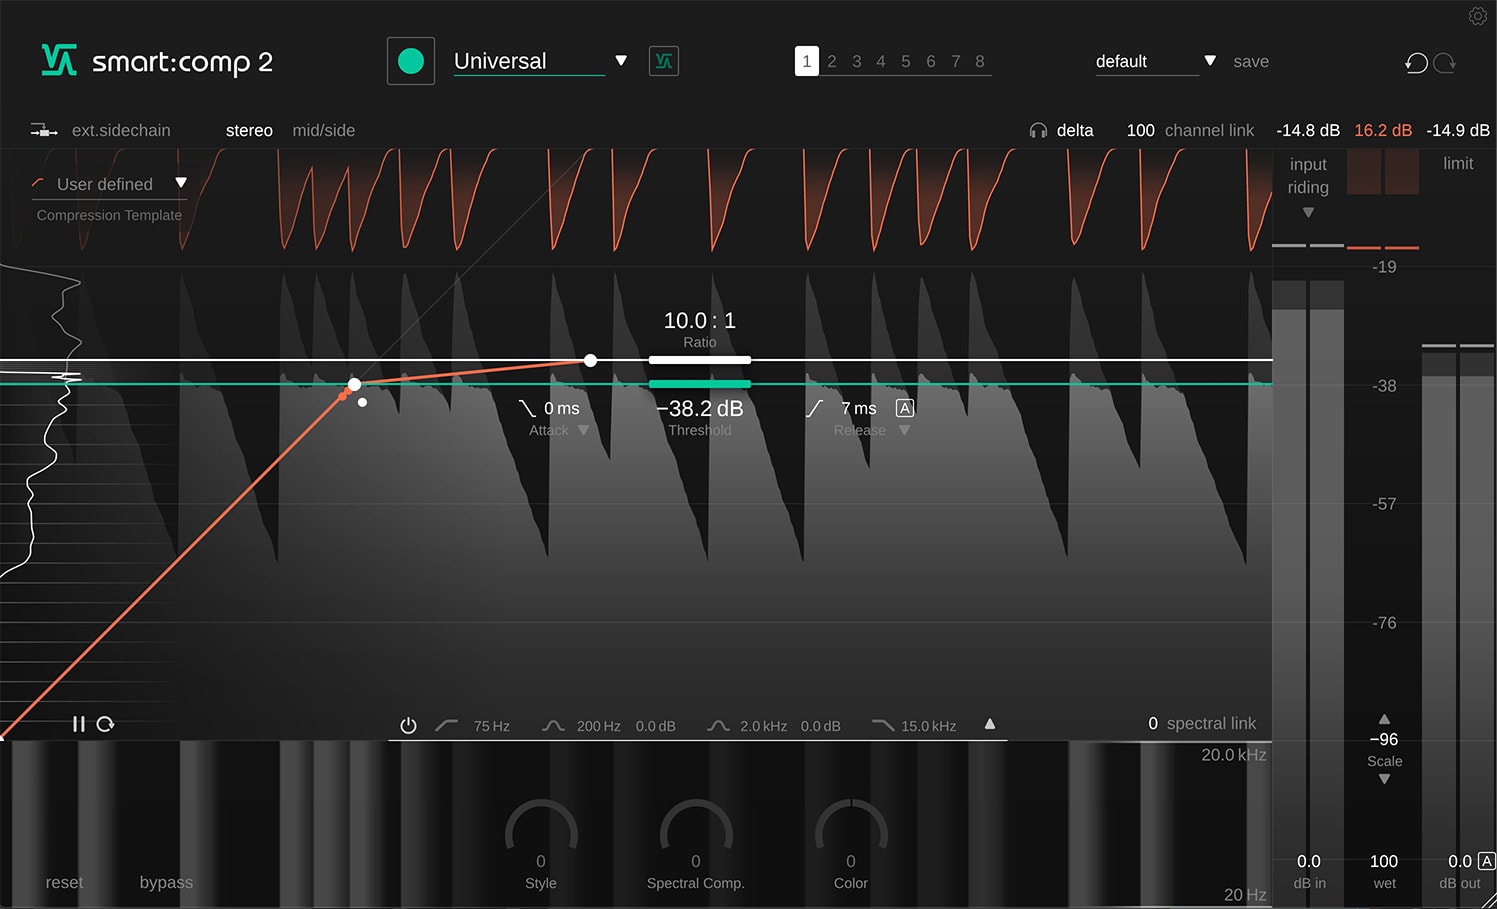
Below, we’ve placed a compressor after the reverb on the return channel, and set the dry piano as the sidechain input. In this case, we’re using smart:comp 2 with a fast attack time and a medium to high ratio. The threshold has been set so that only the initial transient of the piano hammer is triggering the compressor, and the release time is set so that the reverb sound is gradually reintroduced to the signal.
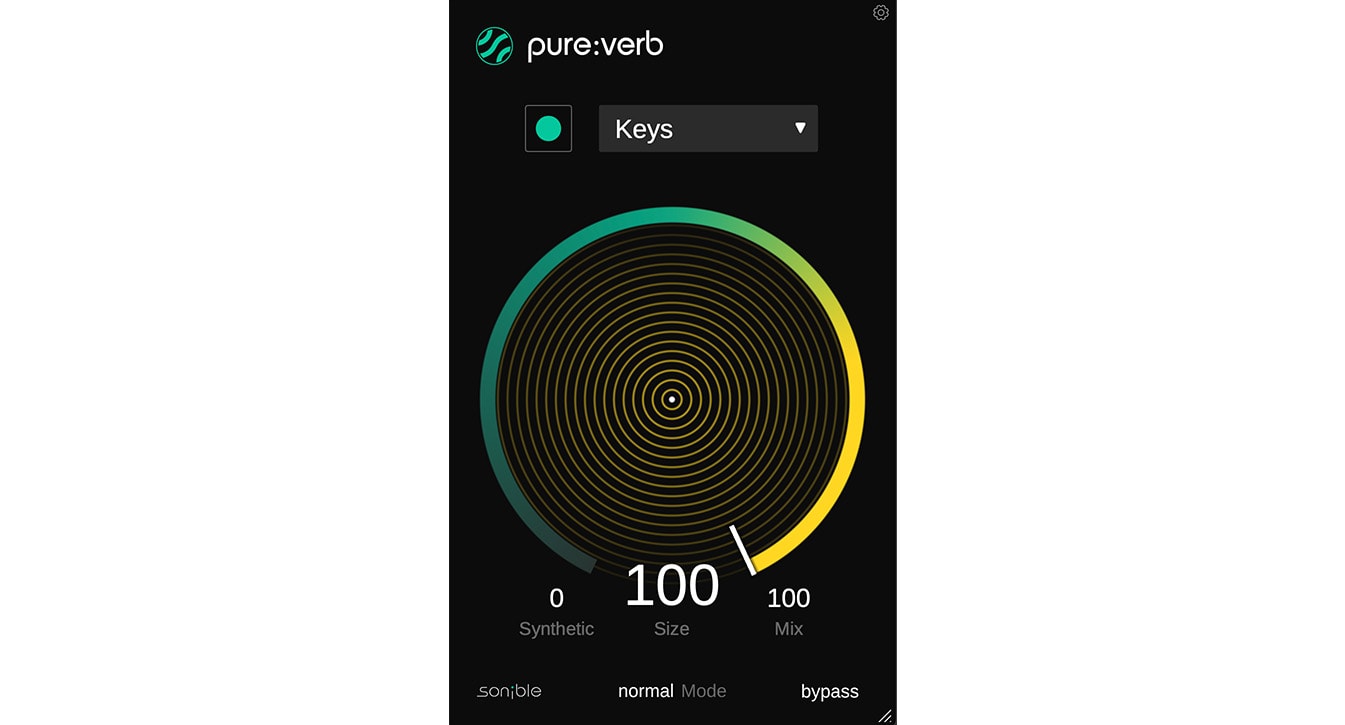
We can take this technique one step further by making a pad sound out of a reverb signal, and sidechain compressing the pad from a rhythmic source such as drums or an arpeggio. This is made simple by pure:verb’s Infinite Mode, which creates an indefinite reverb sound rather than tailing off like the decay of Normal Mode. With just a few synthesized notes, pure:verb’s Infinite Mode creates a sustained ambient tone that we can resample into a new audio track.
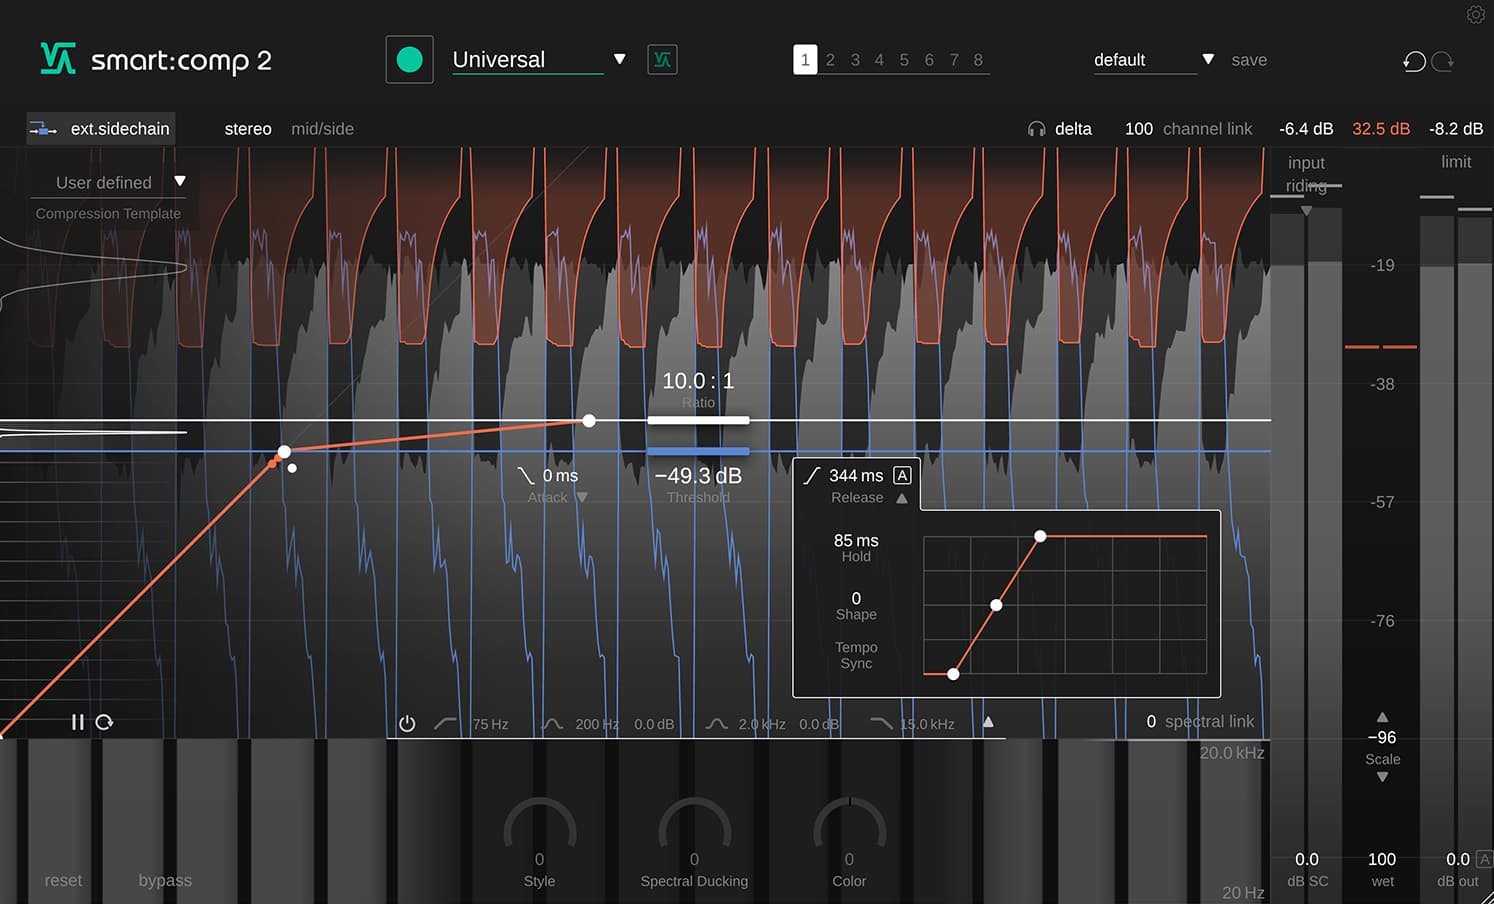
We can now use smart:comp 2 to sidechain-compress this pad for a rhythmic swelling effect. The Hold parameter within smart:comp 2’s Attack and Release controls makes this compressor an ideal tool for the job, as it grants us more control of the pad’s final volume contour.
As demonstrated in the last tip, applying reverb via a dedicated send has a number of advantages, one of which is the ability to apply further processing to the reverb. You might want to apply processing post-reverb, for example EQ or stereo enhancement. But what about processing your signal before the reverb?
One such reason for doing so is to control the amount of transient information that is going into the reverb. Tonal elements can really come to life with the addition of some space, but for particularly plucky tonal sounds with a lot of transient information such as bells, toms or even piano, the reverb signal can be littered with resounding high-frequency transients instead.
Here we have a dry FM bell sound with a lot of transient information.
When we send the bell to a reverb return, we can hear the transient information causing the reverb to sound noisy and unpleasant. In this case, we’re using pure:verb with the Size turned all the way up to create a large, spacey reverb effect.
 By placing a compressor on the return channel before the reverb, we can attenuate the initial transient portion of the bell sound, resulting in a much cleaner and smoother reverb effect. Here, we’re using smart:comp with a high ratio, and fast attack and release times in order to control only the transient of the original sound.
 By soloing the return channel and switching on smart:comp 2’s Delta functionality, we can hear what the compressor is removing from the dry signal, which in this case is mostly the unwanted noise caused by the bell’s transient.
Whether you’re using reverb on a return channel or directly on an individual track, there are occasions where you’ll want the reverb to sound as natural as possible. When you have a highly dynamic track, the louder notes or drum hits’ reverb tails can become more prominent than the quieter ones, resulting in a sometimes lumpy and unpleasant effect. A compressor is of course a great way to tackle the problem of extreme dynamics, but placing a compressor after the reverb is likely to sound unnatural as it will alter the level of the reverb, as well as the dry signal.
Listen to how applying a reverb to this marimba pluck, followed by compression, results in a strange swelling sound. This is caused by the loudest part of the signal, the marimba, triggering compression on the entire signal, including the reverb.
By switching the two processes and placing the compressor first, the reverb is then able to ring out between plucks without being clamped down on by the compressor.
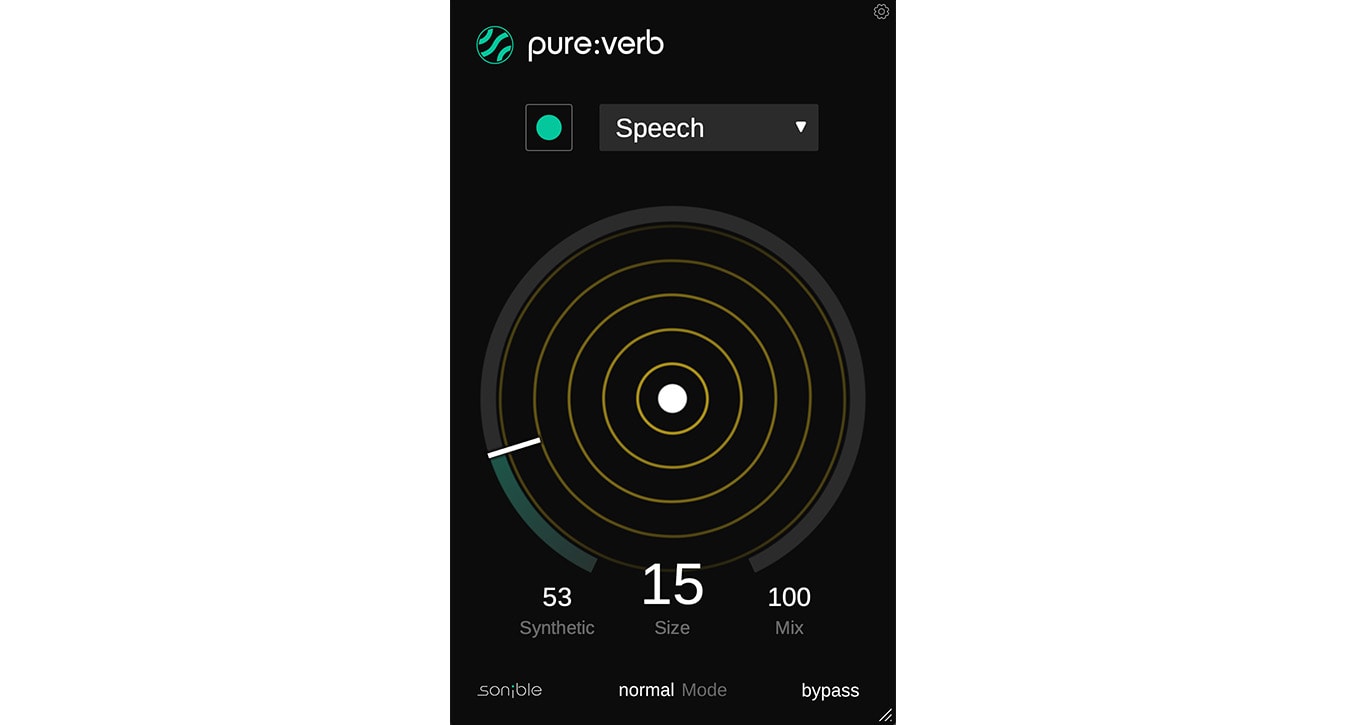
In this example, we’ve used pure:comp and pure:verb, as they offer a few features that allow us to create a more natural overall effect. The Clean Style in pure:comp lends itself to a transparent style of compression. Reducing the Clarity slightly attenuates the higher frequencies making the signal sound further away – perfect for creating a natural sounding space for the dry sound.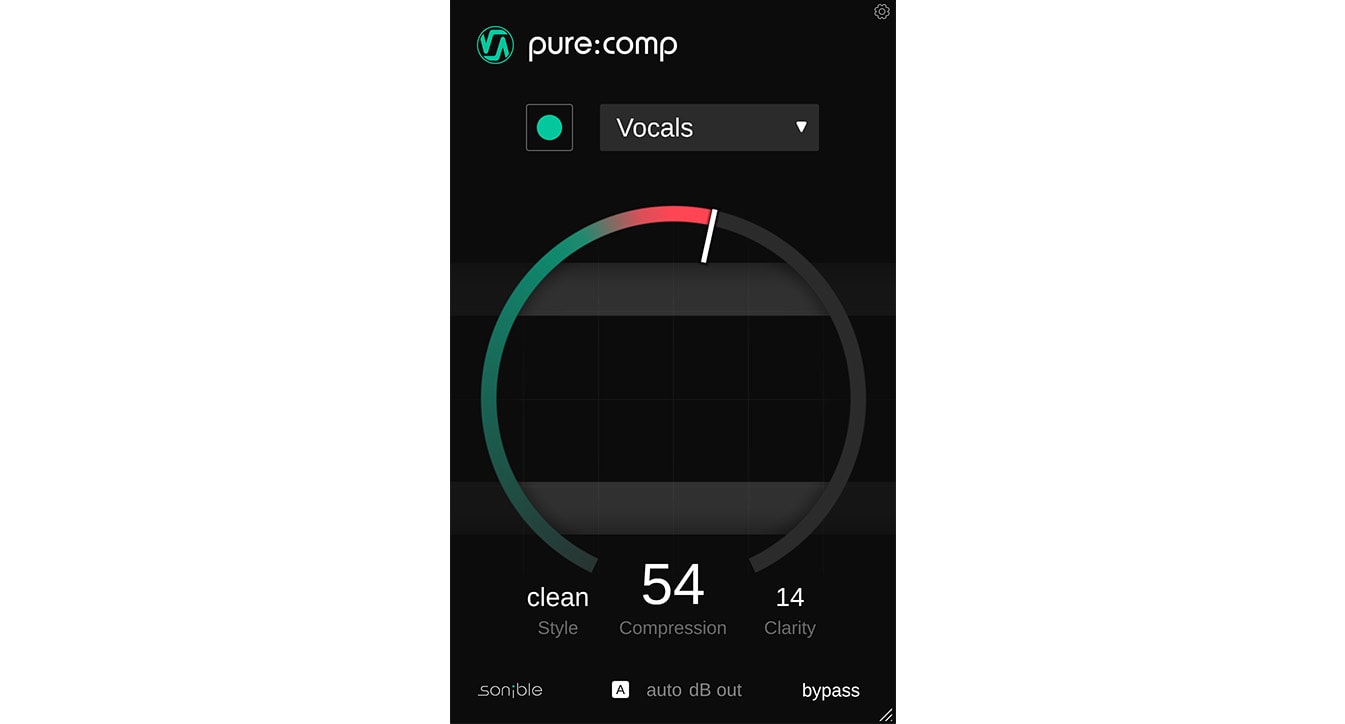 In pure:verb, we can control how natural or synthetic the resulting reverb is by adjusting the Synthetic parameter. With the Synthetic value set to zero, pure:verb sounds more as if a sound has been recorded in a real environment, while a value of 100 sounds more artificial and algorithmic. For this reason, we’ve opted for a Synthetic value of zero in this example.
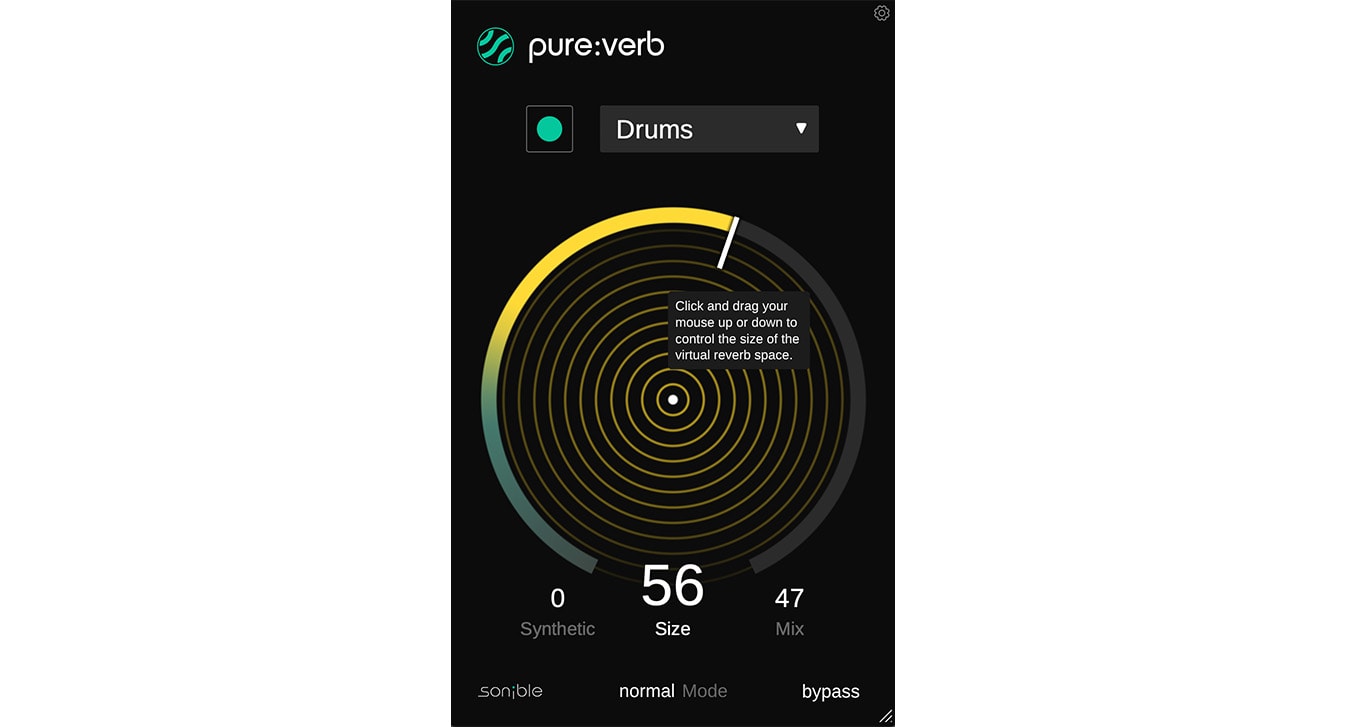
This final technique seems daunting, but really just adds an additional step to some of the others in this list. It also contradicts the previous technique, but is great for when a really natural sounding reverb isn’t the priority. Sometimes we want to give our reverb a bit more presence and punch, without it totally overpowering our dry signal. Here’s how to achieve that using pure:comp and pure:verb.
The first step is to place our reverb on a return channel. We’ll use pure:verb for this, and send our drums to the reverb return. We can then adjust pure:verb’s setting to taste, and that includes experimenting with different Profiles until we achieve the desired sound. As with many facets of music production, there are no concrete rules, so we can try different Profiles on various source sounds. In this case, pure:verb’s Speech profile achieves the sound we’ve envisioned for our drums.
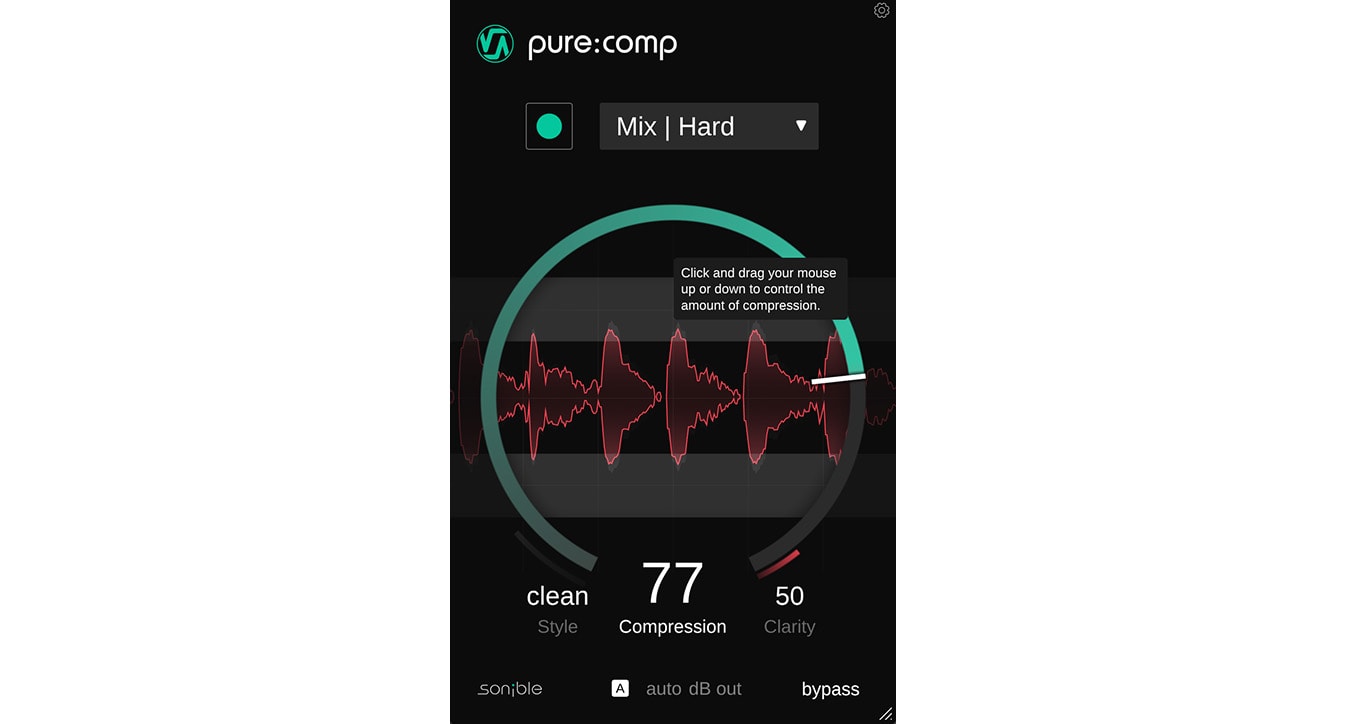
 Now we’ve got a subtle room reverb set up on one return channel, we can add pure:comp to another return channel and send our reverb return to it, with a little bit of the dry signal too. Because we’re applying parallel processing, we can get quite extreme with our settings, so we’ve opted for pure:comp’s Mix/Hard Profile with the Compression turned up to maximum. The result is a more robust and cohesive sound, and because the processing is on individual return channels, we can adjust, automate or process these channels independently from one another.
 You can find out more about the reverb and compressor plugins in our range at the following pages pure:comp, pure:verb, smart:comp 2, and smart:reverb 2.