To minimize problems when recording, learn to avoid ten negatives that can occur when capturing vocals, voice or speech.
Recording technology was once restricted to those in fancy and expensive recording studios. Today, thanks to digital audio and personal computing, only a small amount of equipment is required to get started with recording at home or anywhere else.
But just buying the equipment doesn’t mean you’ll get studio-quality results. From the floors to the ceilings and the material filling the walls, recording studios are entire facilities dedicated to getting good-quality recordings – your bedroom is just your bedroom.
To get good-quality recordings, you’ll need some studio expertise of your own, and that’s where we come in. With the following ten entries, we’ll tell you the top ten things that can go wrong in recording vocals so that you can avoid these in your own space – wherever it may be.
If you’re looking for a quicker fix, check out prime:vocal, the app that can remedy every one of these problems in a vocal recording in about the time it takes to skim through this article!

In an untreated environment, background noise is almost inevitable. What’s surprising about background noise for newcomers to recording is that they often don’t notice it until it’s been recorded. Our hearing system is always tuning out elements like air conditioners and fans from our perception, so when we hear our environment as it really is on a recording, we notice the sounds that have truly been happening around us.
We’ve used the term Background Noise as a wide category, but it includes everything from Mechanical Noise (HVAC systems, household appliances, office and home equipment); Electrical Noise (lighting systems, electrical ground loops, your computer itself); Environmental Sounds (traffic, equipment, machinery, people) and Nature Sounds (wind, birds, rustling trees).

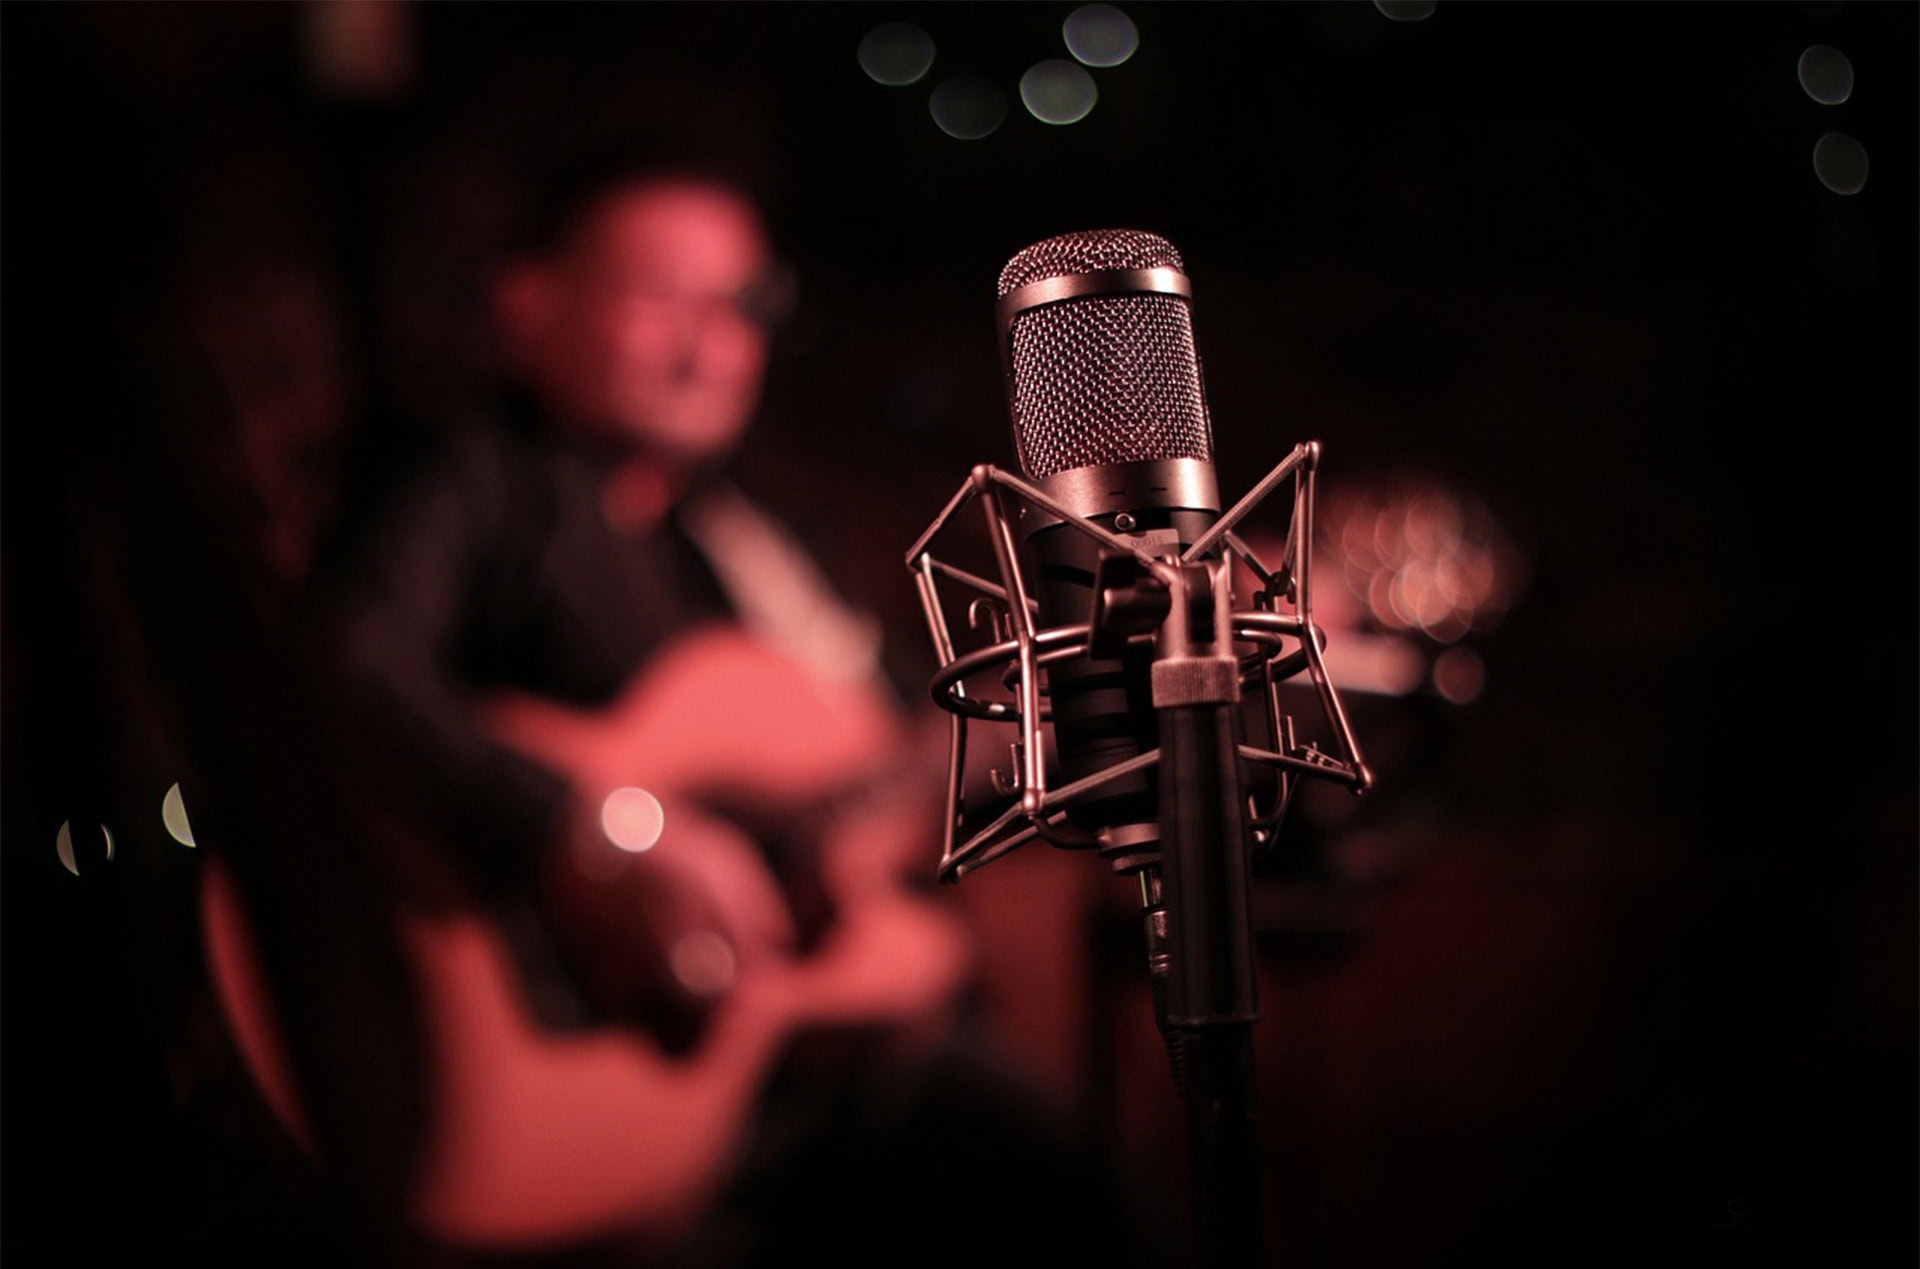
Image by Mathieu Vivier from Pixabay
This unwanted sound is the name given to the overly booming, thudding “p” sounds and sometimes “b”, “t” and “k” sounds that are hallmarks of public address systems. “Properly park your vehicles to prevent penalties.”
These sounds are all made with our mouths shifting a lot of air at one time, effectively causing something akin to ‘wind’. When we’re talking to someone a few feet away, these pretty powerful plosive sounds will have dissipated by the time they reach the person – but when said right into a microphone, they’ll be at their boomiest as they’re captured, and sent down the signal chain.
You can prevent plosives by using a pop shield between the microphone and the speaker or singer, and also possibly by speaking into the microphone from further away and at a different angle. It’s possible with practice to angle your mouth further from the microphone when making plosive sounds, too.
This short category is reserved for the unexpected sounds that come into our environment without being invited. Birds erupting, something being dropped onto the floor upstairs, marching bands walking down the street – you name it.
One of the most important differences between an amateur recording and a professional one has nothing to do with the quality of the microphone or the circuitry in the signal chain – it’s everything to do with the space where the recording takes place.
 Image by LEEROY Agency from Pixabay
Every room reflects sound off its walls. A professional recording room (AKA a Live Room) is designed from the ground up and treated with large sound absorbing panels so that those reflections don’t last for very long. Almost any other room is not designed with reflections in mind, and will have an audible ‘reverb’ or ‘echo’ when the recording is played back. A large room has a longer ‘reverb time’.
A smaller room will usually be a better environment for this factor than a larger one. If your positioning is fine (see #6 below), then the main way to fix this in a room is to bring in more absorptive materials like mattresses, blankets and even furniture, and to scatter them around the room to dampen the enthusiasm of those reflections.
This isn’t about the paint job of the recording room – in fact, room color is much more complex than that. As well as having its own reverb time, a room has its own frequency response, also caused by the reflection of sound. The tone or color of a room is caused by room modes, which is a complex topic in itself.
What you need to know is that, even in a room without a very audible echo or reverb, the sound will have a certain character purely due to the exact dimensions of the room and the exact places the sound source and microphone are positioned. A professional recording studio aims for a balanced room tone, but you can solve your recording’s balance after the fact with prime:vocal.
Microphones are sensitive pieces of equipment, but not so sensitive that you should be scared to approach them. They are designed to be spoken or sung into.
 Image by sophiacorso from Pixabay
If the microphone is too far away from the subject when a recording is made, that recording will pick up less of the subject’s voice and more of the ambient ‘room sound’ as explored in #4 above. In this case, the intended voice is the ‘signal’ and the ambience is the ‘noise’. The only real solution is to get much closer to the microphone.
Despite having just recommended you to jam a microphone into someone’s face, there are certain potential negatives to be aware of. The first is the proximity effect, which is a phenomenon observed in a dynamic microphone that means there’ll be a corresponding bass boost if the subject is very close to it. This isn’t necessarily a bad thing to happen, but you should be aware of it.
The second is that being so close to the microphone can encourage plosives (see #2) – especially if you’re not using a pop shield between the speakers and the microphone. The third is that being so close to a microphone will also cause our next entry: sibilance.
These sounds are another pitfall of recording the human voice. Sibilance is the over-harshness of “Ess” sounds (as well as “ch”, “t” and “sh” sounds) that we’re not used to hearing.
When a source is so close to the microphone, sounds that would usually die off in the air before reaching our ears don’t get the chance to do so. This means that the signal as captured by the microphone is different to what we’re used to, which is why we use a de-esser to reduce this harshness.
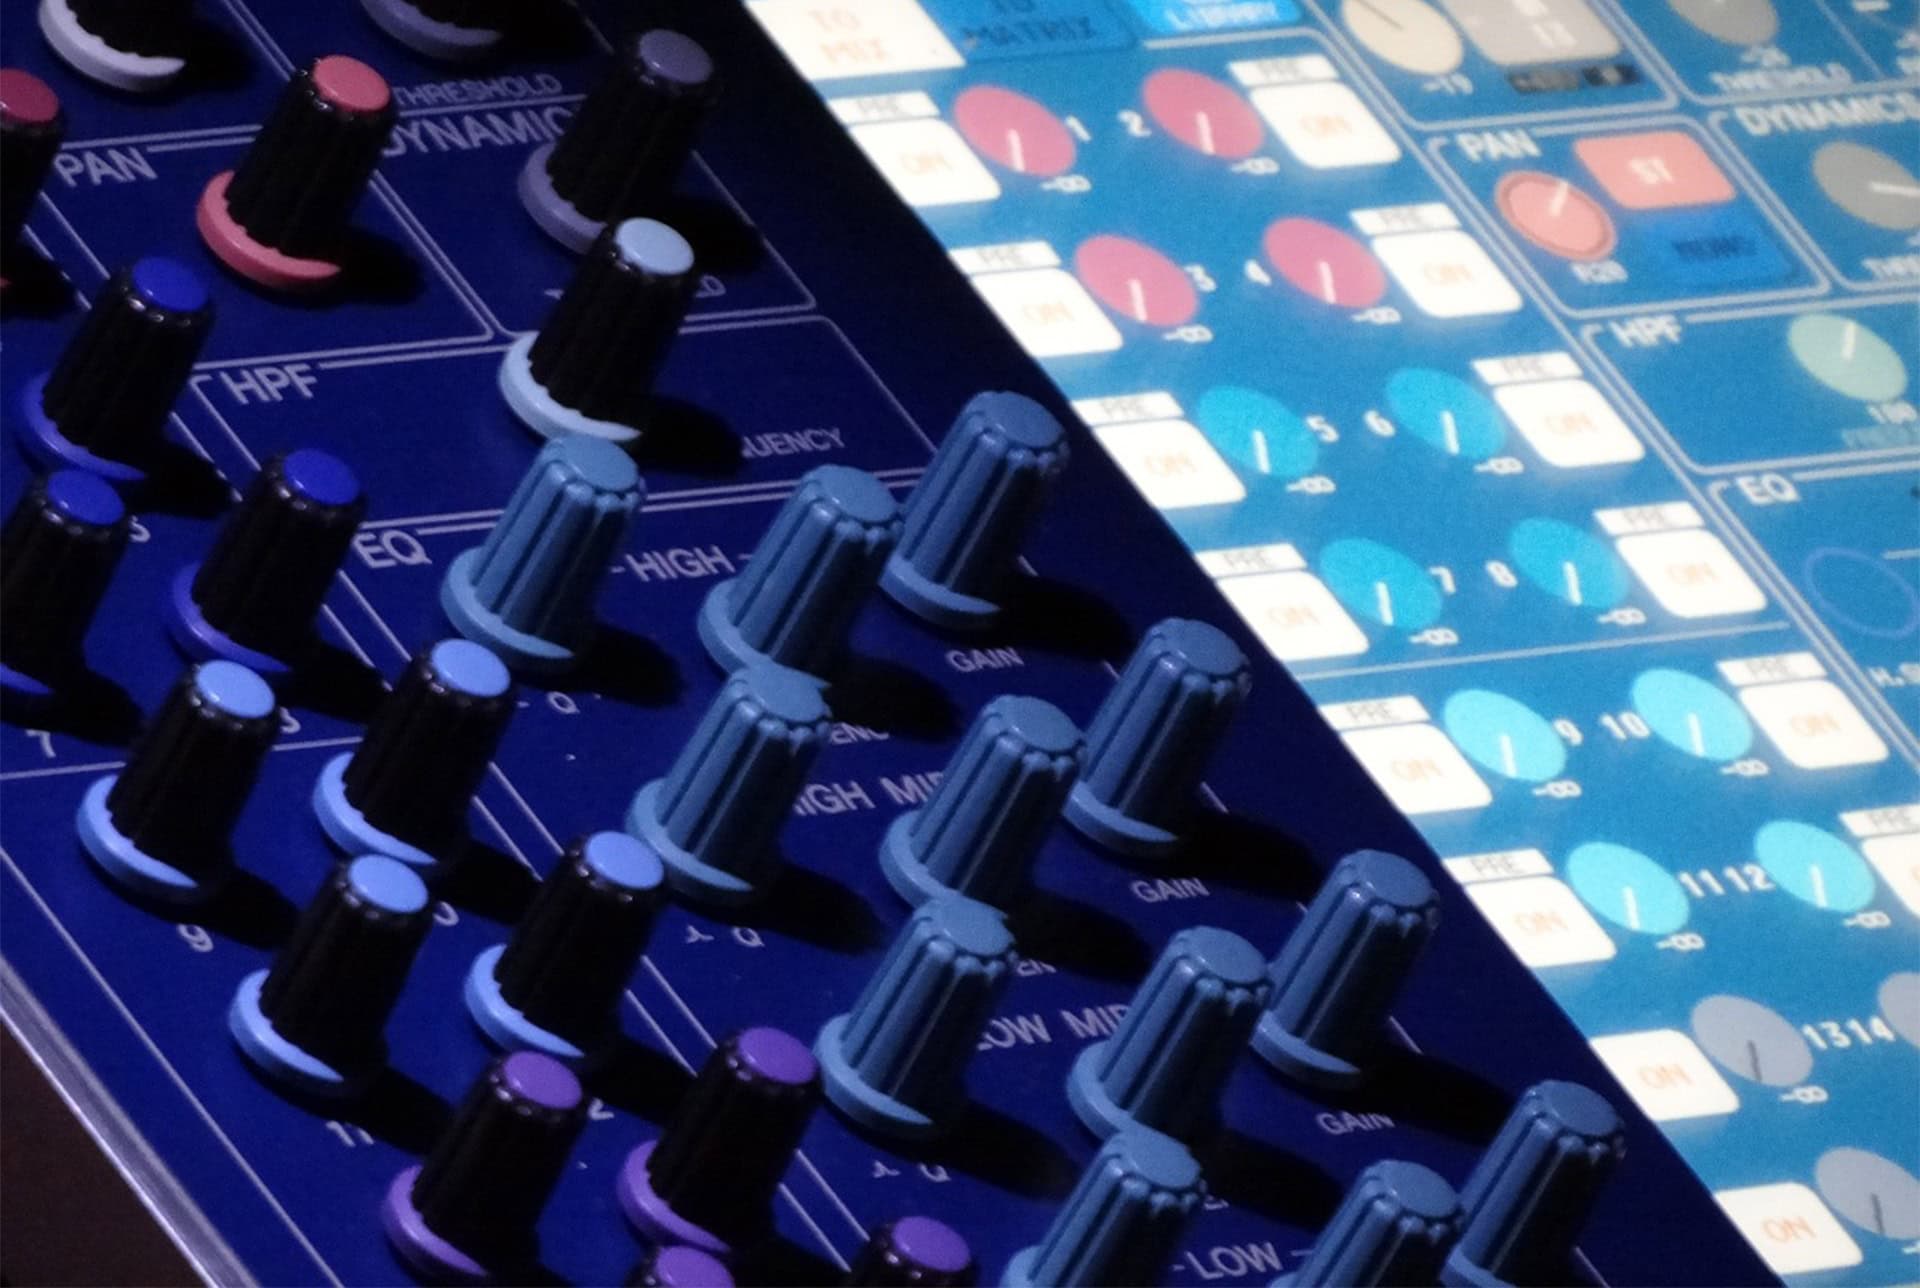
Gain staging is the practice of ensuring that each piece of equipment in an audio signal chain is receiving and outputting a signal at the appropriate operating level. Sending a signal out of one piece of equipment to overload another piece of equipment can damage the signal for the rest of the chain, and gain staging is a defense against that.
 Image by Dirk (Beeki®) Schumacher from Pixabay
If turning up a piece of equipment in a recording chain, ensure you’re not turning up the exact same piece of equipment multiple times, while leaving another at a low level.
All sound is vibrations through the air, but vibrations through solid material can count as well. These sounds are usually very bass-heavy, and can even be felt by people rather than just being heard. Get a recording setup wrong, and these stealthy sounds can become the bane of a recording.
Rumble can be made worse by a microphone stand. If the vertical bar is touching the floor at its bottom, then footsteps and other pressures on the floor can be transmitted through the bar to the microphone.
Another cause of rumble is wind. This usually only applies to an outdoor recording, but the wind can actually be thought of as a low-frequency sound, composed as it is of the movement of air.