Got smart plug-ins? Then you’ve got options. Try out these techniques in mixing to make the best use of these intelligent devices.
If mixing music is like baking a cake, then occasionally you’ll want to look up a new recipe. You might be looking for inspiration, stuck in a particular workflow, or trying to overcome a particular problem. Have a look at these 11 recipes that could improve your mix.
Best of all, every one of these recipes uses our ‘smart’ range of plug-ins to do its thing. The collection includes smart:EQ 4, smart:comp 2, smart:gate and more, making it a premium bundle for mixing engineers who have a taste for cooking things just right!
Note: In this article we are talking about smart:reverb – we replaced the first version with smart:reverb 2! This content-aware reverb plug-in understands single tracks and entire mixes, helping you create exactly the reverb environment you imagine.
Try this chain on guitar to both add a sense of dimension and make the instrument more cohesive ‘with itself’, making it ready to go into the mix alongside other elements.
You will need…
The Guitar can be a very dynamic instrument, depending on the recording type, what it’s used for and how it’s played. With this chain, we first solve the guitar’s frequency balance with filtering and EQ, making it tonally more stable. Next, we add reverb using smart:reverb, directly on the guitar’s channel, blending the two signals together. After this, smart:comp 2 takes the two signals and holds them together. At this point, you can revisit the reverb’s mix level to taste with the compression applied.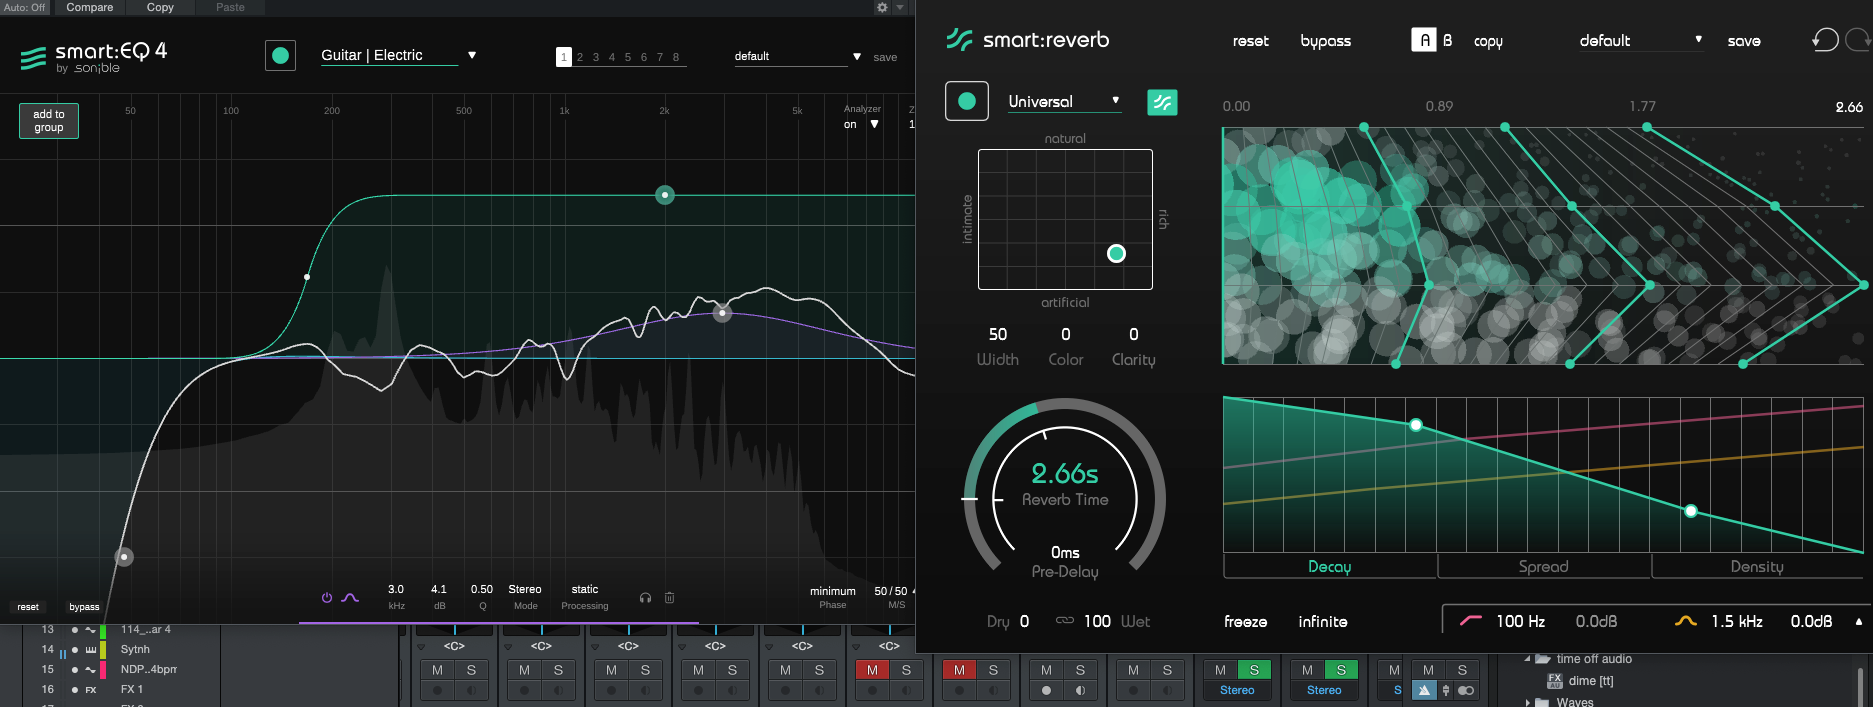
Use on individual drum channels to first isolate and then sculpt a particular piece of a drum kit.
You will need…
Recorded drums can be processed either individually or globally as part of the entire kit (on a buss). Here, we take a single drum channel such as a tom or snare, and tweak its timing using smart:gate to help it ‘pop’ through as we like it. Also we sculpt its dynamics further with smart:comp 2, taming its signal, and gain stage the drum without pushing it too far using smart:limit.
Clear and precise, almost intimate vocals can be achieved using a high shelf boost – but what could go wrong? How about harshness? Here’s how to get the best of both worlds.
You will need…
Our smart:deess plug-in goes further than others – it analyzes the profile of the incoming voice, building a model of how different consonants sound in order to reduce each in a tailored way. This means that even with a high-shelf boost from smart:EQ 4, your vocal can sound intimate but still not harsh. After this stage, some dynamics processing brings out the weight and power of the vocal.
You could also swap the smart:EQ 4 and smart:deess processors, using some of smart:EQ 4’s smoothing as a complement. And don’t be afraid to add a second smart:deess after your compression stage to see if it thinks more harshness has been introduced by the dynamics control.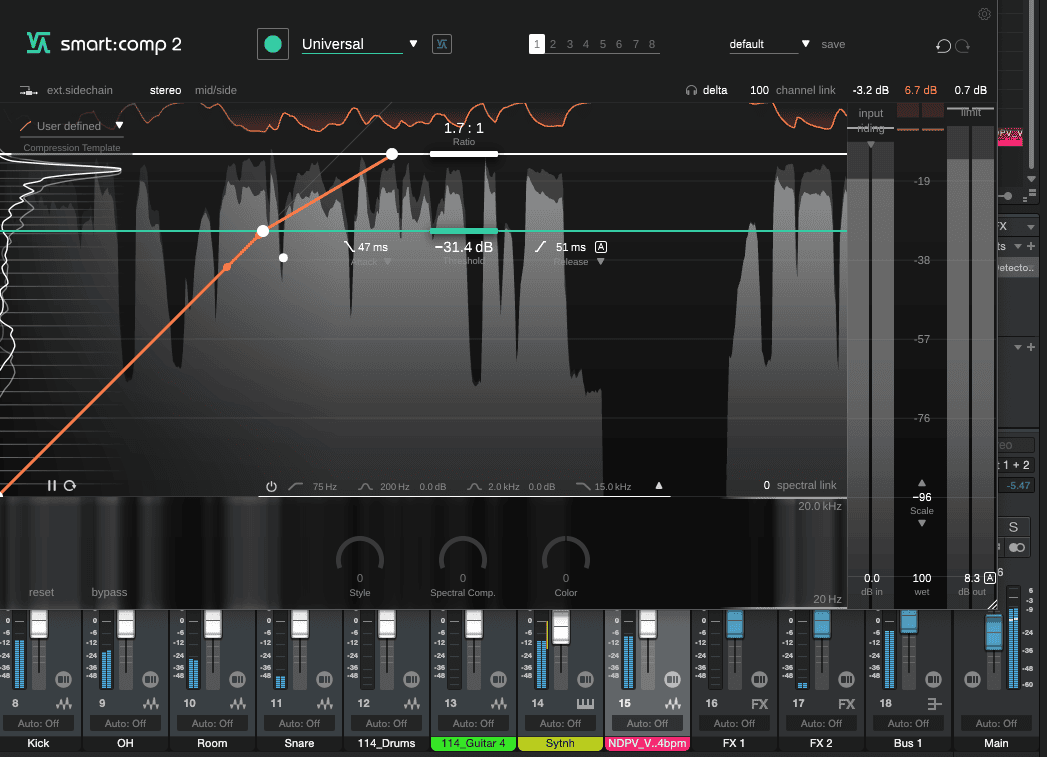
Take a light bass and give it more Oomph to help it lay the foundations for the entire track.
You will need…
A solid bass is a signal of a well-made mix. Getting it right depends on the exact situation, but try the above recipe. For this, don’t worry about the bass’s transients just yet – these can be worked out in order to provide definition later, and this step is just for introducing a solidity to the bass sound.
Use smart:EQ 4’s smart:band to check where the bass has tonal imbalances, and correct these if your goal is more consistency.
Let’s get back to the 80s with this nostalgic effect. Or, tame the release and use more natural reverb to give a modern take on this retro sound.
You will need…
Best performed on a bus (and away from polite society if possible), this classic gated reverb trick takes a snare, adds a huge avalanche of heavy reverb, but only lets it play for a short time. Smart:reverb’s Reverb Time should be set high, and try making its flavor Rich and Natural to get things right tonally.
The smart:gate placed after the reverb opens as soon as the snare hits (and can be triggered by the snare through a sidechain, too.) The smart:gate should close quickly after the reverb decays by a certain amount. Keep smart:gate open using the Hold function if you need, and set a quick Release. Get the Threshold right and keep Tolerance low for this classic effect.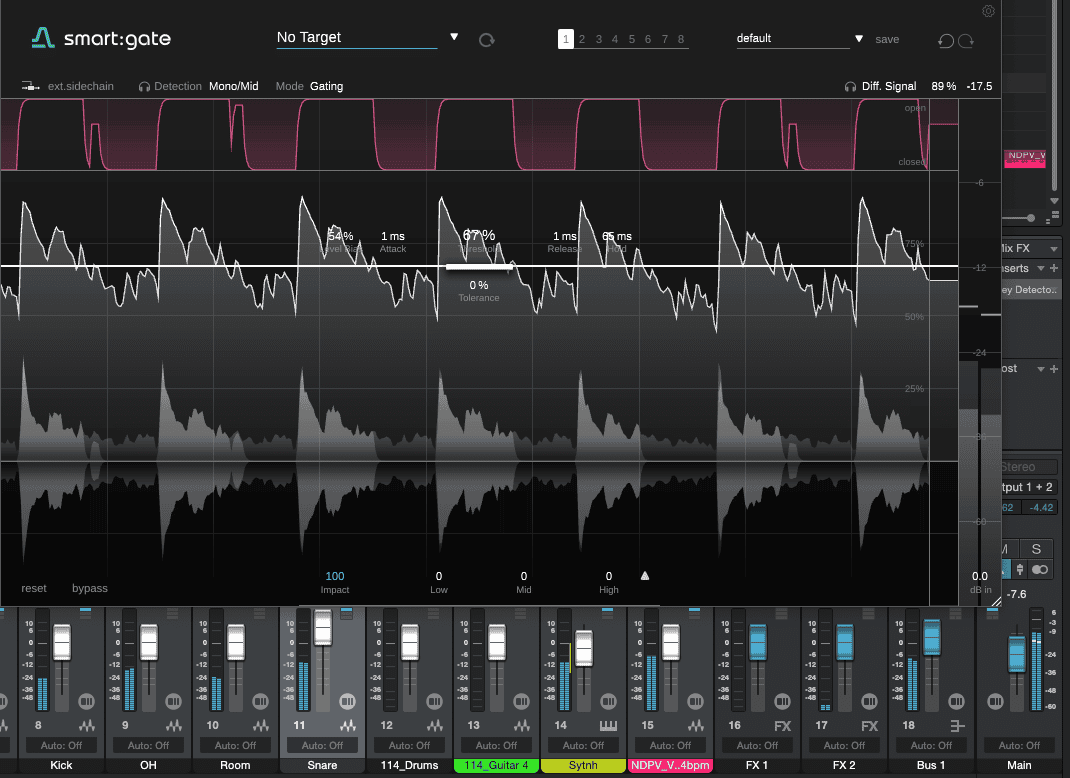
Kick drums come in all shapes and sizes, but here’s a rule of thumb for working on them.
You will need…
For your kick, use your ears. If you need to boost body, we’ve written 60Hz above but the location could easily be different for your kick. For your kick’s ‘clicky’, transient portion, use your ears once again to hear where it makes most impact, and act accordingly to emphasize or de-emphasize it.
The acoustic guitar can be tough to pin down. Here are some areas you may want to focus on.
You will need…
Removing low-end body (below the guitar’s actual notes) can be a good way to go here, but ensure your guitar’s tonal profile includes enough high end as well. Your guitar’s body will have its own resonances and character, but fitting the instrument into the mix with other channels is important too. smart:eq’s smart:filter can ‘tidy’ up resonances for a more uniform tone, and you can limit these effects to specific frequency bands where it’s most helpful.
Your compression should let plucks through and keep the transient, retaining the energy and life of the acoustic guitar.
A sparse mix can present as many challenges as a dense one. How can you fill in the gaps and keep things sounding rich when there are only one or two elements? The answer: let the space become an instrument in its own right.
You will need…
Set a reverb time that works with your project. Just because you’re emphasizing the space, doesn’t mean you have to set it to last forever. The reverb’s Mix level matters more than its timing for its use as an ambient space in your arrangement. Also push its Color and Width controls to fill out the mix.
After the reverb, reduce mids somewhat with smart:EQ 4 or with smart:reverb’s post-EQ. A light arrangement of instruments usually means most action is happening in midrange frequencies, so your reverb has space in the lows and highs to make an impression. A compressor like smart:comp 2 is useful on the master buss, where it will affect the reverb and the main elements, helping them all to gel.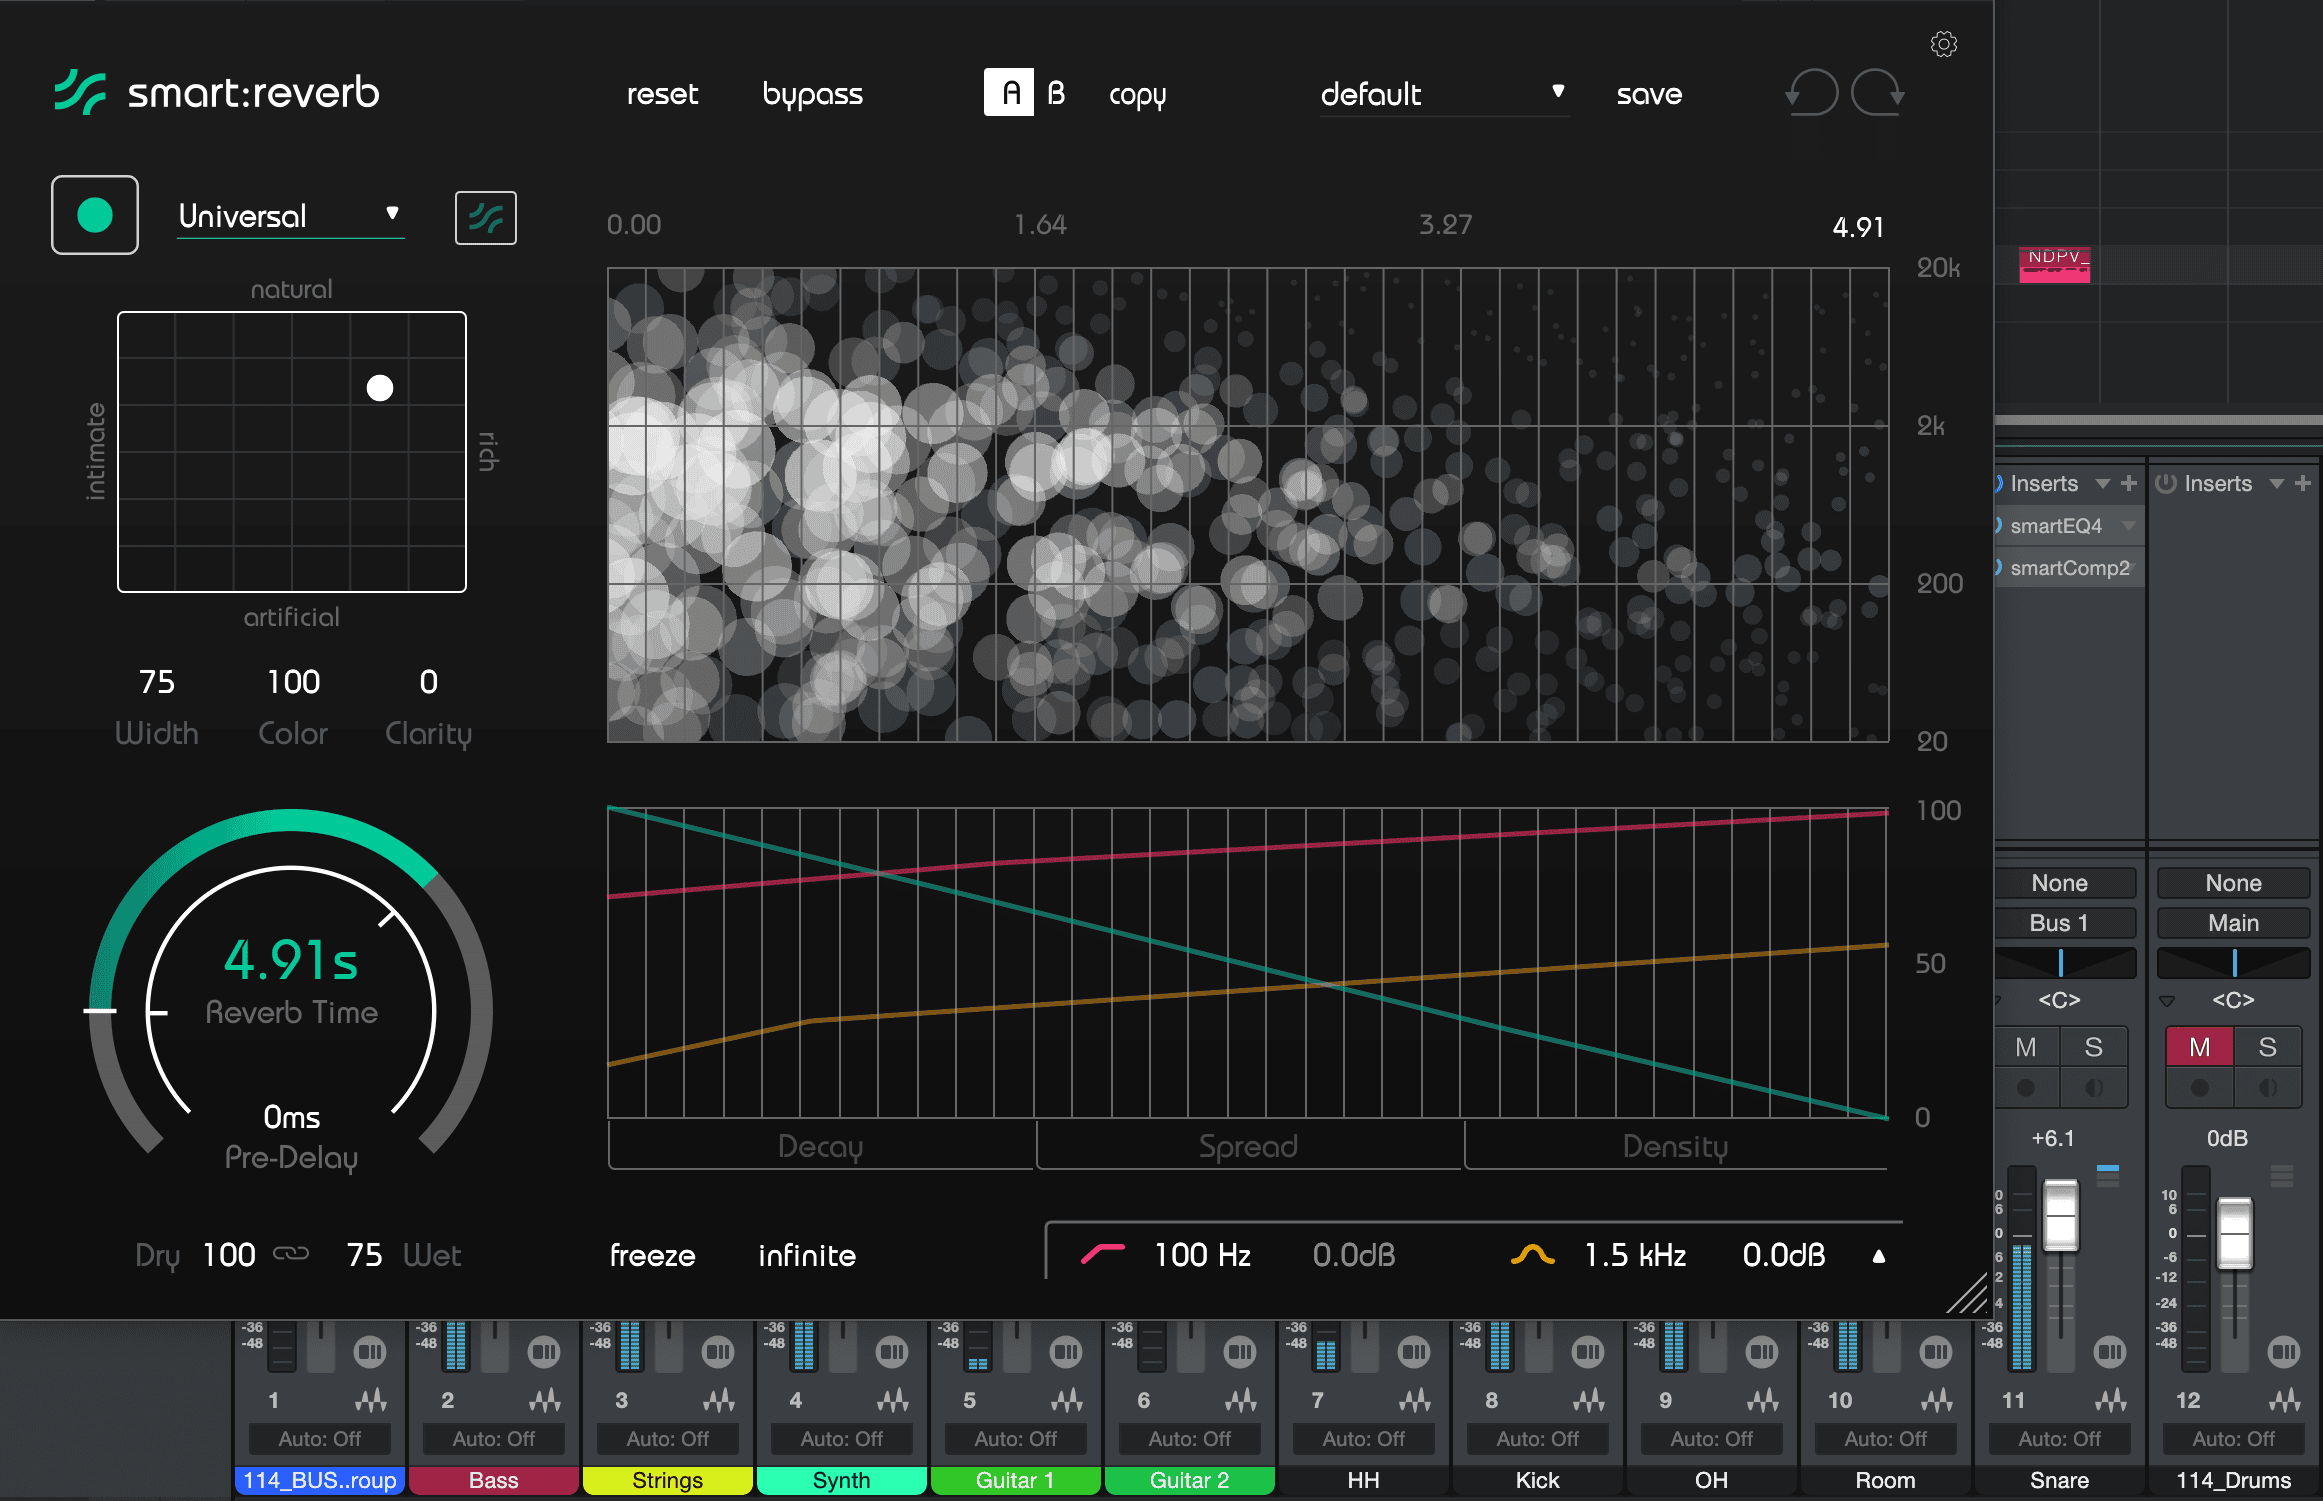
Here’s a quick way to get a snare to hit a little more snappily in order to pop through the mix.
You will need…
Using the EQ, first pinpoint the frequencies of your snare sound that have the quickest attack and most ‘snap’. We’ve highlighted 200 Hz and 5 kHz as they’re common, but every snare is different.
Next, apply compression fairly heavily, start by applying a quick attack time, and raise the attack time until you hear the snap of the snare’s transient ‘pop’ through at you. This means the compressor is only kicking in after the snare’s initial snap.
Push your vocal reverb to make an ethereal bed of sound for the lead to sit in. Just remember to glue everything back together afterwards.
You will need…
Use smart:reverb to analyze your vocal and create a frequency profile that complements its resonant frequencies. Turn the reverb time up very high for a resounding echoing reverb. Now set a quite Rich and Artificial reverb type, and push the Color up. You can use smart:EQ 4 on a buss or use smart:reverb’s own filtering to reduce the low end down from 250 Hz.
smart:comp 2 can be used once the two sounds have been summed together again, to glue them together and bring out the reverberant sound, finishing off the effect. Use a medium attack time and medium release time – the gain reduction shouldn’t go too far into the reverb tail.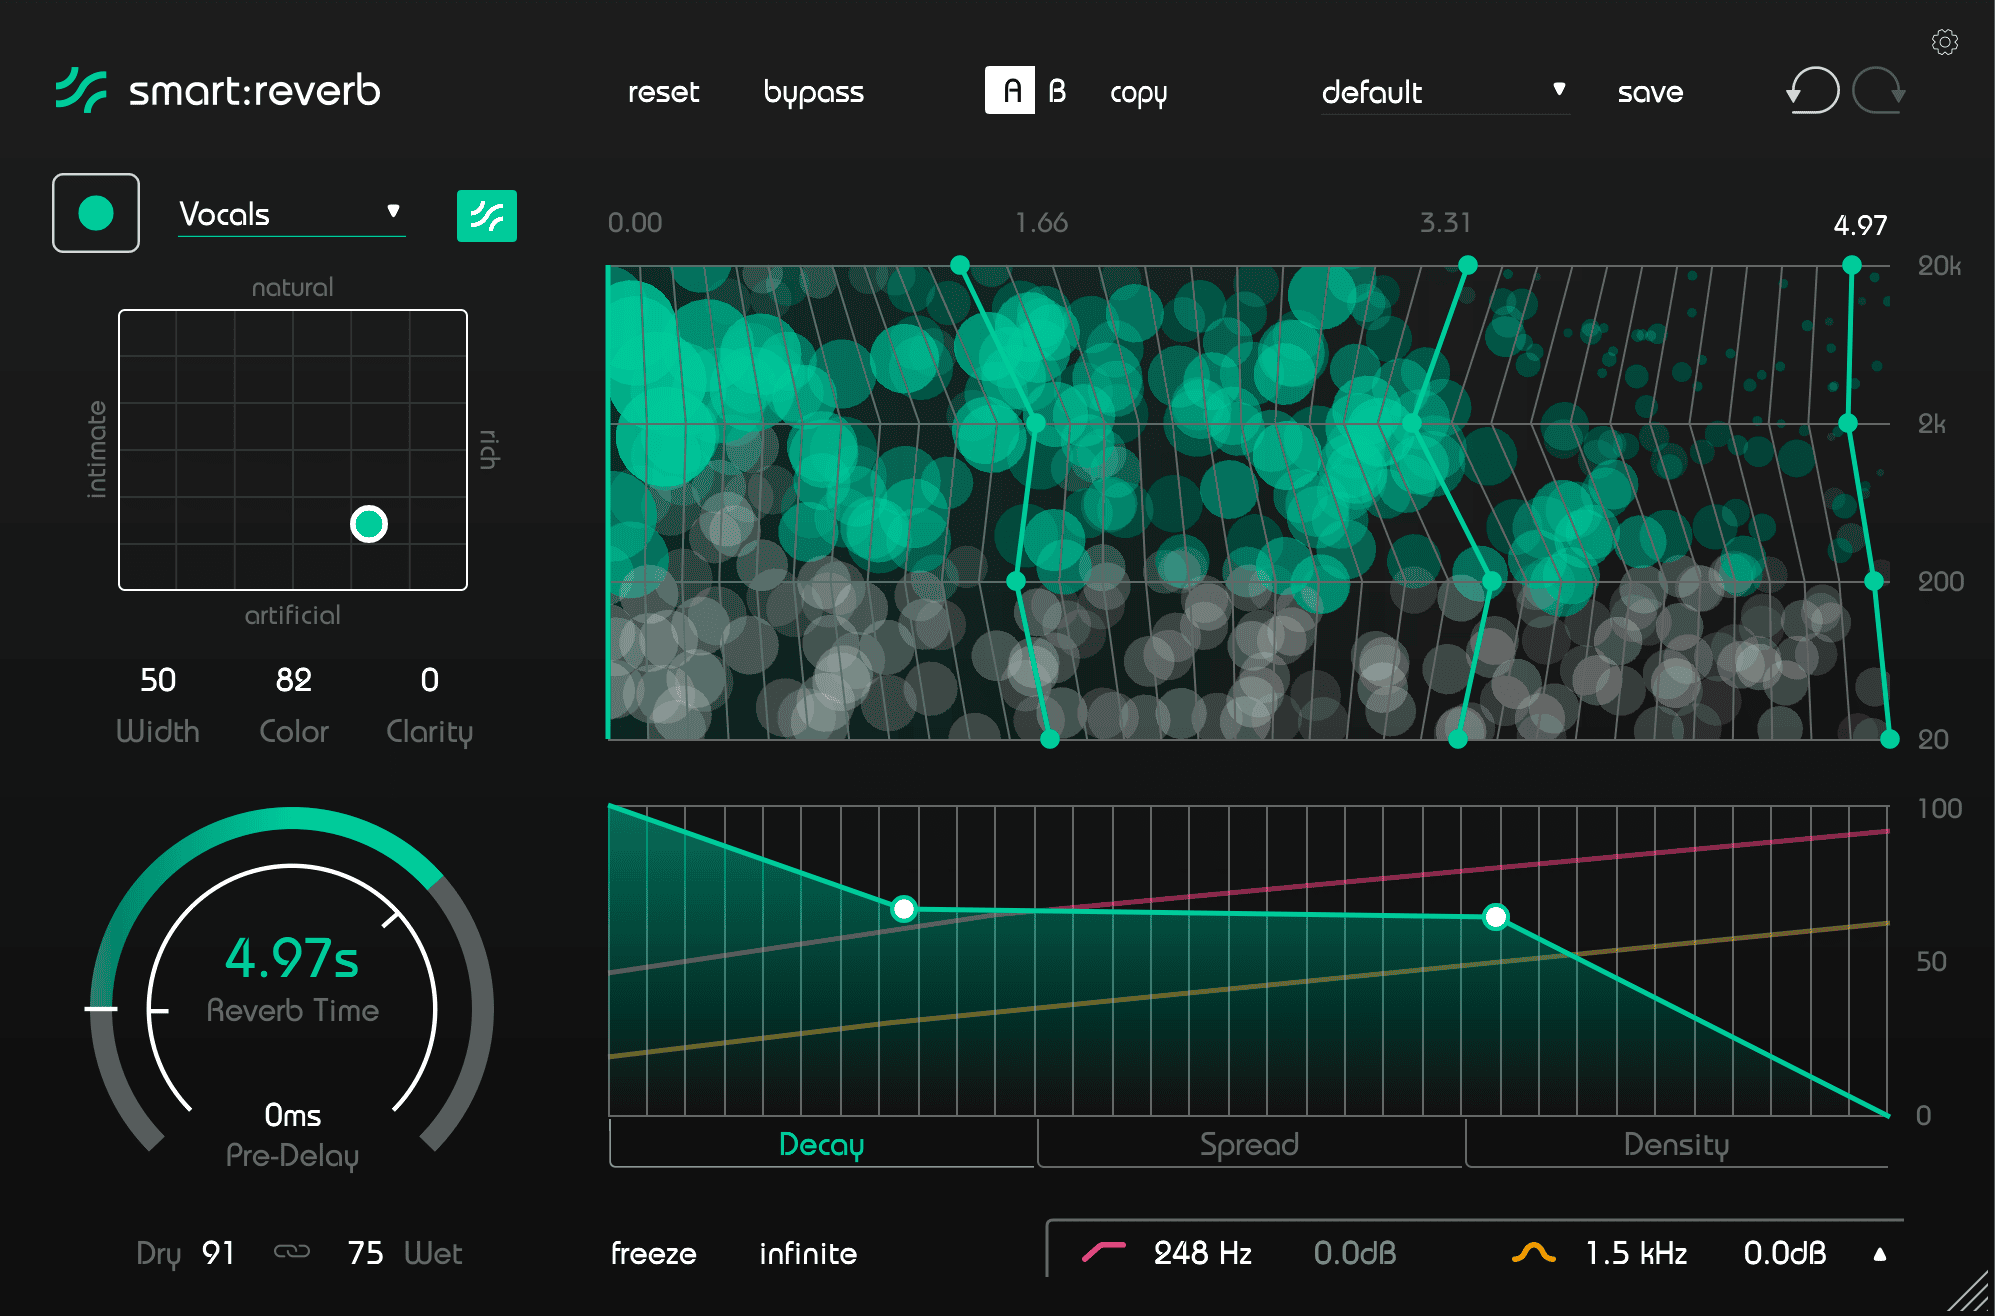
Set this chain on a drum kit’s ‘room’ reverb channel to make it pop out in all the right places. Or set up your own drum reverb with smart:reverb.
You will need…
First use smart:reverb to set up a drum reverb sound if you don’t have one. Analyze your drum channels using the Drums analysis type to create a reverb profile that sounds great to begin with on your drums, and then tune its Width, Color and type settings to taste.
Use a compressor to set a very high ratio, really putting the hurt on the reverb, and then use smart:limit to add gain and bring this sound back in, while also cutting some peaks if it improves the sound. Your characterful, punchy drum room is ready to put behind your drum kit.