Getting a track ready for publishing can be tedious work in post-production, however, with the plug-ins of the pure:bundle it can be done fast and easy. Check out the pure:bundle tutorial below to find out how you can make your rock track cut through the noise by pushing just a few buttons and controls.
Watch the tutorial below to learn how you can stay in the creative flow when tweaking your rock song. For more detailed information about the bundle, download the latest manuals.
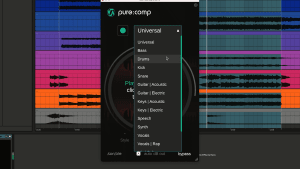
First, I start with the drums. They sound a bit too dynamic and thin for a rock song, therefore I place pure:comp on the track and select the drum profile. After learning I increase the compression so that the dynamics are reduced even more and the drums sound full and big.
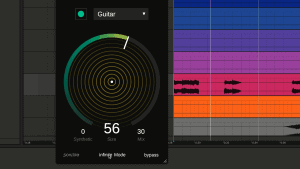
Next I want to work on the guitar in the intro of the track, which sounds a bit bland and choppy. I use pure:verb and increase the size of the computed reverb space to get a full sound. Then, I activate the infinite function which makes the guitar sound very atmospheric and closes the gaps between individual guitar parts.
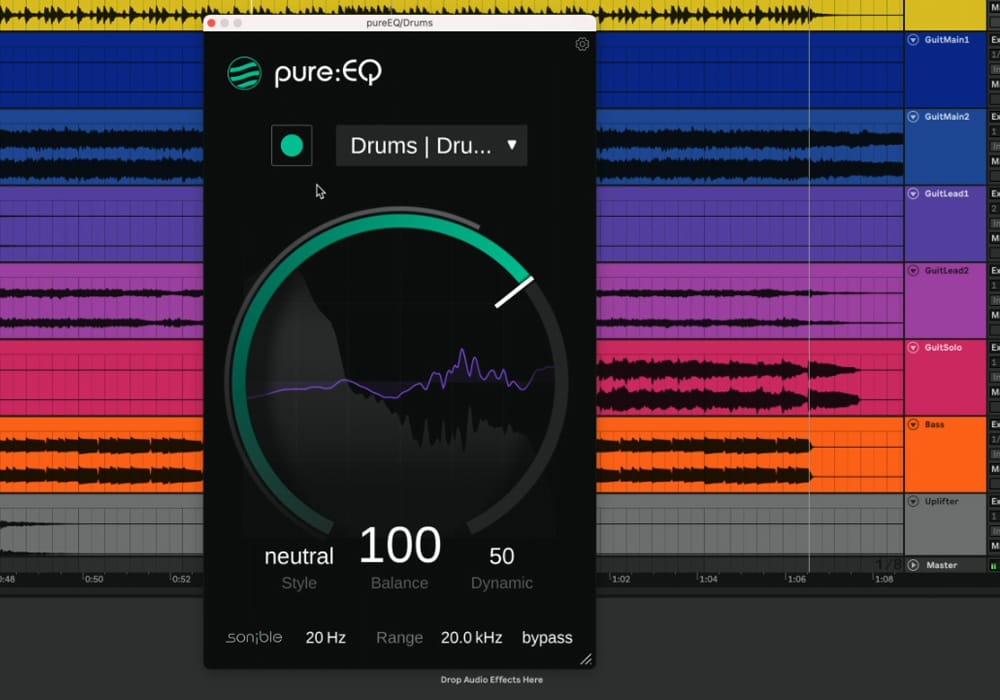
The drums also need more clarity in the upper frequency range. I load pure:EQ, select the drums and choose the “bright” Style to emphasize the high frequencies a bit more. I don’t want any processing on the lower frequencies, so I’ll exclude them with the range parameter.

The drums also need more clarity in the upper frequency range. I load pure:EQ, select the drums and choose the “bright” Style to emphasize the high frequencies a bit more. I don’t want any processing on the lower frequencies, so I’ll exclude them with the range parameter.
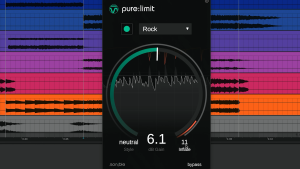
As a last step, I use pure:limit to balance the dynamics and give the song the right level for publishing. I also increase the inflate parameter to make the mix more dense and vibrant. Now the track is ready for its release!