Decisions – lots of them need to be made when mixing and mastering and each will influence how your musical creation sounds in the end. Therefore, the question “Shall I apply compression first or equalize?” is a vital one.
Note: We replaced both smart:comp with smart:comp 2 and smart:EQ 3 with smart:EQ 4!
Digitization in music production has brought a lot of benefits. For example, the availability of resources – though not time and money, unfortunately these two are still limited for the most of us. But the number of different equalizers and compressor you can add to your channel strip increased and there is no need to stick to a given order of processing tools for audio manipulation anymore.

No matter if you’re a fan of using your customized channel strip or not – you might have asked yourself the question, “Is it better to apply an equalizer first and then a compressor, or shall I reverse the order?”

The short and probably very unsatisfying answer is: There are no hard and fast rules. Still, there are technical considerations to make before you start to work on your audio material. Mixing and mastering are, at their core, a management of energies. According to the vision you have of your mix, you need to manage what’s going to be perceptible.
PRO TIP: By keeping the idea of being an energy manager always in mind when taking each step in your workflow – from composition and arrangement through to equalizing and compression – you will be able to avoid early on problems relating to energy conflicts.

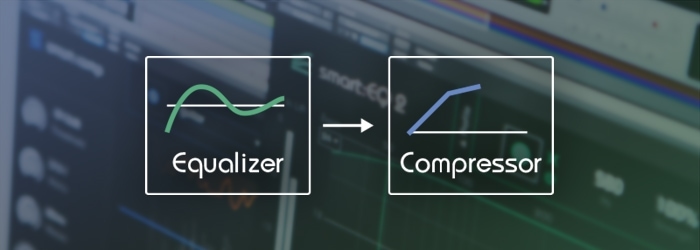
There is a very good reason for the classic order of: equalizer first, compressor second. When you have a signal with spectral flaws such as strong resonances, you’re well advised to first clean it up. That’s where linear audio processing in regards to equalization comes into play. With an EQ you can create tonal balance by, for example, removing the harsh parts of a vocal recording. If you don’t take care of problems like these before applying a compressor, those unwanted signal energies will influence your compression results excessively. So, whenever you work with audio material that contains disturbing signal energies, it’s wise to first apply an EQ and then a compressor.

Example: Often a female vocal recording contains some harshness and low-end rumbling.
To achieve a clear vocal, you would take out everything below 200 Hz to eliminate the rumbling. In addition, start tweaking the high end above 10 kHz to get rid of all the disturbing harshness and sibilance. Or you could apply the intelligent filter and the respective vocal profile of smart:EQ 3 to clean up the female vocal track – in seconds. After all the cleaning up, you can then use a compressor to push the voice.

Whenever you start with high quality sounds, for example, from sample libraries or synthesizer tracks, cleaning up with an EQ won’t be necessary. Still, when you put such tracks together, chances are that the initial mix will sound chaotic due to the dynamic differences between individual tracks. This mismatch, caused by constantly changing melodies and tonal colors makes the sound “wobbly.”
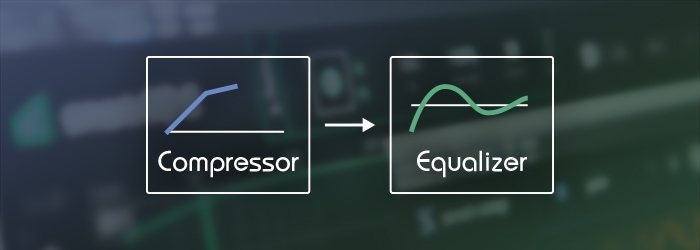
Initially beautiful sounds become masked and they don’t have the punch or presence you want them to have – merely cranking up the level doesn’t solve the problem. Applying a compressor can harmonize the dynamics of individual tracks or busses. In terms of the above-mentioned energy management, this means that you first define a stable hierarchy of energies using a compressor and then use an EQ to accentuate certain tracks or busses.

So, a compressor can be used first in order to balance the dynamics of individual tracks or busses and make them sound tighter. Afterwards, when combining these tracks or busses, chances are that you’ll have to resolve “static” problems like masked energies with an EQ.

Example: Take a drum bus – with a compressor you can fuse the energies of the drum set together into a smooth blend. However, when combined with other busses or tracks, this might lead to overemphasized frequency regions. With the use of narrow filters on an EQ, you can carefully tweak the energies in the affected frequency ranges.
So, before deciding which to apply first – equalizer or compressor – you might want to ask yourself the question, “What’s the quality of my input signal?”
Before getting to the creative part of mixing, there is often some grunt work that needs to be done first. You’ll want to kick out or tone down everything that does not meet your idea of how a certain sound should be – clarity is key. Depending on the quality of the audio material you are working with, this might take some time. Recorded tracks especially tend to be not as clean initially as we would like them to be.

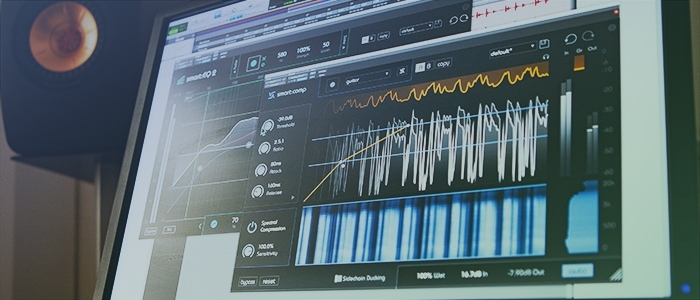
The intelligent features of smart:EQ 3 and smart:comp are designed to create balance and clarity – tonal and spectral. Since they operate based on psychoacoustic models, they don’t impart any coloration to your audio material. By using them on single tracks you can create a clean basis for further creative work. Applying them on your master bus fine-tunes your creation. Furthermore, by letting these smart assistants do the grunt work, you avoid losing track of what you should be focusing on, such as proportions and musical goals. The technical abilities of smart:EQ 3 and smart:comp will take you faster to the point of being truly creative while mixing and mastering. And, since both plug-ins are a “regular” equalizer and compressor respectively, you can be creative with them as well.