Bedroom recordings don’t have to sound amateur. Learn how to improve your sound in a few easy steps and optimize the quality of any singer – including yourself.
Thanks to the reduction in price of professional-quality audio gear, more and more people are opting to record music at home. Traditional recording studios were once the only option for capturing a good-quality recording, and they may still be the best option for capturing the best performances, but the home musician can get great results – it just requires some know-how to properly optimize those results.
In this article, we’ll help you to optimize your own home vocal recordings – whether you’re recording yourself or someone else – in ten simple steps to make considerations and improvements.
This is one of the biggest secrets in home recording: some rooms are just better than others for recording in. A ‘bad’ room takes a lot of effort to make acceptable, while a ‘good’ room just works and can, on its own, be the difference between an amateur recording and a great-sounding one. It’s not a matter of the location, the vibe or the associations in your mind – it’s a matter of complex acoustics like room modes and how reverb works.,
So if you have a choice in what room you’re recording in, you should take that choice. But how do you know what makes a good room and what makes a bad room? When all is said and done, the best way you have to evaluate this is to make a few test recordings in multiple rooms (in multiple places in each), and judge the results for yourself when listening back on headphones.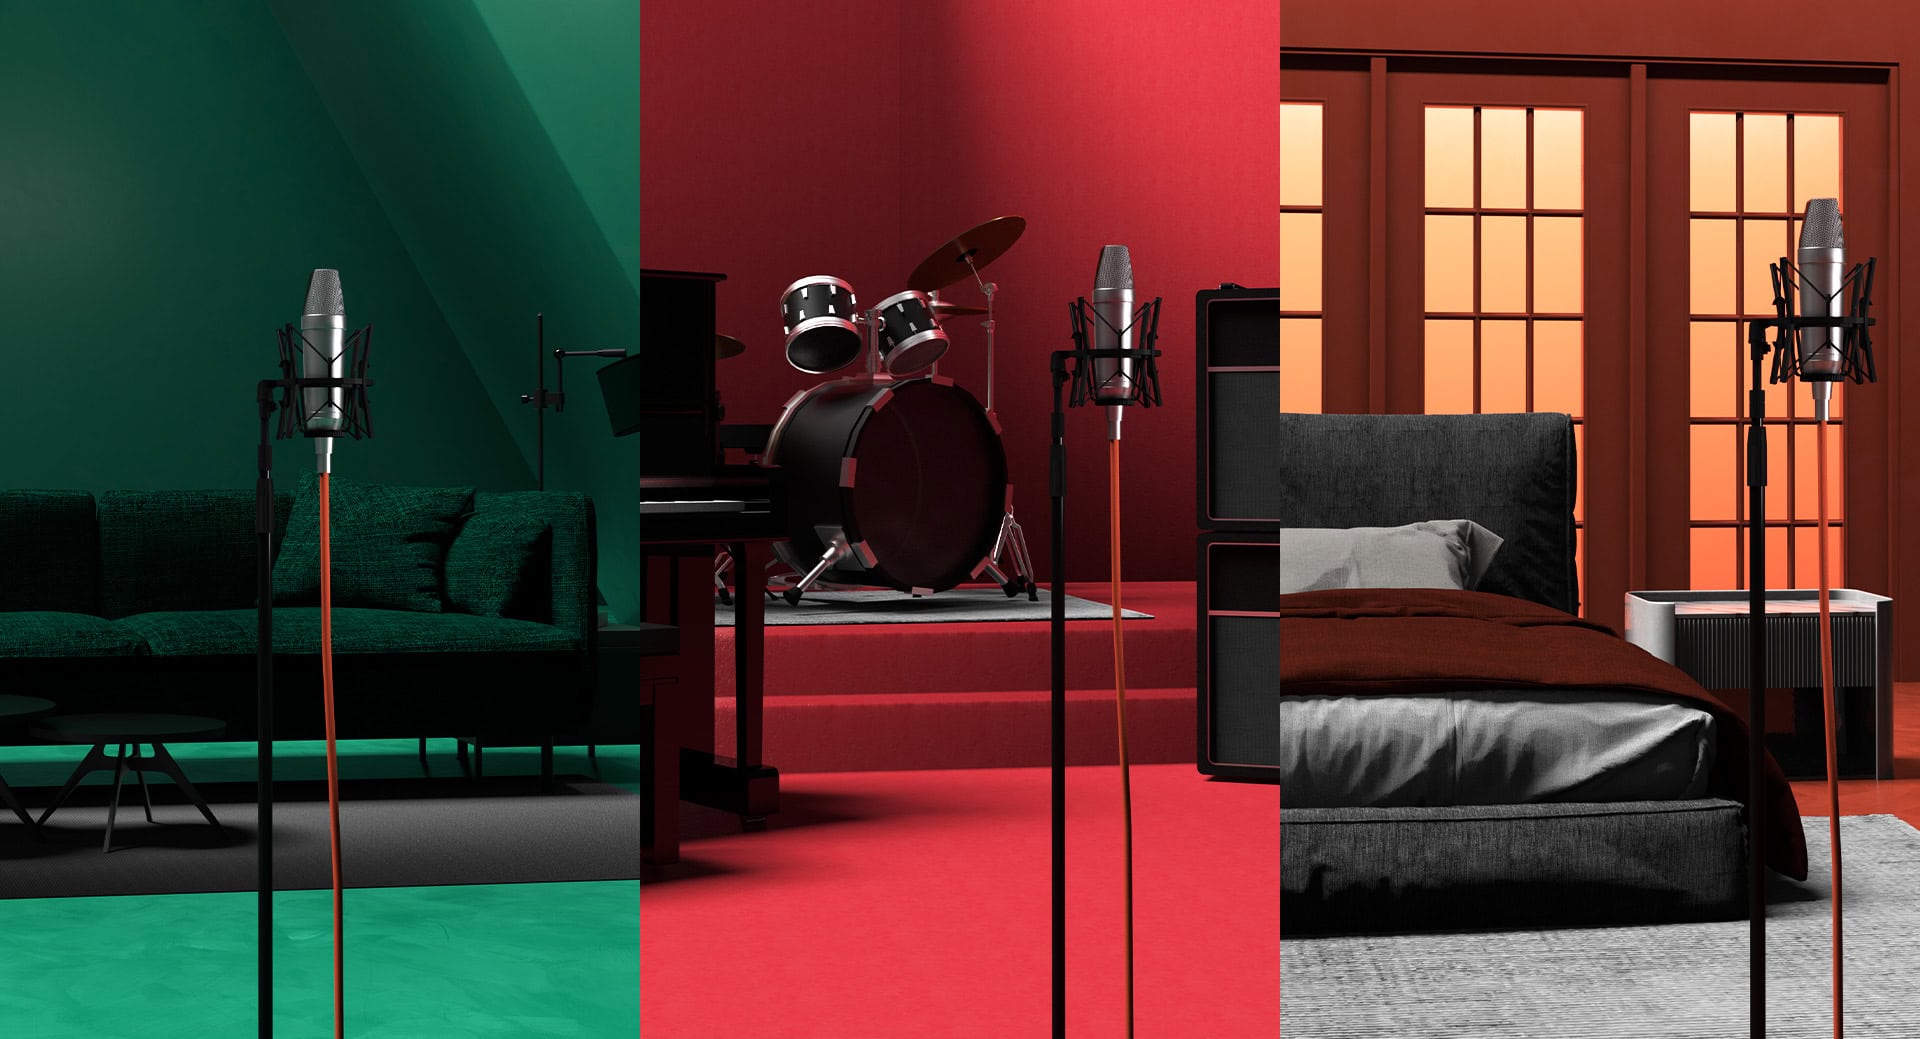 What makes a good room can vary a lot, but what makes a bad room can be pinned down by a few rules of thumb. The larger the room, the more echo and reverb there will be. If the room is an irregular shape (an L shape, a T shape), then this can go very wrong too. A room with more carpets and soft surfaces will usually be better than a room with many hard, reflective surfaces.
This advice might make you believe that a tiled bathroom or a concrete stairwell are terrible places to record, and that’s very often true, but some of history’s most characterful recordings have taken place in unusual environments like these.
You know what a professional recording studio looks like: it’s a perfectly tuned facility aimed at creating great recordings, and it clearly costs a lot of money to design and build. Your bedroom, on the other hand, was built with nearly zero sonic considerations in mind. So how can we improve the bedroom as much as possible, as cheaply as possible?
One of the things a ‘real’ recording studio does, is to control sound. Any sound made in a room will bounce off the walls, onto other walls, and so on and so on, creating a resounding, reverberant space that you can hear on a recording. A recording studio reduces this process, curtailing the number of reflections so they don’t build up – although the aim isn’t to completely remove every reflection.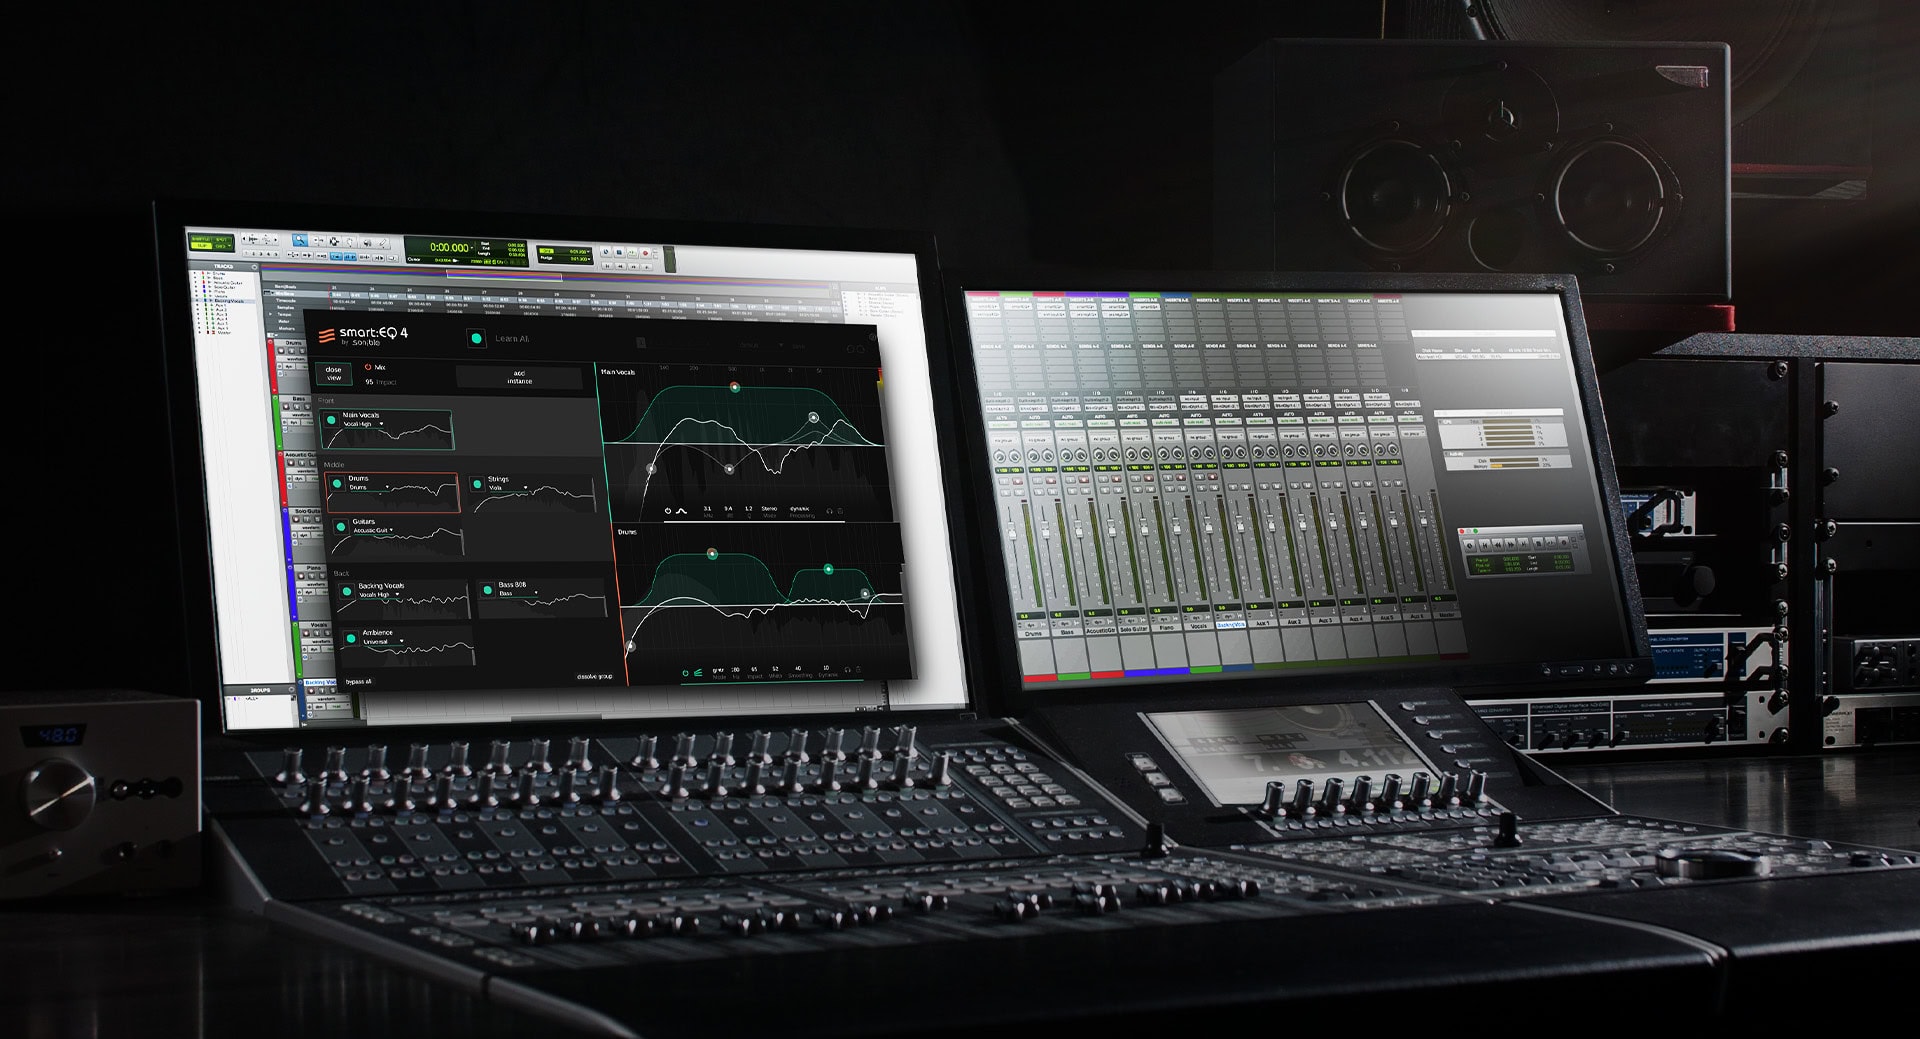 You can absorb reflections in your chosen room, as well. We’ve already talked about choosing a room with carpets, but you can increase the effect by bringing in soft furnishings like blankets and mattresses to put on a nearby wall to the microphone, and maybe siting yourself by an open wardrobe.
Again, the aim isn’t necessarily to remove every single reflection from the space, but to reduce and control the build-up of reflections so the result isn’t so audible on a recording.
It’s very easy to stop noticing things in the course of your normal life. Your fridge buzzing, an air conditioner that’s running, or even your computer’s fan keeping things cool. Even if your ears will be able to tune these things out, your microphone won’t be able to, so it’s time to start paying some attention to the ongoing noises in your environment.
Switch off devices in the room that make noise, and consider whether there are external noises like traffic that you’re able to reduce.
You have a microphone, likely an audio interface connecting it to your computer, and a software recording app such as a DAW. Even with just these three elements, there are plenty of opportunities for the signal to go wrong.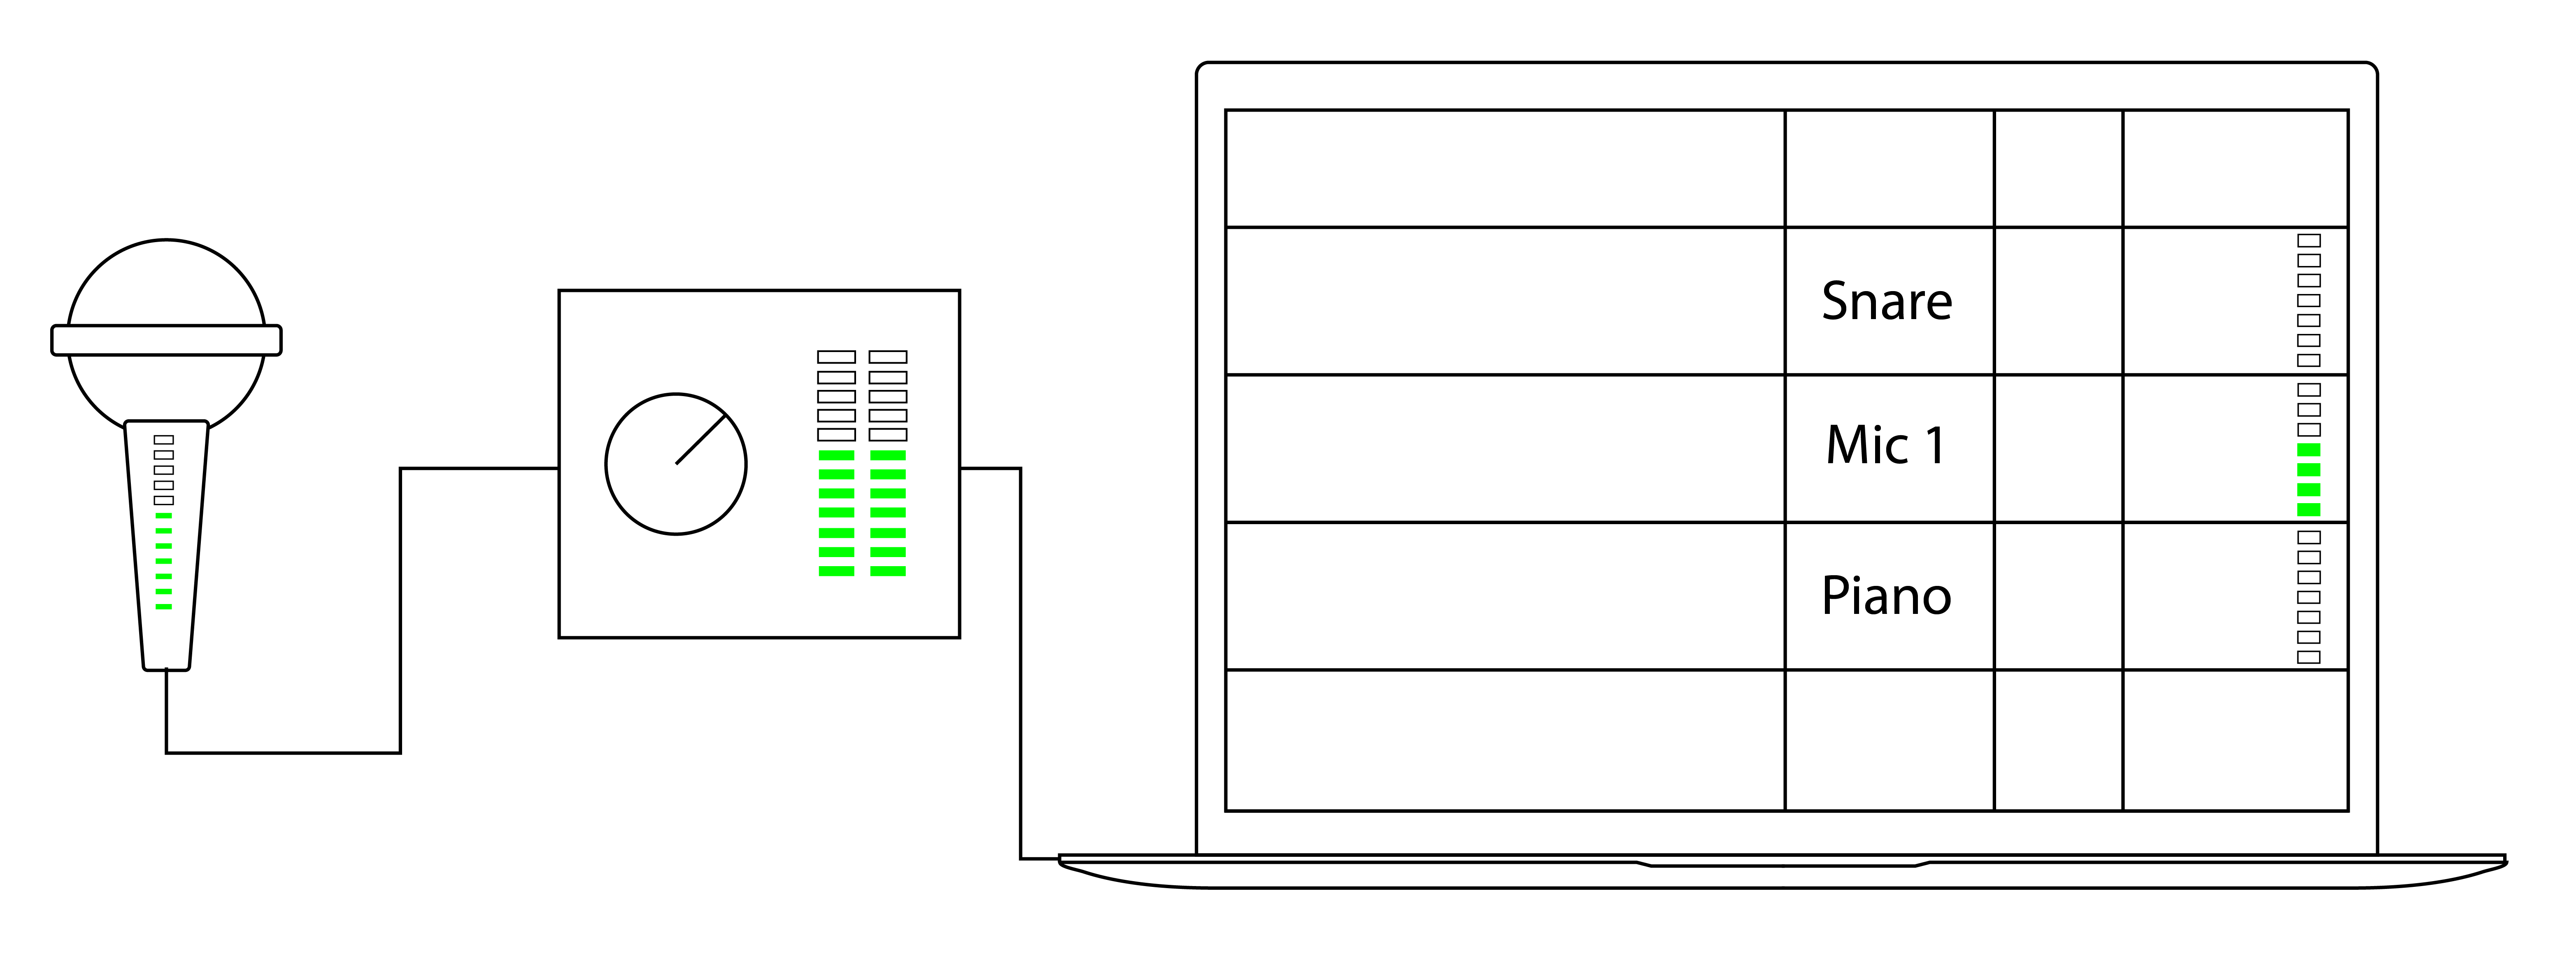 You should monitor the level of your signal at every point in the chain if possible, ensuring that the level is loud enough but not so loud that it peaks or clips the entire audio system. If an audio level meter has, say, five LED lights to indicate its level, you should aim to have your signal fill two or three of these on average, and occasionally four of them when the signal is at its loudest.
Once your signal is in your DAW, it shouldn’t need turning up or down much in order to balance with other recorded or synthesized elements you’re working with.
Your microphone should be in a comfortable position, unable to move on its own, and pointing towards the singer’s mouth – a few centimeters away at most times. You’ll probably wish to use a pop shield to catch any huge movements of air released during “P” sounds, although software like our own smart:deess can also remove these after recording.
Ensure your microphone’s stand is only touching the floor via its feet, and that the central column is not in contact with the floor too – as vibrations can travel from the floor upwards to the microphone.
Most importantly, do a couple of test recordings and see if different positioning improves the sound in your opinion.
Not everything about recording is technical, and although most of this list is exactly that, it’s time for some practical advice on ensuring your subject – even if that subject is you – can deliver the best performance possible.
Allowing your singer or yourself to be comfortable and confident will generally lead to a better vocal performance. Standing is preferable to sitting, and having a drink of water on hand will be useful. Singers benefit greatly from having some time and space to warm up, exercising and practising their voice before the main event.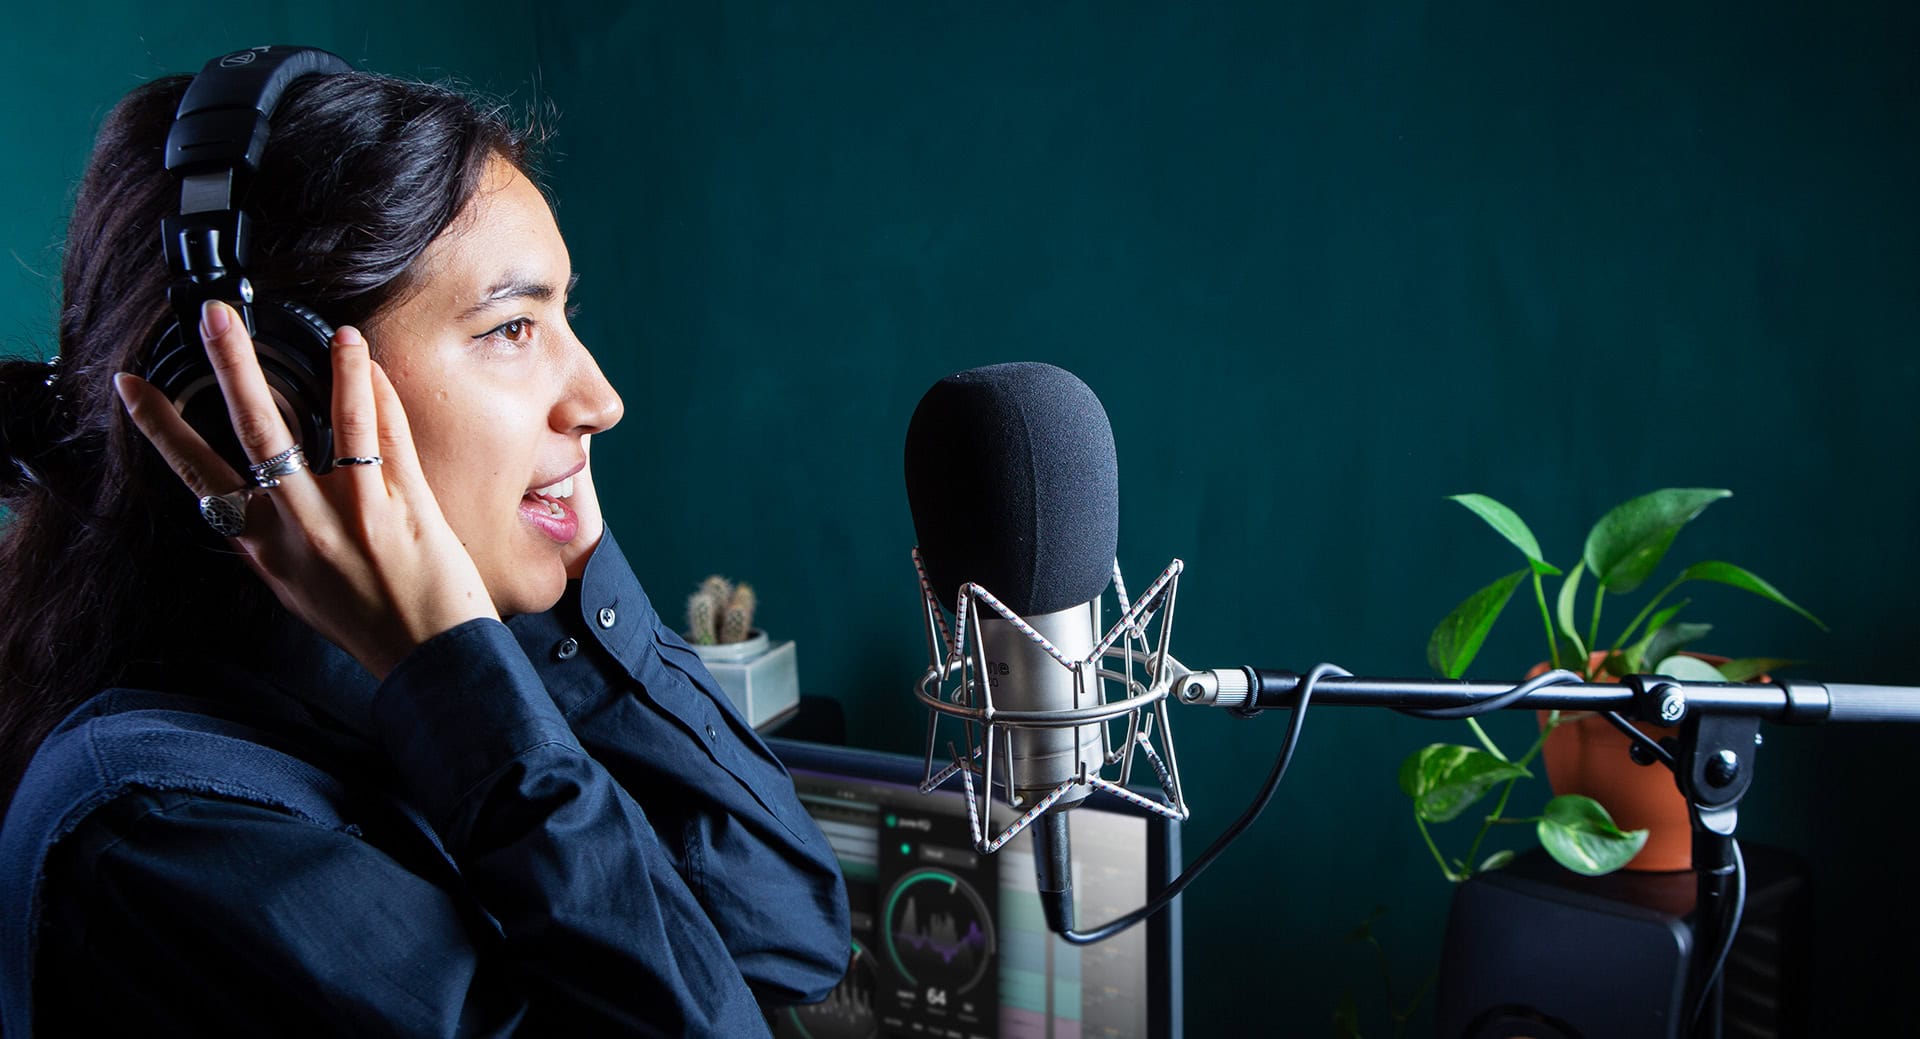 When talking to your singer, be encouraging and be constructive with your feedback. It’s possible for any performer to get Red Light Fever, a sudden inability to perform properly as soon as a recording has started. If possible, simply leaving the recording on at all times – even through any warm-up time.
Today’s DAWs almost all offer a form of comping – that is, the ability to record the same thing multiple times, and pick and choose the best parts of each to use as the finished ‘recording’. With comping, you can arrive at your ideal ‘take’ through a series of multiple takes.
However much preparation you made in advance, once your recording is complete, it may have an audible noise floor – an ambient hum or hiss in the background. This will only become more apparent when the audio signal is turned up to make the vocal louder in the full arrangement.
Fortunately, noise reduction software exists and is exceptionally good at removing unwanted background noise from a recording. Our own prime:vocal is an AI-powered app designed to de-noise and improve vocal recordings with minimal input from the user.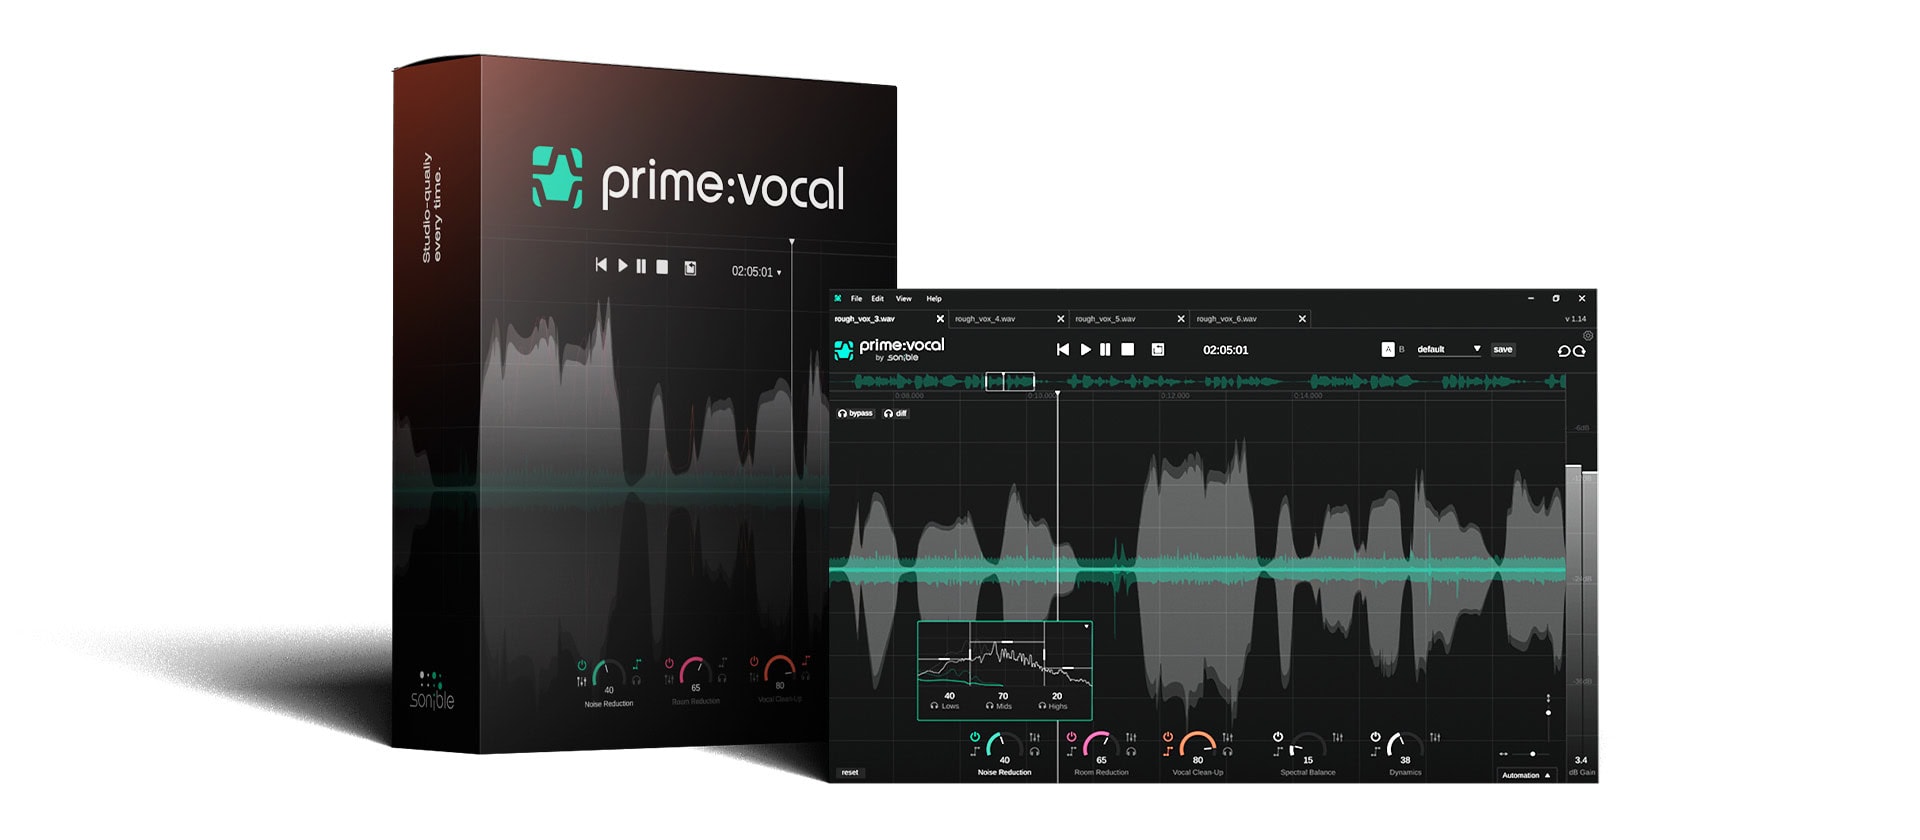
Even for a well-recorded vocal take, it’s rare that it will just slot into a mix alongside other instruments and work like the secret sauce in the wider piece of music. In reality, a vocal may need extra processing in order to improve its sound. Its dynamics and balance often need to be improved, and there are many plugin devices that provide specific processing for what ails your particular vocal.
If you’re not sure how a vocal’s tone and frequency balance should look or sound, then our pure:EQ plugin offers an AI-powered auto setup to optimize your vocal very quickly. Add it onto your vocal channel, tell the plugin it’s listening to Vocal material, and play some of the project, and the plugin will analyze the content of the vocal and start processing improvements based on its analysis.
After improve the vocal’s frequency content, its dynamics are the next port of call. A vocal signal gets louder and quieter as words are formed, and we refer to how it does this as its dynamics. Often, we measure the difference between the loudest (peak) and average (RMS) levels to discuss audio’s ‘dynamic range’, but we can also talk about how quickly it moves between each, and how consistent its levels are.
To control a vocal’s dynamic range, the complex option is to use a detailed compressor plugin like smart:comp 2, but you can get similarly professional results much more easily from a simpler plugin like pure:comp. This simple-to-use plugin can analyze your vocal and apply dynamic processing in seconds, giving professional results thanks to being AI-powered and trained by very high-quality professional source material.