New ideas and tried-and-tested tactics to improve your mix’s vocal – these get less beginner-focused as you scroll through.
The vocals are likely the most important elements in any track. They connect with the listener on a human level and their imperfection can sometimes be their greatest asset. But if a vocal isn’t quite right, it can be very obvious – we’re very highly attuned to vocal sounds, it won’t surprise you to read.
There are many tactics for getting a better vocal sound, and we’ve compiled this article to list a variety of techniques to help producers at all levels. From basic mixing tricks to advanced techniques, and creative ideas for making a vocal pop out from other parts. We’ll start from the basics and gradually get more advanced as we move through these 14 tips for mixing vocals.
As every trained mixing engineer knows, if the material you’re working with isn’t good enough, your mix won’t be good enough. Getting a great recording is paramount, but if that’s not an option for you, there’s software that can help.
With prime:vocal, you can remove all manner of unwanted sounds, including electrical noise, room reverb, plosives and sibilance, crosstalk and more, then turn to enhancement features to match professional dynamics and balance. prime:vocal is AI-powered and trained on perfect studio vocals, so you needn’t pick up and compressor, EQ or de-esser if you don’t want to.

Vocals are very dynamic source sounds, and performances tend to be given right up close to the microphone. When you have a raw vocal, one of the first mixing decisions you make could be to add an EQ or compressor, or some reverb. However, there’s a more elementary step that should come first: level riding.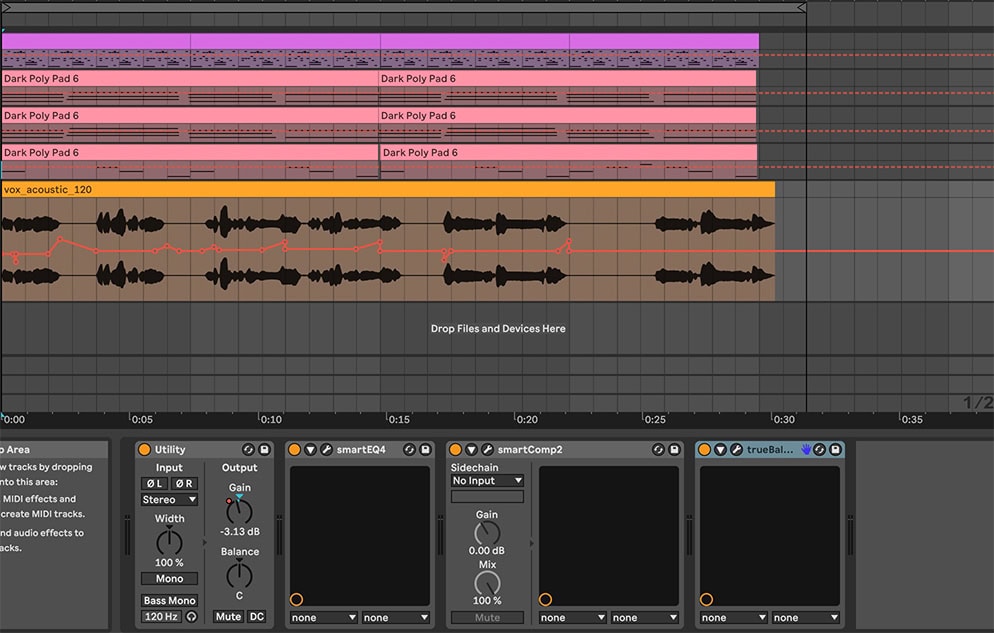 To ride a level, we‘re using an audio clip’s gain (before the track hits our mixer and effects), or use a gain control first in the signal processing chain. The hardware control to ride on a real mixing console is the ‘Trim’ gain, a control the signal’s level on its way into the console.
The aim is to reduce any loud parts and/or increase any quiet parts, bringing the levels under control before processing is even considered. This sounds similar to the action of a compressor, but with level riding, the results can be much more ‘zoomed out’ or ‘slower’, operating to change the gain from word to word or even phrase to phrase.
Delay is an absolutely classic vocal processor, and it’s been used in many ways over the history of music production. From the short delay times of John Lennon-style slapback delay to quarter-bar or half-bar timing of a rock power ballad, delay works in multiple contexts when it comes to vocals.
Delay creates a sense of space, just like reverb, but it does so in a rhythmic way. You could say that reverb and delay do the same thing but from slightly different angles, which is why you’ll often find both applied to a vocal. The trick is in routing their signals: does your vocal benefit from the delay running into the reverb, or swapping the two? Or would it be best if both effects were run completely in parallel?
When mixing, deciding on an element’s stereo properties can be a dilemma. Giving something a huge dose of width makes it more impressive, gives it more attention and helps it to dominate the song when you want it to. On the other hand, keeping an element narrow helps make it more focused, keeping it central, powerful and always in-phase. So how should you treat your vocals?
There’s a way to have your vocal cake and eat it too: keep your lead vocal central, focused and powerful, and then take the other part of the vocal – backing vocals or the reverb – and make that the wide, impressive, spacious element of the vocal. With treating different parts of the vocal differently, you can get the best of both worlds.
“Set it and forget it” doesn’t have to be the mantra in a digital mixing workflow. Just because you’ve got the perfect vocal mix in the main verse, doesn’t mean that the exact same setup is right for the chorus, the bridge, the outro, the coda… or whatever else your project’s structure provides.
For example, to change the vocal’s feel in a chorus, you may want to increase the reverb signal, or its pre-delay; or to compress the lead vocal more heavily; or to change its frequency content using EQ.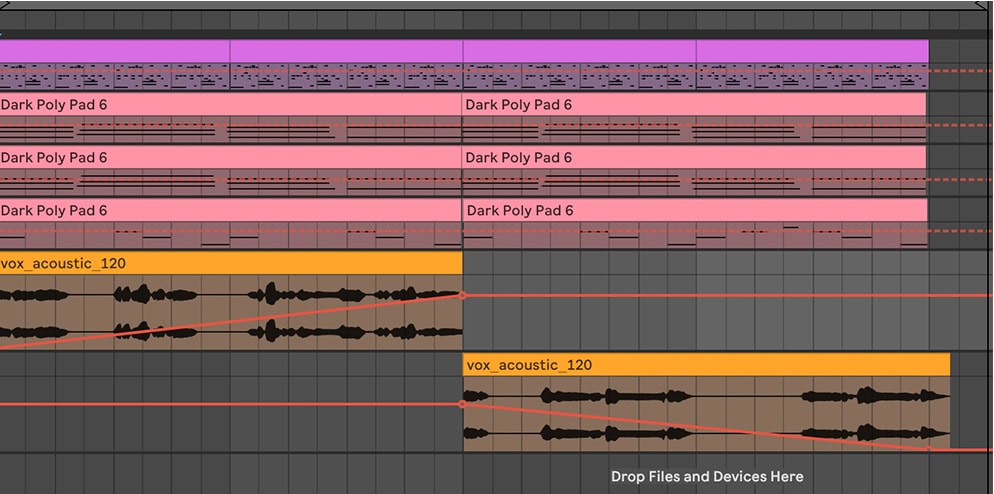 There are different ways you could achieve these mixing changes from section to section: you could use automation to alter parameters, or you could break each new section’s vocal out into its own completely new channel to apply a completely separate chain of effects to that channel.
If you’re using delay and reverb effects on a buss, there’s a very simple way to quickly clean these effects up. Add a compressor onto the buss, after the effect, set a slow release time (or a long hold time), and feed its sidechain input with the main vocal (the channel that’s also feeding the buss itself).
The effect should be that the whole processing chain on the buss is ducked while the vocal is heard, and swells back up once the vocal ends, or during gaps between vocals.
A key part of mixing is to take two instruments that are competing in some way and to resolve that fight. This could be done in terms of clashing frequencies by cutting certain frequencies in one of the channels; it could be done in terms of stereo by placing the two channels on opposing sides; it could be done in terms of volume by pushing the level of one element up above the other.
Unmasking can be done even more simply, though. By using a plugin that automatically identifies clashes between instruments and reduces them intelligently, you can speed up the task of unmasking hugely. pure:unmask is one such plugin, and you can try it free for 30 days at our pure:unmask page.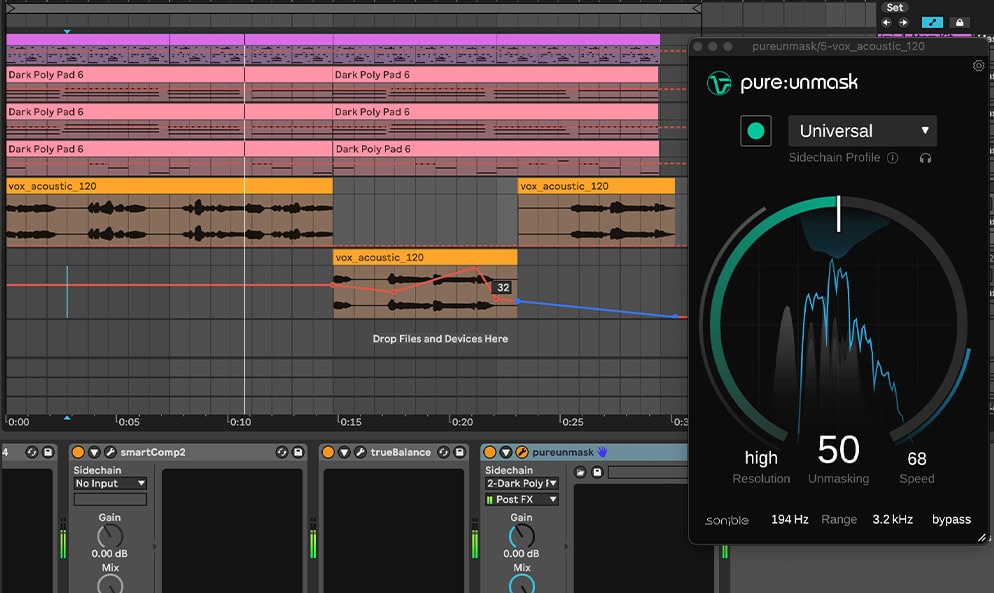
EQ is a static device that applies gain or reduction at a certain frequency, no matter the behavior of the signal going through it. That’s often fine, but when you’re ready for something more reactive, try dynamic EQ. A dynamic EQ band acts like a compressor to affect its gain based on the level passing through it.
In practical terms, set up a dynamic EQ band and it can act as protection for when a sound gets too harsh, while leaving it alone before this threshold is reached. With a dynamic EQ, you can set up a de-esser using a single band active at very high frequencies, from 4kHz to 10kHz.
Every human voice is different, as is every song. Because of that, there’s no ideal way to EQ vocals with a static EQ as the areas that have power or character can change with each note. But there’s a different way to ensure a vocal track is balanced properly to take its place in a whole mix.
Using a tool like pure:EQ, and choosing the Vocal profile, you can emphasize what’s unique about your vocal part and de-emphasize the frequencies that don’t play a crucial role.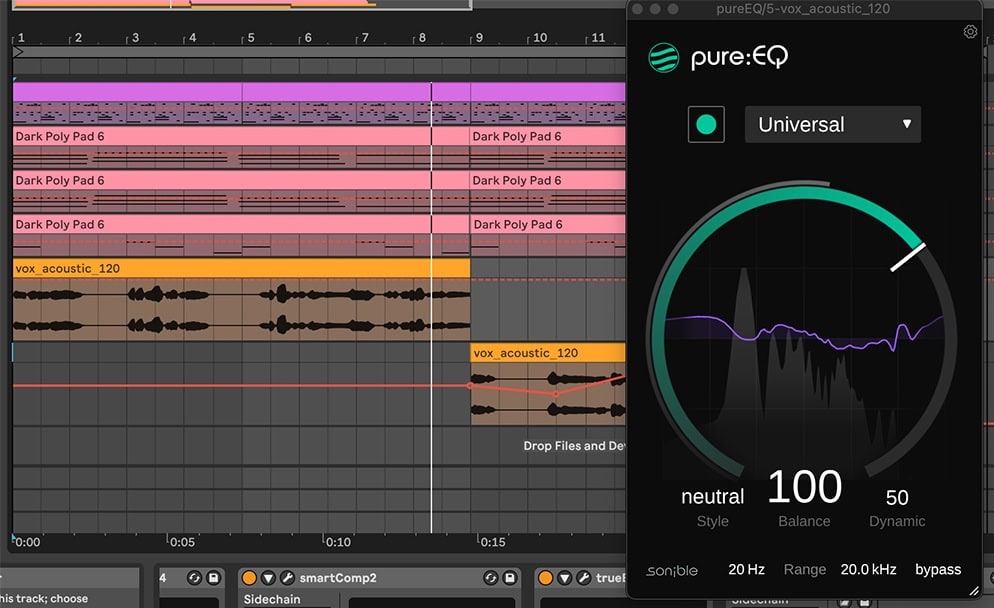
Vocals are almost always an upfront element in the mix, although there can be exceptions – including for backing vocals and certain track sections. Making your vocals seem more upfront in the mix is done by a combination of factors: EQ, reverb settings and more processes play a part. At the same time, making sure other elements have been moved ‘further away’ will also give the impression of the vocals being up close.
For all-round mixing wisdom where depth is concerned, read The 9 rules of depth when mixing.
Serial compression is the practice of using a quick compressor to cut off extreme transients – set with a high Threshold and Ratio – and then using a slower compressor to add character with lower Threshold and Ratio settings.
The point here is that each processor – each compressor – is specialized at its job in this context. The fast compressor isn’t being triggered by sustained sounds, and the character compressor isn’t led astray by sudden peaks, as they’ve been cut off already.
Parallel processing may be a technique familiar when using a harsh compressor or a reverb plugin, blending the original channel and the ‘FX’ channel together in a perfect balance. Actually, one trend in mixing is to use this approach for all the effects applied to a channel.
Let’s apply the idea to vocals. Alongside your main vocal channel, you might have a heavily compressed vocal channel, a reverb channel, a heavily EQed channel, a phaser channel, a chorus channel, multiple distortion channels, and so on. Each of these is then blended in to achieve the desired effect, rather than as one large serial chain of signal processors.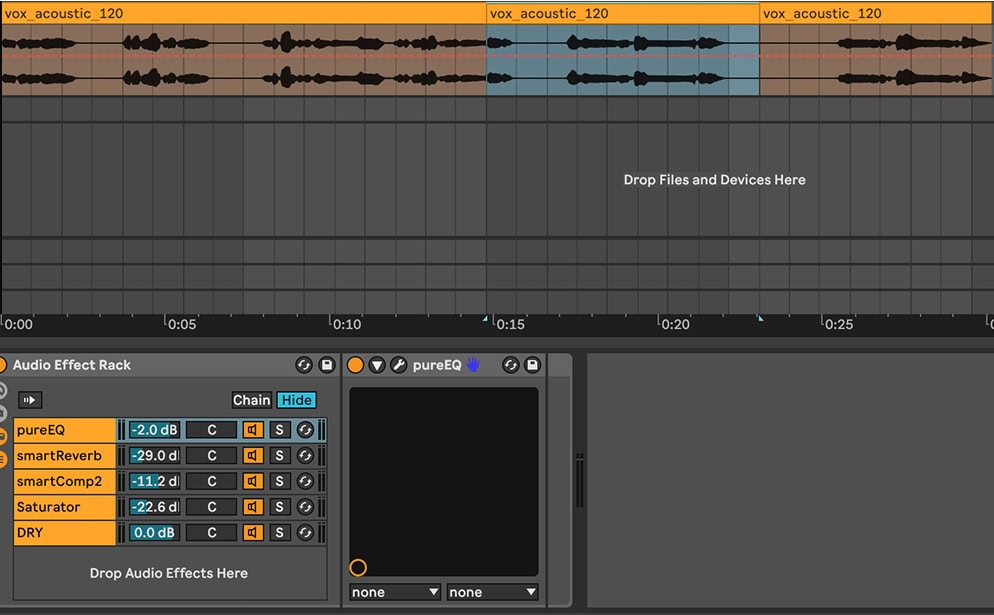
A lead vocal is front-and-center, but backing vocals are supposed to be wider and less in-your-face, playing a supporting role. Some of the same processes we apply to lead vocals can be applied far more heavily to backing vocals in order to fit them nicely into the mix.
De-essing is an interesting first port of call. By very heavily pushing down the consonants in backing vocals, there’s less build-up of these frequencies across the stereo field. The same could be done with heavy transient-removing compression: remove transients from your backing vocals to avoid a wash of “tuh” or “kuh” across the mix when these land at different times.
Further from the previous point, try applying a similar attitude to your vocal reverb. By de-essing a signal on a buss before it hits any reverb, that reverb signal will have more of the vocal ‘tone’ in it than vocal ‘noise’, making it smoother and easier to fit with other elements, including the vocal itself.
As in the previous tip, try doing the same with a compressor to catch quick transients and consonants above and beyond just “ess” sounds. Transients tend to hold a lot of high-frequency energy, so taking these out makes for a more balanced vocal reverb. Check out the example below for a before-and-after comparison.
Using our range of intelligent, AI-powered mixing and mastering plugins, you’ve got a toolkit for achieving the vocal sound you need in a modern way. Try out the signal-balance pure:EQ, the conflict-resolving pure:unmask, get always-complementary reverb from smart:reverb 2, achieve intelligent, spectral compression with smart:comp 2 and discover many more of our essential processors.